Video Mixing: How to Plan Cuts, Layers, and Montage Effects
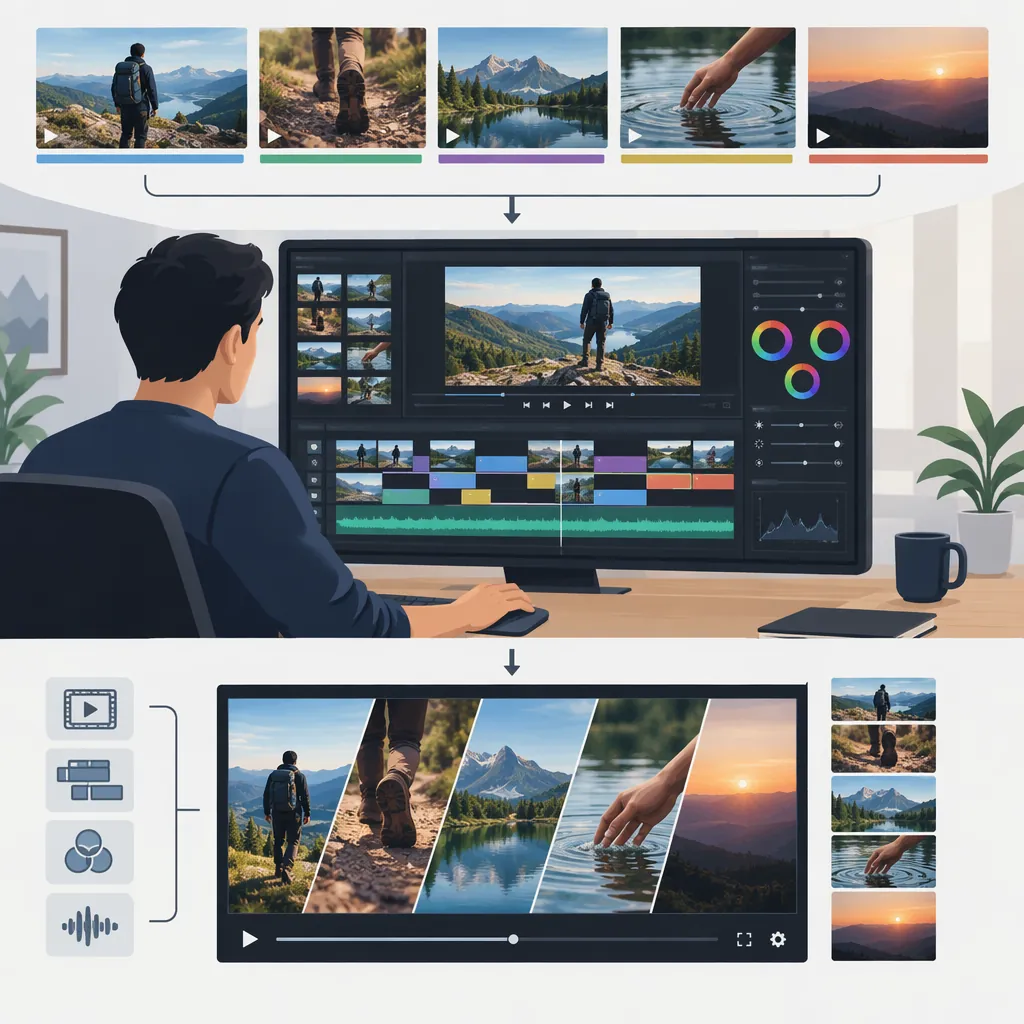
For an edited montage, approach video mixing as combining selected clips, images, and audio into one sequence. Start with the story and rough cuts, then refine timing, add purposeful layers or transitions, and review the sound. The provided editing reference documents cuts, splicing, masking, color grading, audio mixing, and transitions; the workflow below is suggested guidance, not a tested software tutorial. [c1]
Define What You Want to Mix
For this guide, video mixing means assembling an edited sequence rather than switching live camera feeds. Decide which of these goals describes your project:
- Montage: Arrange selected moments into a sequence with a clear progression.
- Layered composition: Show two or more visual elements together, such as footage and a title.
- Audio-and-video edit: Combine picture with dialogue, music, or other sound.
Write one sentence describing what the viewer should understand or feel by the end. Use that sentence to decide which shots belong.
The reference supports a broad editing scope: it lists cuts and splicing, video masking, color grading, audio mixing, and effects. It is a feature overview, not a definition of every use of “video mixing.” [c1]
One-Sentence Edit Brief
Complete before editing:

This montage shows __________ through __________ and ends with __________.

Primary focus: sequence / layered visuals / sound and picture.
Required material: __________.
Material to leave out: __________.
Build the Montage Before Adding Effects
Choose a small set of useful shots and place them in a provisional order. A workable starting structure is an opening image, a developing sequence, and a closing image. Treat this as a planning option, not a rule.
- Label each selected shot by its role: context, action, detail, reaction, or ending.
- Trim each shot to the moment you want the viewer to notice.
- Assemble a first pass using simple cuts.
- Watch the sequence before adding decorative effects.
- Remove shots that repeat information without serving your brief.
For a process montage, try arranging shots in the order the activity happens. For a mood-focused montage, try grouping them by movement, shape, or color. Compare the alternatives rather than assuming one structure is best.
Keep a duplicate of the rough cut before making major timing changes.
Shot-Order Worksheet
| Position | Shot Description | Purpose | Reason for the Cut |
| --- | --- | --- | --- |
| Opening | Fill in | Establish the subject | Fill in |
| Development | Fill in | Show action or change | Fill in |
| Detail | Fill in | Direct attention | Fill in |
| Ending | Fill in | Complete the sequence | Fill in |
Give Each Effect a Specific Job
Add an effect only after deciding what it should accomplish. Useful questions include:
- Transition: Do you want a direct change, a gradual overlap, or a deliberate visual interruption?
- Layer or mask: Does showing elements together make a comparison or relationship clearer?
- Speed change: Which moment deserves emphasis, and should its original sound remain?
- Color adjustment: Are you trying to bring neighboring shots closer together or create an intentional contrast?
- Title: What information is missing from the picture itself?
The reference lists speed control, adjustment layers, transitions, keyframes, filters, masking, and color grading. It does not establish identical controls or behavior across editing applications. [c1]
Try one treatment at a time. Compare it with the untreated version at normal playback speed. If the effect distracts from the intended subject, simplify it or remove it.
Effect Decision Card
Shot or cut: __________.
Intended purpose: __________.
Proposed effect: __________.
What should remain clear: __________.
Comparison result: keep / simplify / remove.
Reason: __________.
Review Sound Alongside Picture
Decide which sound should lead each part of the montage: speech, music, recorded activity, or silence. Then review the sequence with that priority in mind.
- Listen for words or important sounds obscured by music.
- Check for abrupt changes at audio edits.
- Try cuts near selected musical accents, but keep them only if the visual timing also works.
- Where available, use audio waveforms to help locate sound events, then confirm the result by listening.
- Replay the ending to check whether the sound stops or fades as intended.
The reference documents audio mixing, syncing, scrubbing, and waveform visualization. It does not provide loudness targets or an audio-delivery standard, so this guide does not prescribe numerical levels. [c1]
Audio Review Pass
For each part of the sequence, record:

Leading sound: __________.
Competing sound: __________.
Adjustment to try: __________.
Result after listening: __________.

Final check: review the opening, every audio edit, and the ending.
Check the Finished Sequence
Review the complete edit rather than judging only individual effects. Use separate passes for story, picture, and sound so each pass has a clear purpose.
For the story pass, ask whether the montage fulfills its one-sentence brief. For the picture pass, inspect titles, framing, transitions, and unintended gaps. For the sound pass, listen for obscured speech, unwanted silence, and distracting changes.
Choose export settings according to the intended destination's requirements. Those requirements are not supplied here, so no universal resolution, frame rate, codec, or bitrate is recommended. After export, play the actual output file and check it again.
Evidence limit: This article uses a public feature overview to establish the editing operations discussed. The templates and review process are original suggestions, not verified interface instructions, performance findings, or guarantees of results.
Final Review Checklist
- [ ] The sequence fulfills the edit brief.
- [ ] Each shot has a clear purpose.
- [ ] Effects support the subject rather than obscure it.
- [ ] Titles are readable and correctly spelled.
- [ ] Important sound remains understandable.
- [ ] No unintended gaps or blank frames remain.
- [ ] Export settings match the destination's requirements.
- [ ] The exported file has been played and reviewed.
FAQ
Does Video Mixing Require Special Effects?
No special effect is required by the workflow in this guide. Begin with clip selection, order, cuts, and sound; add effects only when they serve a specific purpose. The reference includes basic cuts and splicing alongside more complex masking and color-grading operations. [c1]
What Is a Simple Starting Point for a Montage?
Write a one-sentence brief, select shots that support it, and arrange an opening, development, and ending. Make a plain-cut version first. Then review timing and sound before deciding whether transitions or layers would help.
Will Every Editor Have the Same Mixing Controls?
Do not assume identical controls. The provided reference lists operations available in one editing environment, but it does not compare applications or document equivalent interfaces. Check the documentation for your editor before following a tool-specific procedure. [c1]