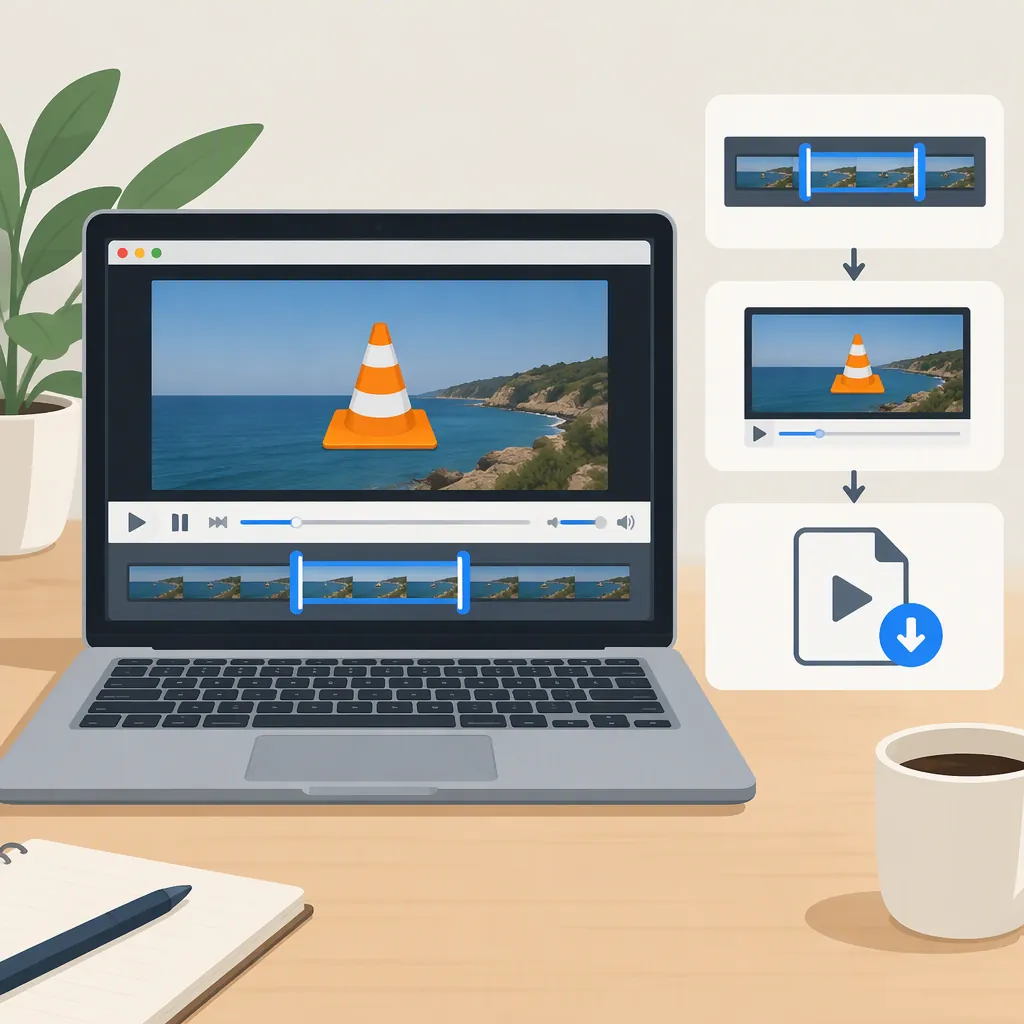
How to Edit Video in Vlc: Save a Shorter Clip by Recording
You can save a shorter clip in VLC by recording the portion you want during playback. Open the video, enable View > Advanced Controls, and use the Record button to start and stop recording at your chosen points. This is a recording workaround, not a dedicated trimming tool: the desired segment must play through while you record it. [vlc-trim]
Scope and source: This article covers the desktop menu-based workflow documented in a third-party WinX guide, with Windows save-location guidance. Other platforms and VLC versions have not been verified here. The guide is not official VideoLAN documentation; “VLC Support” in its title does not establish an official support relationship.
What This Vlc Editing Method Covers
This workflow is for keeping one continuous section of a video. You locate the beginning, record while that section plays, and stop recording at the end. The reference explicitly distinguishes this method from a true trimming feature. [vlc-trim]
These instructions do not cover assembling multiple clips, adding titles, or building a timeline. If you need those operations or tightly controlled cut points, use a workflow designed for that task rather than assuming playback recording will meet it.
How to Save a Video Segment in Vlc
Before starting, note the intended start and end times so you can follow the segment during playback.
- Open the source video. Use Media > Open Files to select the file, or drag it into VLC. [vlc-trim]
- Show the recording controls. Select View > Advanced Controls. Additional controls should appear above the playback button. [vlc-trim]
- Locate the beginning. Play or seek to the section you want, then pause at the intended start.
- Start recording. Click the red Record button, then resume playback.
- Let the segment play through. Allow playback to continue normally to the intended endpoint. This method records during playback; it is not a time-range export where you enter two timestamps or jump directly to the end.
- Stop recording. When playback reaches the endpoint, click Record again. [vlc-trim]
- Check the saved clip. Open the output and inspect its beginning, ending, picture, and sound before using it.
The guide also lists Shift + R as the shortcut for starting and stopping recording. If it does not work in your setup, use the visible Record button. [vlc-trim]
Find and Check the Saved Clip
For Windows, the reference identifies My Videos as the recording destination and gives C:\Users\Username\Videos as a Windows 7 example. Treat that as a starting point—not a verified path for every installation. [vlc-trim]
Once you find the output, check that:
- It begins and ends where you intended.
- It plays through without interruption.
- The expected audio is present.
- It contains only the segment you wanted.
Keep the source file until these checks are complete.
If You Cannot Find the File
- Check the My Videos location described above. Use the Windows 7 path only as the reference’s example, not as a universal destination. [vlc-trim]
- Review whether you completed the recording sequence: start recording, play the segment, then stop recording.
- If the file remains missing, consult help documentation for your operating system and VLC version to confirm the recording destination and controls. This reference does not establish a recording-directory settings procedure for every version.
Troubleshooting Audio and Clip Length
The reference reports missing audio and unexpectedly short recordings as possible problems. It does not establish a reliable cause or guaranteed fix for a particular file. [vlc-trim]
Use the following checks to narrow down what happened:
| Symptom | First checks | If it remains unresolved |
|---|---|---|
| The clip has no sound | Play the source video and the saved clip, checking whether the expected audio is present in each. | Consult help for your VLC version and system, noting whether the problem affects the source, the recording, or both. |
| The clip is shorter than intended | Confirm the recording start and stop points and whether you let the entire target segment play through. | Record the exact steps and consult version-specific help rather than assuming a codec change will fix it. |
| The beginning or ending is wrong | Compare the saved clip with your intended timestamps and review when you toggled Record. | If precise boundaries are essential, use a dedicated trimming workflow and check its output separately. |
When seeking further help, note your operating system, VLC version, source format, and exact recording steps. Avoid changing codecs solely on the basis of a general troubleshooting statement.
FAQ
Can Vlc Trim a Video?
The method described here saves a segment by recording it during playback. The reference explicitly says this is not a true trimming feature, so treat it as a workaround and inspect the result. [vlc-trim]
How Do I Show the Record Button in Vlc?
In the documented desktop workflow, select View > Advanced Controls to display the additional controls, including the red Record button. The guide also lists Shift + R as the recording toggle. [vlc-trim]
Can I Start Recording and Then Jump to the Endpoint?
To capture the desired continuous segment, let it play normally from the start point to the endpoint, then stop recording. The documented workflow records playback; it does not describe exporting a range by entering start and end timestamps. [vlc-trim]
Where Does Vlc Save the Recorded Clip?
The reference identifies My Videos on Windows and provides C:\Users\Username\Videos as a Windows 7 example. It does not verify a universal output location for all installations. [vlc-trim]
Why Does My Saved Vlc Clip Have No Sound?
Missing audio is a reported recording problem, but the reference does not establish a single cause. First compare audio playback in the original video and the saved clip. If the issue persists, consult help specific to your VLC version and operating system with those results. [vlc-trim]