Videopad Video Editor: A Practical Guide to Your First Edit
VideoPad is a video-editing application from NCH Software. Its published feature information describes a workflow that includes adding media, arranging clips, trimming footage, previewing a sequence, and exporting a finished video. Whether it fits your project depends on your device, the formats you need to work with, the output you need, and whether the applicable use terms cover your intended use. (nchsoftware.com)
What Is Videopad?
VideoPad is an editor for assembling and editing video clips. NCH’s product information also describes features for working with audio, titles, effects, and transitions, and lists examples of video formats such as AVI, WMV, DivX, MP4, APNG, and MPEG. Treat that list as examples, not a guarantee that every file using one of those extensions will import correctly: a file’s codec and other details can matter. Check your actual source files and intended export settings in the version you plan to use. (nchsoftware.com)
NCH lists downloads for Windows, Mac, iPhone, iPad, Android, and Kindle. A download listing does not by itself confirm that every feature or instruction is identical across platforms. Before starting, select the version for your device and check the current system requirements for it. (nchsoftware.com)
Check Whether It Fits Your Project
Before editing a full project, compare these requirements with the information for your version:
- Device and operating system: Confirm that the available VideoPad version supports your device and operating-system version. If you are unsure which desktop version you have, NCH says to open Help from the menu bar and choose About VideoPad Video Editor. (nchsoftware.com)
- Source media: Try importing a representative video, image, or audio file—not just a sample file—especially if your footage comes from a camera, phone, or screen recorder. NCH lists common video formats, but recommends verifying your specific project needs rather than relying on a broad format claim. (nchsoftware.com)
- Final delivery: Identify the required file type, resolution, and destination before editing. NCH describes exporting video files and lists several intended output destinations, but the appropriate export settings depend on your delivery requirement. Export a short test and check that it plays as expected before completing a larger project. (nchsoftware.com)
- Intended use: NCH states that a free version is available for non-commercial use. If the project is for a business, client, monetized channel, or another commercial purpose, do not assume that the free-use terms apply; review the current licensing terms for your situation. (nchsoftware.com)
A practical fit check is to import one of your real source files, make a short edit, export it using the format and settings you expect to deliver, and play the exported file in a separate media player. This is a suggested evaluation process, not a claim that every file or export has been tested.
Make a Basic Edit in Videopad
The following workflow follows NCH’s published how-to guidance for its desktop editor. Control names or screen layouts may differ by version or platform, so use the in-program help if a step does not match your interface. (nchsoftware.com)
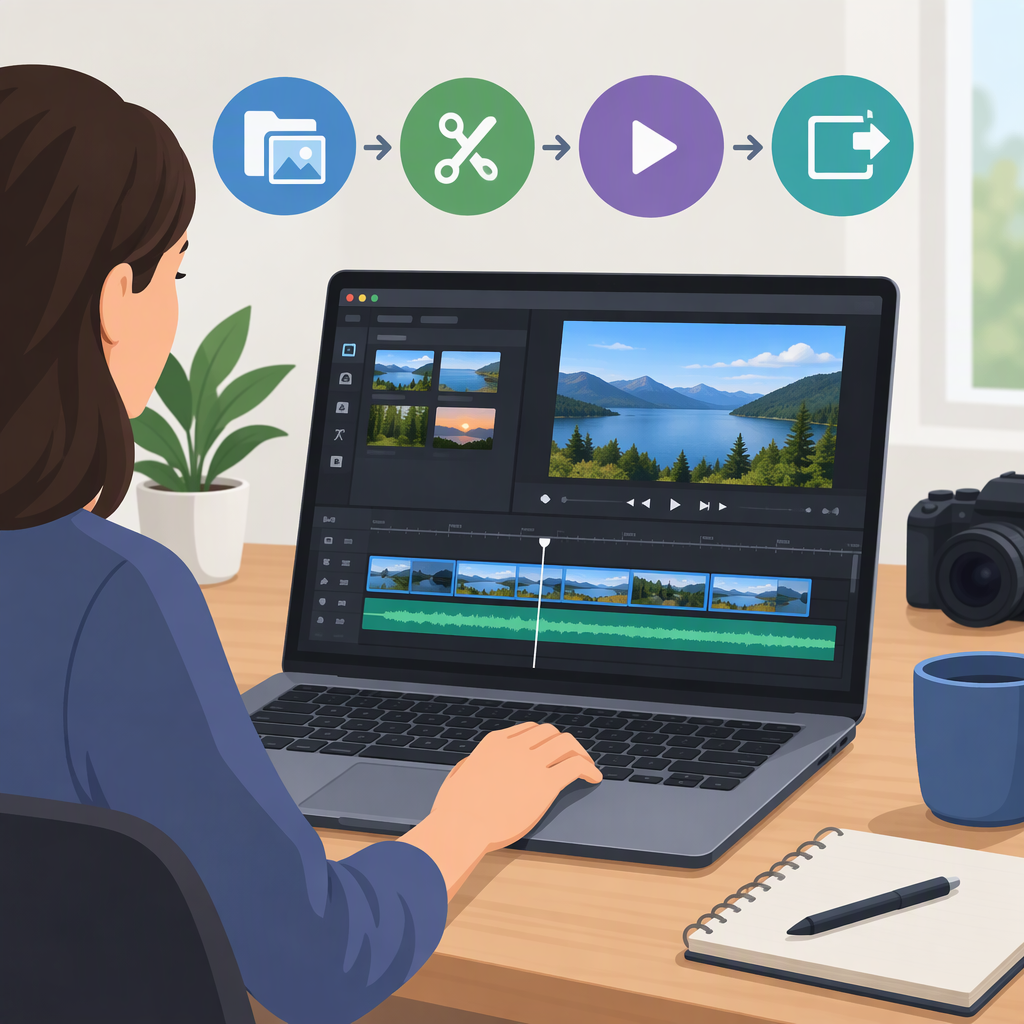
- Create a project and add media. Open a new project. NCH’s guide describes adding a video with Open on the Home tab, the
Ctrl+Oshortcut, or by dragging a file or folder into the File bin. The guide is written for Windows PC or Mac; shortcuts and labels can vary by platform. (nchsoftware.com) - Put a clip on the sequence. Drag a video from the File bin onto the sequence timeline. Add other clips in the order you want them to appear. NCH’s tutorial describes adding media to a project and adding clips to a sequence. (nchsoftware.com)
- Trim the beginning or end. On the timeline, hover over the start or end edge of a clip until the resizing cursor appears, then drag the edge to adjust the visible section. NCH also documents setting start and end points in the clip preview. If you want to remove a section from the middle, split the clip around that section and remove the unwanted portion; check the sequence afterward, since deleting a selection can affect tracks beyond the video. (nchsoftware.com)
- Add only needed adjustments. For a simple cut, effects, transitions, titles, or extra audio are optional. Add them only if the project needs them, then preview the sequence to check the cuts, clip order, and sound. NCH lists these as editing functions, but the exact controls can depend on the version. (nchsoftware.com)
- Save the editable project. Use Save Project so you can return to the edit. A project file is not the same thing as a finished video to share; export a video file for playback or delivery. (nchsoftware.com)
- Export and check the result. NCH’s guide says to choose Video File from the Export Video button’s dropdown and follow the wizard to save in the desired format. Choose a destination and filename that will not overwrite source footage, then play the exported file and confirm the picture and audio. (nchsoftware.com)
Example: For a short two-clip montage, import two source videos, place them in sequence, trim the start or end of each clip, preview the cut, save the project, and export a video file. If the export plays correctly and meets your delivery requirements, repeat the same checks on the complete project. This is an illustrative workflow, not a reported test result.
Limits and Terms to Check Before Relying on It
The available documentation supports a basic desktop workflow, but it does not establish that every codec, device, export setting, or platform will meet every project’s needs. The most consequential checks are compatibility with your operating system, successful import of your own source media, export settings for your destination, and licensing terms for your intended use. Verify these before investing time in a long edit. (nchsoftware.com)
If an interface label in this guide is missing, check the help material for your installed version. NCH’s version page explains how to find the version in the desktop application; its support pages also list tutorials for adding media, trimming clips, and saving or exporting a movie. (nchsoftware.com)