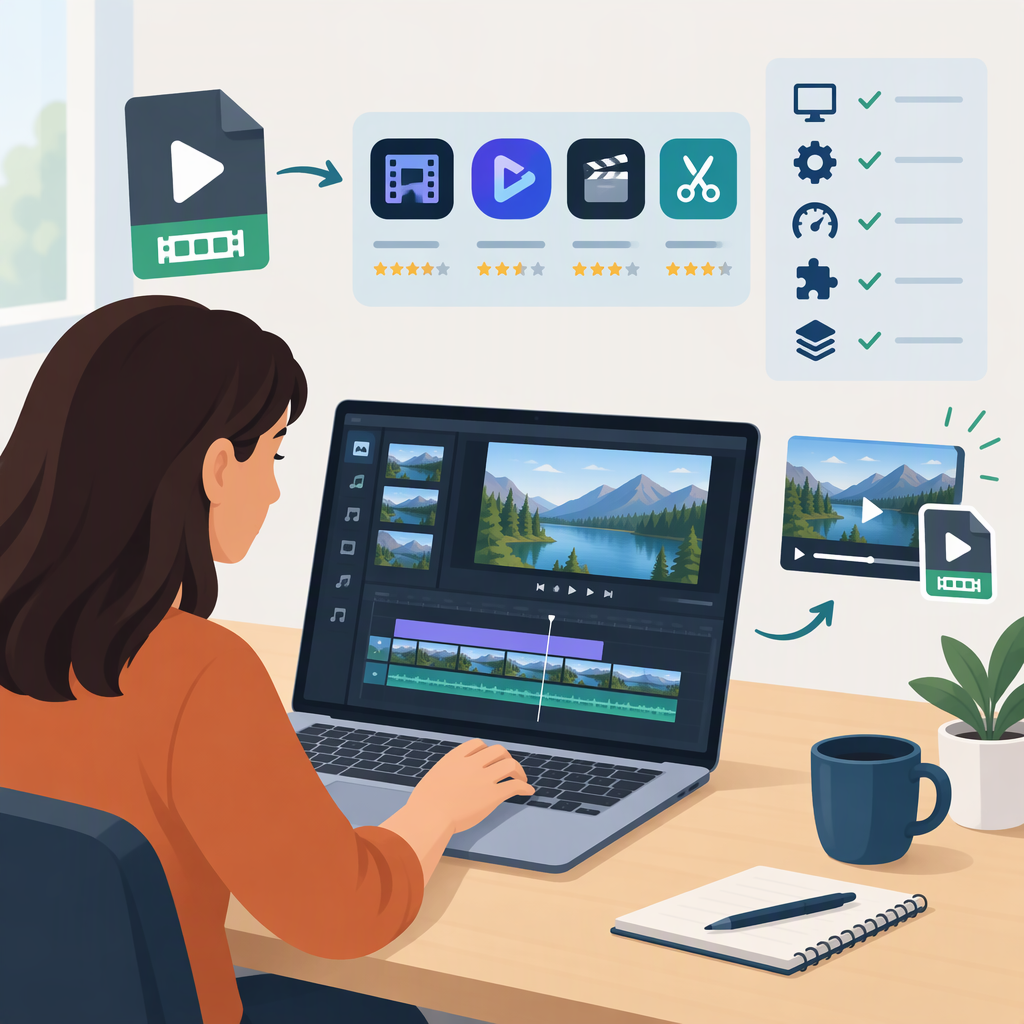
Webm Video Editor: How to Choose One and Edit a Webm Video
To choose a WebM video editor, check three things separately: whether it can import your file, edit it on a timeline, and export a WebM file. Support for one step does not establish support for all three. Also confirm that the instructions fit your operating system and application version, then test the finished export in the player or destination where you intend to use it.
WebM is a container format, not a guarantee that every file inside it will behave identically. The WebM Project describes the format as a subset of Matroska intended for VP8/VP9 video. So, when a file fails, note its actual video and audio encoding as well as its .webm extension. (webmproject.org)
What to Look for in a Webm Editor
Use this checklist before committing to an editor:
- Import: Does the editor’s documentation list WebM as a supported source format? If the file still fails, check its media properties and the editor’s support for the encoding inside it.
- Timeline editing: Can you place the imported clip on a timeline and make the changes you need—such as trimming or arranging clips? Opening a file or extracting audio is not the same as a complete editing workflow.
- WebM export: Does the application offer a WebM output profile or documented settings for creating WebM? Import support alone does not answer this.
- Platform and version: Match the documentation to your operating system and installed version. If the documentation does not state a platform or version limit, treat that as unconfirmed rather than assuming universal support.
- Destination: Check what the intended player, site, or other destination accepts. When it requires WebM, verify the output is actually WebM; if it does not, another documented output format may be more suitable.
A Documented Example: Kdenlive
The Kdenlive 26.08 manual lists WebM among supported video formats. It also documents adding external video files to the Project Bin and arranging clips on the timeline. Its rendering documentation explains how to render a project using an output profile. However, the cited documentation does not establish that a WebM export profile is available in every installation, nor does the cited format list specify an operating-system scope. (docs.kdenlive.org)
| Workflow step | What the cited Kdenlive documentation establishes | What to confirm for your setup |
|---|---|---|
| Import WebM | WebM is listed among supported video formats. | Try your particular file; the format list alone does not confirm every encoding or file. |
| Edit on a timeline | The manual documents placing clips on timeline tracks and resizing clips. | Confirm that your imported file plays and edits correctly in your installed version. |
| Export WebM | The manual documents rendering with profiles. | Open the render dialog and confirm a suitable WebM profile and settings are available. |
This is a documented starting point, not a claim that every WebM file will work or that WebM export is available in every setup. Kdenlive’s manual says to open rendering with File → Render or Ctrl+Enter; use a WebM profile only if it is actually offered and meets your destination’s requirements. (docs.kdenlive.org)
How to Edit and Export a Webm Video
The sequence below is a general workflow. The named Kdenlive controls are drawn from its 26.08 manual; they may differ in other editors or versions.
- Check the source. Make a copy of the original. Confirm the file plays in a media player you trust, and note its duration, picture, and sound. If it already fails outside the editor, troubleshoot the source before diagnosing the editor.
- Open or import the clip. In Kdenlive, add the file to the Project Bin using Add Clip or Folder or drag it in from your file manager. The manual documents both approaches. (docs.kdenlive.org)
- Make a small timeline edit. Place the clip on a timeline track. For a simple trim in Kdenlive, the manual says a clip can be shortened by dragging its left or right edge. Preview the cut and check that the intended audio remains. (docs.kdenlive.org)
- Choose output settings for the intended use. Match the project’s dimensions and frame rate to what you need, and select a WebM output profile only if the editor provides one. A filename ending in
.webmby itself is not proof that the video was encoded or packaged as intended. - Render the project. In Kdenlive, open File → Render or press Ctrl+Enter, choose the output file and an appropriate available profile, then render. The manual describes rendering as creating a complete video file from the timeline. (docs.kdenlive.org)
- Check the result. Open the exported file in the destination player or workflow. Check the beginning, middle, and end; verify picture, sound, and timing. If it fails there, test the file in another player to help distinguish an export problem from a destination-specific playback problem.
Example: Suppose you trim the beginning and end of a WebM clip and want to publish the result somewhere that specifically requires WebM. After trimming, confirm that the render dialog offers a WebM profile. Render a short test first if you are unsure, then check that test in the target player or destination before rendering the full project. This is a reproducible check, not a guarantee of compatibility with any particular service.
If Your Webm File Will Not Open, Export, or Play
Work out which stage fails before changing formats:
- It will not import: Check that the file plays outside the editor. Confirm that the editor documents support for WebM and, if available, inspect the file’s video and audio encodings. A supported extension does not establish support for every file variant.
- It imports but editing or preview fails: Try a short section and check whether the problem is repeatable. Reopen the source and project, and consult troubleshooting instructions for your editor version. Avoid treating one failed file as proof that all WebM files are unsupported.
- Rendering fails or there is no WebM output option: Confirm the selected output profile and destination path. If rendering fails, check the editor’s render log or troubleshooting documentation. If WebM output is not offered, do not assume renaming another format’s file will convert it.
- The export exists but will not play in the intended destination: Test it in another player, then compare the destination’s documented format requirements with the actual export settings. If it plays elsewhere, investigate destination support; if it fails everywhere, revisit the render and source.
- Consider conversion only as a workaround: If the editor cannot handle the source but another tool documents support for it, make a converted copy and test that copy in the editor. Conversion is not a guaranteed fix: check the converted file before editing, and compare the result with the original. Keep the original unchanged in case the workaround does not help.
The practical rule is simple: verify import, timeline editing, and export separately, and test the final file where it will actually be used. That avoids mistaking partial format support for a complete WebM workflow.