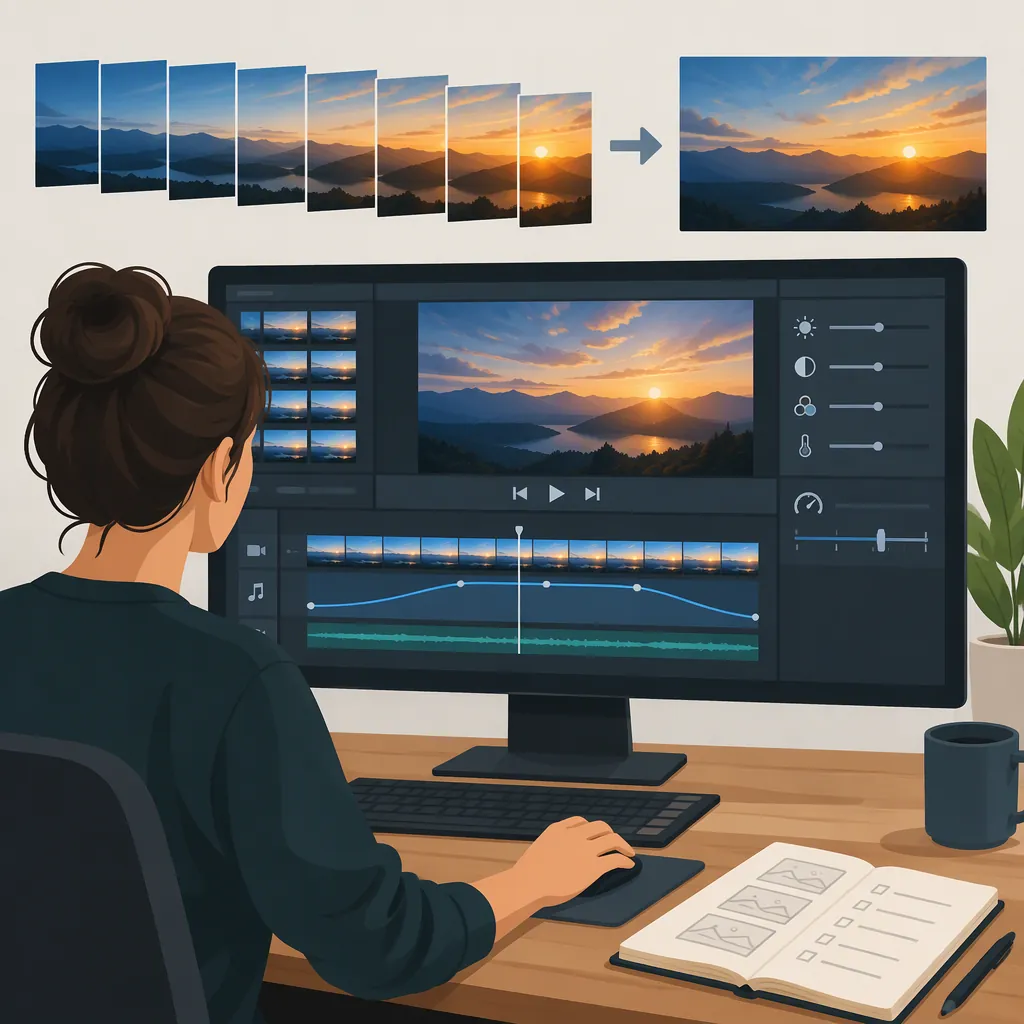
How to Choose and Use a Timelapse Editor
A timelapse editor helps compress a long event into a shorter video. For continuous footage, look for trimming and playback-speed controls. For photographs taken at intervals, look for image-sequence assembly and suitable export options. Choose the workflow that matches your source material rather than assuming every editor handles both. [ref_1] [ref_2]
Start with Your Source Material
Time-lapse can describe two related workflows: playing photographs captured at regular intervals as a video, or accelerating an existing video to create a time-lapse effect. The supplied references discuss both approaches. [ref_1] [ref_2]
Before choosing an editor, identify what you actually have:
- Continuous video: Plan to trim the recording and increase its playback speed.
- A series of photographs: Check whether the editor can assemble still images into a video sequence.
- An already-finished time-lapse: Treat it as an existing video clip and decide whether it needs trimming, pacing changes, or integration into a longer edit.
Do not assume that a video speed control also provides image-sequence import. These are separate capabilities to verify.
Source-Material Worksheet
Source type: continuous video / photographs / finished time-lapse
Files available: ____
Event or change to show: ____
Desired finished duration: ____
Need image-sequence assembly: yes / no
Need speed changes within a clip: yes / no
Choose Features That Match the Job
Use your intended edit as the selection criteria. The Roxio guide identifies photo import, still-image assembly, interface usability, editing tools, and export options as considerations when choosing time-lapse software. [ref_2]
For a straightforward video edit, check for trimming, cropping, and adjustable playback speed. For a photograph-based project, check image-sequence handling and whether you need batch adjustments. For a sequence whose pace changes over time, check whether speed can vary within the clip rather than only across the entire clip. Whole-clip and variable-speed approaches are described in the supplied time-lapse tool reference. [ref_1]
Also verify the output format required for your destination. Treat these references as workflow guidance, not as a comprehensive comparison or confirmation of current pricing, compatibility, or export restrictions.
Editor Evaluation Checklist
- [ ] Accepts my source files
- [ ] Supports still-image assembly if needed
- [ ] Provides trimming and speed controls
- [ ] Supports variable speed if the edit requires it
- [ ] Provides photo adjustments if needed
- [ ] Exports in my required format
- [ ] Has clear documentation for the intended workflow
- [ ] Has acceptable current costs and export restrictions
Plan the Duration Before Adjusting Speed
Time-lapse compresses an extended event into a shorter viewing period. [ref_2] Start with a target duration, then use the following arithmetic to estimate the settings you need.
For continuous video at a constant speed:
Output duration = trimmed source duration ÷ speed multiplier.
For example, a 120-second clip played at 6× speed lasts 20 seconds. This is a calculation example, not a claim about any editor's supported speed range. The estimate assumes no extra holds, transitions, or variable-speed segments.
For a sequence that displays each photograph for one output frame:
Output duration = photograph count ÷ output frames per second.
For example, 300 photographs at 30 frames per second produce 10 seconds of video under that assumption. Confirm how your editor assigns image duration; importing photographs does not necessarily mean each image receives one frame.
Duration Calculation Template
Continuous video:
Trimmed duration in seconds: ____
Target duration in seconds: ____
Required constant-speed multiplier = trimmed duration / target duration

Photograph sequence:
Photograph count: ____
Output frames per second: ____
Estimated duration = photograph count / output frames per second
Assumption: each photograph occupies exactly one output frame.
Build the Edit in a Clear Sequence
For continuous footage, the supplied tool reference describes an upload, timeline speed adjustment, and export workflow. [ref_1] A neutral editing sequence is:
- Import the material. Confirm that you are working with the intended files.
- Trim the useful interval. Choose where the visible change begins and ends.
- Set an initial pace. Use your duration estimate as a starting point.
- Preview the whole sequence. Judge whether the event remains understandable at that speed.
- Refine only where needed. Consider variable speed if different portions need different pacing; otherwise, keep the timing simple.
- Add supporting elements selectively. Use text or audio only when they serve the explanation.
- Export a review copy. Watch the exported file before treating the project as complete.
For photographs, replace the playback-speed step with image-sequence assembly and duration settings. The Roxio guide discusses assembling still images and batch editing as relevant capabilities, but it does not establish one universal procedure for every editor. [ref_2]
Review the Result and Its Limitations
Export compatibility is one of the selection considerations in the Roxio guide. [ref_2] Beyond choosing a format, use a final viewing pass to assess the actual result rather than relying only on timeline settings.
Check whether the main change is easy to follow, whether the first and last moments feel intentional, and whether any text stays visible long enough to read. If you retained source audio, listen to it in the exported file and decide whether it belongs in the edit.
Slowing a time-lapse changes its playback duration, an approach described in the supplied tool reference. [ref_1] Do not interpret that as evidence that it reconstructs the original event in full detail. The references do not establish recovery of uncaptured moments or guarantee smooth slow playback.
Final Review Checklist
- [ ] The event is understandable at the chosen pace
- [ ] The opening and ending are intentional
- [ ] Any text is readable
- [ ] Any retained audio suits the edit
- [ ] The exported file plays as intended
- [ ] The output format meets the destination requirements
- [ ] The edit does not imply detail absent from the source
FAQ
Can I Make a Time-Lapse Effect from Ordinary Video?
Yes. Increasing the playback speed of an existing video can create a time-lapse effect. The supplied tool reference describes this approach. It is a different source workflow from assembling photographs captured at intervals. [ref_1]
What Should a Timelapse Editor Support for Photographs?
Look for still-image assembly, suitable photo import, and the export options your project needs. Batch photo editing may also matter if you need to adjust many images. Verify those capabilities directly rather than assuming they are included with video speed controls. [ref_2]
Can a Finished Time-Lapse Be Returned to Normal Speed?
You can slow its playback, as the supplied tool reference explains. However, that source does not establish that slowing restores all the detail of the original event. Distinguish a longer playback duration from a full reconstruction of the original recording. [ref_1]
Sources
-
[ref_1] Time Lapse Video Editor
-
[ref_2] Time-Lapse Video Maker | Roxio