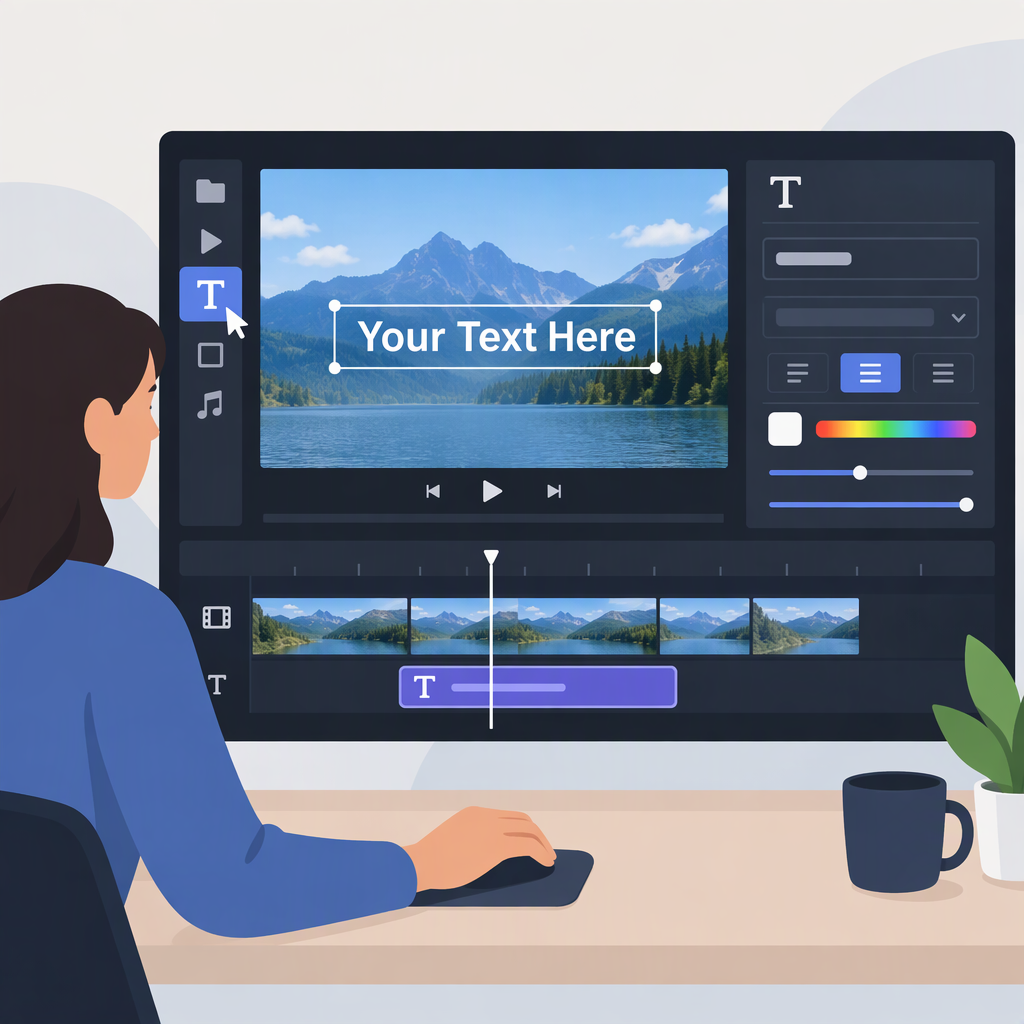
Video Text Editor: How to Add Text to a Video
A video text editor can mean a video-editing tool or workflow for creating text-led videos or placing text over footage. First decide which job you need to do: make text the main visual, add a title or label to existing footage, or show what people say in the audio. Then add and time the text, preview it against the moving image, and check the finished video before sharing.
Choose the Kind of Text You Need
- Text-led video: Text is the main visual content—for example, a short announcement built from a sequence of message cards, with a background or simple graphics.
- Text overlay: Text appears on top of existing footage—for example, a location label over a shot of a trail.
- Captions or subtitles: Text communicates spoken words and, when needed, other audio information. W3C describes captions as synchronized with the audio and intended to make audio content available to people who are Deaf or cannot hear it. A decorative title or brief summary does not do that job by itself. (w3.org)
These uses can appear in the same video, but they solve different problems. If viewers need to understand speech without hearing it, plan captions or subtitles as well as any titles or labels.
A Tool-Neutral Workflow for Adding Text
Editors use different names and controls, so treat these as general steps rather than instructions for a particular app.
- Decide what the text must do. Write the title, label, or short message before editing. Keep the wording focused on one purpose, such as identifying a speaker or introducing a topic.
- Add a text or title element. Look for the editor’s text feature. Depending on the tool, text may appear as a layer, clip, or other element in the editing timeline. In one documented example, Adobe’s Firefly video editor places text on the timeline, where the text element can be moved or its duration adjusted. Other editors may work differently. (helpx.adobe.com)
- Place and style it. Position the text where it is easy to see without covering an important face, object, or action. Choose a style that remains distinct from the footage.
- Set when it appears and disappears. Adjust the text’s timing to match the moment it refers to. For example, a location label should appear with the relevant shot, not before it or after the scene changes.
- Preview it with the video. Watch the text over the actual footage, including moments when the background changes. Check that the wording is readable, the placement still works, and the text is on screen long enough to serve its purpose.
- Revise and review the whole clip. Make corrections, then play the video from beginning to end. A title that looks clear on one frame may be hard to read over another.
Check Readability and Purpose
Use these practical checks while previewing; they are not numerical standards:
- Contrast: Can you distinguish the text from both light and dark parts of the image it crosses?
- Placement: Does it avoid important visual information, and does it stay comfortably within the visible frame?
- Amount: Can a viewer take in the wording without having to pause or reread it?
- Timing: Does the text appear at the relevant moment and remain visible long enough to understand?
- Changing footage: Does it remain legible as the scene, lighting, or background changes?
- Purpose: Is this a title or label, or is it meant to represent speech? If it is meant to convey speech, use captions or subtitles rather than relying only on a separate overlay. W3C’s guidance describes captions as synchronized text for audio content. (w3.org)
There is no single font size, display duration, or placement that works for every video. Check the actual preview at a size and on a screen similar to how your audience is likely to watch it.
Review Before Sharing
Play the final video from start to finish and confirm that text appears at the intended moments, stays readable over the footage, and is not cut off in the final frame. If you are using captions, review their wording and synchronization separately from titles and labels.
This guide does not prescribe a file format, resolution, or framing setting: those depend on the editing tool and the destination. If you need a specific export setting, consult the current instructions for the editor and platform you plan to use.