How to Edit Mov Files
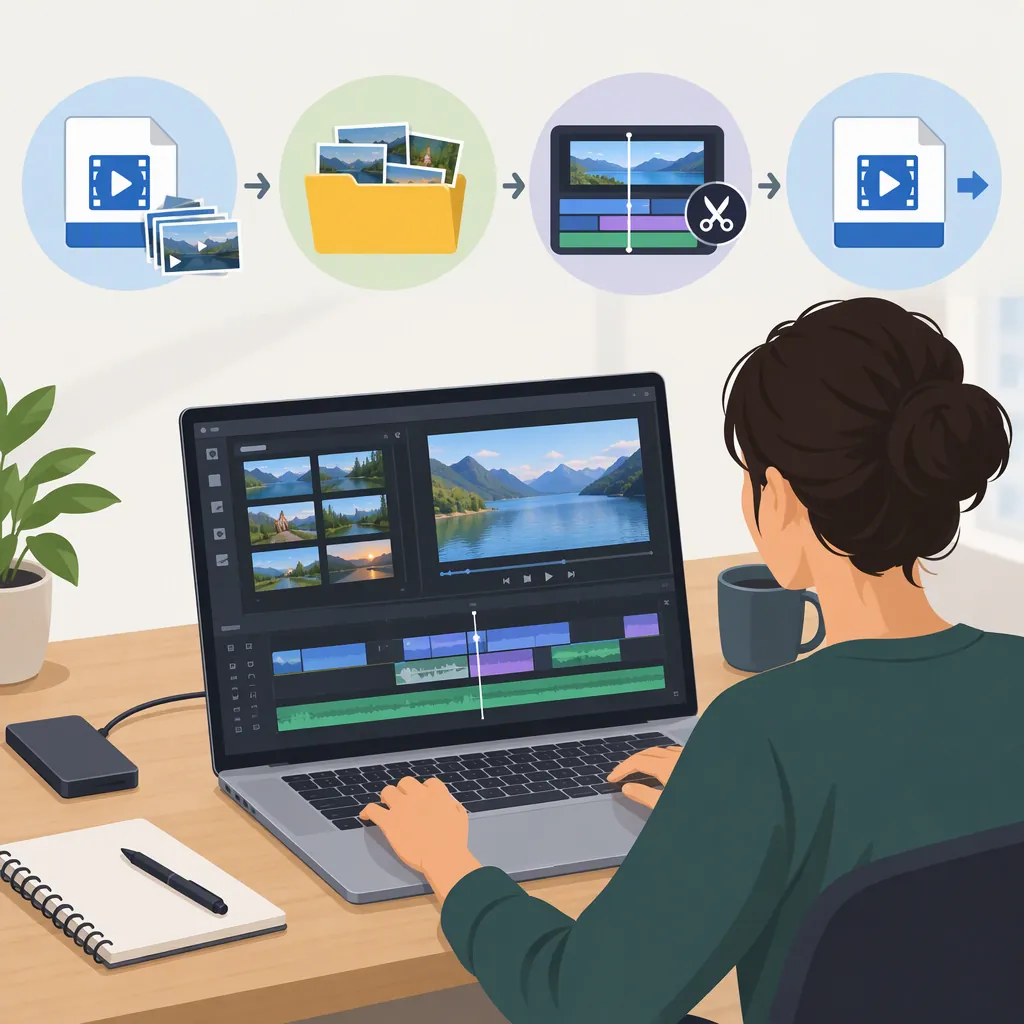
To edit MOV files, import your footage into a compatible video editor, arrange it on the timeline, trim unwanted sections, adjust framing and audio, then export and review the result. This import–edit–export workflow is described in the Clideo and 123apps MOV editing guides. Test your actual file first: support for MOV import does not establish compatibility with every recording or guarantee MOV export. [c1] [c2] [c3]
Check Compatibility Before You Start
MOV is a container format. Treat the .mov extension as a starting point, not a guarantee that an editor will handle your footage. Movavi's guide notes that codec availability can depend on the operating system, device, and system configuration. [c3]
Before building a project, import one representative clip. Check whether the picture appears, the audio plays, and playback behaves as expected. Then make a short test export and open it where the finished video will be used.
Keep the original recording unchanged and save the finished video under a separate filename. If you specifically need a .mov output file, check the editor's export options before spending time on the edit. Import support and output support are separate things to verify.
If the Mov File Will Not Import Correctly
Use this troubleshooting sequence before deciding to convert the file:
- Record the symptom. Note the exact error message, or whether the problem is missing picture, missing sound, or interrupted playback.
- Inspect the file's media information. If your editor, player, or file-information utility exposes it, note the video and audio codecs—not just the
.movextension. - Compare those details with the editor's current support documentation. Check the requirements for your operating system and application version. Codec availability can vary with the system. [c3]
- Decide whether conversion is necessary. If the original file is unsupported, choose a conversion output that the editor documents as compatible, then test a short sample before converting all your footage.
Renaming .mov to .mp4 is not a conversion: it does not change the encoded media inside the file. Keep the original regardless of the troubleshooting or conversion steps you take.
Pre-Edit Checklist
- Keep an unchanged copy of the source MOV file.
- Import a representative clip.
- Check picture, sound, and playback.
- Confirm that the required output format is available.
- Export a short test and open it where the finished video will be used.
Import, Trim, and Arrange Your Clips
MOV editing workflows commonly begin by adding media to a timeline, arranging clips, and adjusting their lengths before saving or exporting. The Clideo and 123apps guides describe these steps. [c1] [c2]
Button names and controls vary between editors. Use the following as an editing plan rather than a set of application-specific commands.
1. Import and Arrange the Media
Add the MOV footage and any images or audio you intend to use. Place the clips on the timeline in the order that tells the story or explains the subject. Play the sequence once before making detailed adjustments.
2. Trim the Beginning and End
Trimming the edges removes material from the start or finish of a clip.
Where the editor provides draggable trim handles, select the timeline clip and move its starting edge inward to remove the opening material. Move its ending edge inward to remove the closing material. Preview both boundaries to make sure you have not cut off a word or useful action.
For example, if a recording begins with several seconds of setup before someone speaks, trim the starting edge to just before the speech begins.
3. Remove an Unwanted Middle Passage
Removing material from the middle usually calls for two cuts rather than an edge trim. Where splitting controls are available:
- Move the playhead to the beginning of the unwanted passage and split the clip.
- Move it to the end of that passage and split again.
- Select and delete the isolated middle segment.
- Check whether deletion left an empty gap. If the sequence should continue immediately, close the gap using the editor's available controls.
Some editors close gaps automatically; others require you to move the following clip. Check the timeline rather than assuming either behavior.
4. Review Each Join
Play across every edit. Listen for clipped words and check for abrupt visual changes, missing information, or unintended gaps. If speech and picture were separated during editing, also check that they remain aligned.
Adjust Framing, Audio, and Text
The referenced workflows describe cropping, rotating, changing speed, adjusting volume, and adding text; Clideo also describes color adjustments. The available controls depend on the editor. [c1] [c2]
Make these adjustments after the main sequence is in place:
- Framing: Decide what must remain visible before changing the crop or aspect ratio. Review every shot after reframing, especially those with subjects near the edges.
- Orientation: Check whether a clip needs rotation before making further visual adjustments.
- Audio: Listen through the full sequence. Adjust levels deliberately, especially where speech and music overlap, and check that important speech remains understandable.
- Text: Check spelling, placement, and timing. Preview text at the intended viewing size and make sure it does not obscure essential content.
- Speed and color: Apply changes only where they serve the content, then compare the result with the original.
This is a review checklist, not a promise that every application includes every control.
Export and Check the Finished Video
After editing, save or export the finished video. The Clideo guide also explicitly recommends checking the processed preview before downloading. [c1] [c2]
Check the Export Settings
Use the destination's requirements when they are available. Otherwise, use the project or source settings as a starting point and make a short test export rather than assuming there is one best preset.
| Setting | What to check |
|---|---|
| Container format | Confirm whether the destination requires MOV, MP4, or another format. Importing MOV does not mean the output must—or can—also be MOV. |
| Video and audio encoding | If the editor exposes codec choices, check that the selected video and audio codecs are accepted by the destination. The container choice alone does not settle compatibility. |
| Frame dimensions | Check the output width and height in pixels against the intended use. |
| Aspect ratio | Confirm that the output has the intended shape and that cropping or borders have not changed the composition unexpectedly. |
| Frame rate | Check whether the destination specifies a frame rate. If not, begin with the project's setting and review motion in a test export. |
| Audio | Confirm that audio is included when needed and that any exposed audio settings meet the destination's requirements. |
Available settings differ by editor. If a required option is absent, verify the editor's current capabilities before proceeding. No setting in this checklist guarantees lossless output or preservation of every source property.
Review the Exported File
Open the actual exported file—not only the timeline preview—and check:
- The first and last frames.
- Every cut and transition.
- Unintended gaps or missing footage.
- Cropping and text placement.
- Speech, music, and audio timing.
- The file format and playback in the intended destination.
If you find a problem, correct the project or export settings and test again before exporting the full sequence.
Evidence limitation: The cited references are vendor-authored pages, not independent compatibility tests. They do not establish that your specific recording will import correctly or that an export will preserve all its properties. Test the actual file and confirm current limits before relying on a workflow.
FAQ
Can Mov Files Be Edited?
Yes. The cited guides describe importing MOV footage, editing clips on a timeline, and exporting a finished video. Compatibility still needs to be checked with your actual file and system. [c1] [c2] [c3]
Can I Edit Mov Files in a Browser?
The Clideo and 123apps guides describe browser workflows for uploading MOV files, making timeline edits, and saving or exporting the result. [c1] [c2]
Before uploading sensitive footage, review the service's current handling policies. These references do not establish privacy protections or retention practices.
Do I Need to Convert Mov to Mp4 Before Editing?
Not necessarily. The cited editing workflows begin by importing MOV footage directly. First test whether your editor can use the original file. [c1] [c2]
If it cannot, record the error, inspect the video and audio codec information, and compare it with the editor's supported formats before choosing a conversion workflow. Codec availability can vary with the operating system and system configuration. Keep the original file unchanged. [c3]
What Is the Difference Between Trimming and Cutting a Mov Clip?
Trimming adjusts a clip's beginning or end. To remove an unwanted middle passage, use splitting or cutting controls where available to isolate that passage, delete it, and check for a remaining gap. The cited guides describe trimming, changing fragment lengths, and making timeline cuts, although the controls differ between editors. [c1] [c2]
Does Editing a Mov File Mean I Must Export It as Mov?
No. The input format and output format are separate choices. The cited workflows end with selecting save or export options, but they do not establish that every editor can produce the MOV output you need. Check the available formats and test the result in its intended destination. [c1] [c2]