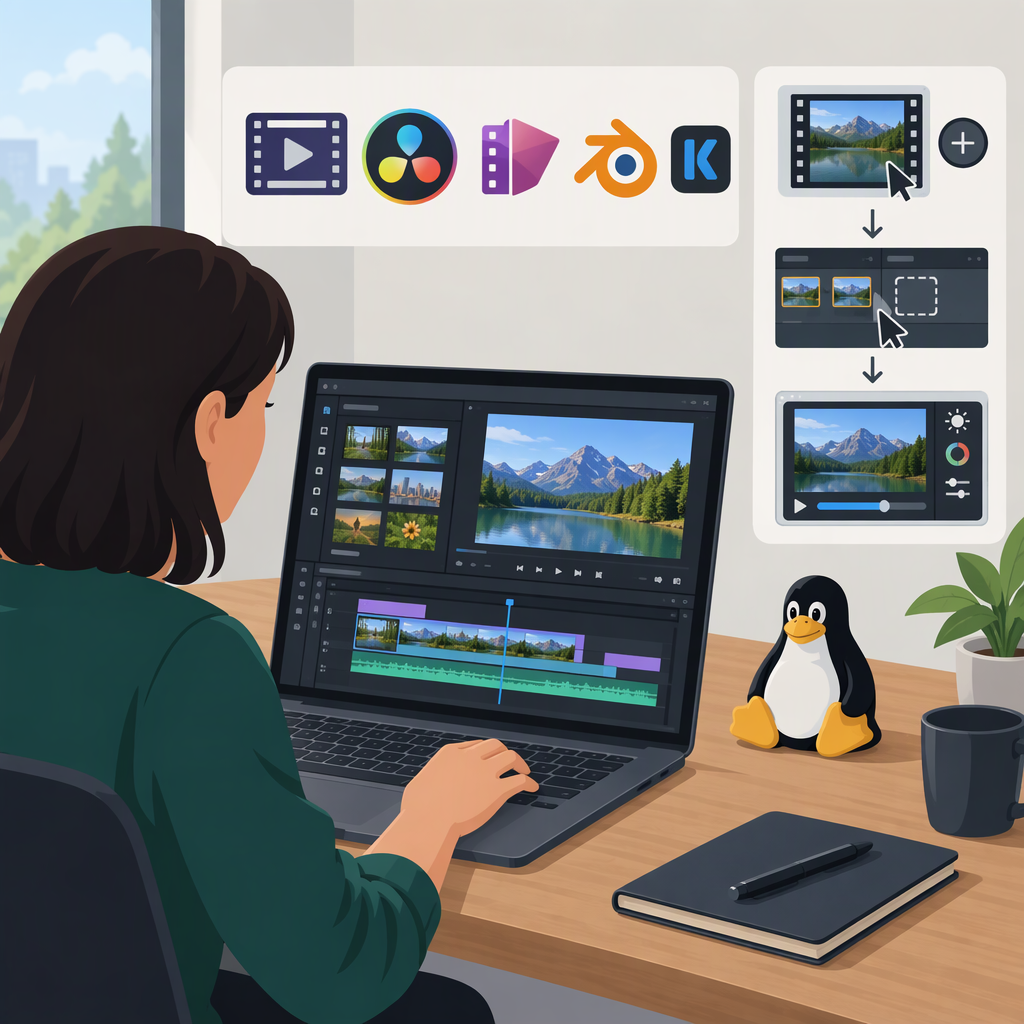
Linux Video Editing: How to Choose a Workflow and Get Started
The right video-editing workflow on Linux depends on your distribution and version, computer, footage, editing needs, and where the finished video will go. Before starting a full project, check those requirements and try a short import, edit, preview, and export. This guide provides a neutral checklist and a basic editing sequence without ranking or recommending specific software.
Choose a Workflow That Fits Your Linux Setup and Editing Needs
Use these questions to narrow your options and to know what to check in the documentation for any editor you consider:
- Which Linux distribution and version are you using? Record both; compatibility and installation instructions can depend on them. The
os-releasespecification describes a standard file that carries operating-system identification data on many Linux systems. (freedesktop.org) - What is your computer setup? Note the processor, memory, graphics hardware, available storage, and display setup. Compare these details with the requirements documented for the workflow you choose rather than assuming one set of requirements applies to all Linux systems.
- What footage do you need to edit? Gather representative sample clips and note their file types, dimensions, frame rates, and audio. A file’s container and the video or audio streams inside it are distinct details, so checking only the filename extension may not answer every compatibility question. The Library of Congress’s format descriptions explain that video formats can have different characteristics and structures. (loc.gov)
- What do you need to make? A straightforward sequence of trimmed clips has different demands from a project with many tracks, titles, layered effects, or extensive audio work. List the tasks you actually expect to do.
- How much guidance do you want? Consider whether you prefer a simpler set of controls or are willing to learn a more involved workflow. Check that the instructions and learning materials you plan to rely on match your setup and software version.
- What other constraints matter? Consider license terms, cost, installation method, and whether you need to exchange project files with someone else. Verify these details in applicable documentation; this guide does not compare products or prices.
A useful shortlist is one where each candidate’s documented requirements and workflow match your setup, sample footage, intended tasks, and constraints. If a key requirement is unclear, treat it as an open question—not as proof that the workflow will or will not work.
Test Your Setup and Footage Before Starting a Full Project
A small preflight can reveal practical issues before you invest time in a longer edit. Keep the test project separate from important originals.
- Record your setup. Write down the Linux distribution and version, computer details, and how you plan to install or access the editor. Look up requirements that apply to that specific combination.
- Choose representative footage. Use copies of clips typical of your project, including any unusual camera, phone, screen-recording, audio, or high-resolution material you expect to use.
- Create a short test project. Import a few clips, put them in sequence, trim one, and add only a small element you know you need, such as a title or music track.
- Preview the result. Check that the clips and sound behave as expected during playback. Note any problem and the clip or action associated with it.
- Export a short sample. Choose a destination and output requirements before selecting export options. Open the resulting file in a suitable player or destination workflow and check picture, sound, duration, and playback.
- Decide against your real needs. The test is useful if it covers the footage and tasks your project depends on. A successful test with one ordinary clip does not establish that every format or feature you might use will work.
For example, if a project needs phone footage, a voice track, titles, and an online delivery copy, make sure the sample test includes those elements. If any fail, check the documentation for the exact editor version, installation channel, distribution, and footage involved before changing the whole project workflow. No compatibility test is claimed here; your results will depend on that specific setup.
Follow a Basic Workflow from Footage to Export
- Organize and protect the source files. Keep original footage unchanged, make a backup, and place project media in clearly named folders. This makes it easier to find sources and recover from mistakes.
- Create a project and import media. Start a project for the intended edit, then import the clips and audio you plan to use. Confirm that the media appears and that representative clips can be previewed.
- Review and arrange the clips. Identify the usable moments, put them in a deliberate order, and trim unnecessary beginnings, endings, or pauses.
- Add only what the edit needs. Balance or place audio, add titles, and make adjustments required for clarity and continuity. Keeping the first pass simple makes it easier to spot what still needs work.
- Preview the complete sequence. Watch from beginning to end. Check pacing, cuts, titles, sound, and whether anything is missing. Make corrections before exporting.
- Set export options for the destination. First find out what the intended platform, recipient, or archive requires. Resolution, frame rate, codec, and bitrate are not universal settings: they should be chosen for the source material and delivery need. These are meaningful video parameters; for example, an ITU recommendation on streaming-video quality assessment considers resolution, frame rate, and bitrate. (itu.int)
- Export and inspect the result. Save to the intended location, then open the exported file and check the entire video, including its ending and audio. If it does not meet the delivery requirement, consult documentation for the selected workflow and adjust the relevant settings.
A project file and an exported video serve different purposes: the project is the editable work in progress, while the export is the rendered file intended for viewing or delivery. Keep the project and its media together if you may need to revise the edit later.
If Import, Playback, or Export Does Not Work as Expected
- Import issue: Confirm the exact file and its properties, then check whether documentation for your selected workflow covers that footage. Do not assume the extension alone establishes compatibility.
- Playback issue: Try a short representative clip and note whether the problem occurs during import, preview, or only after export. Compare your setup with the applicable requirements before changing system components.
- Export issue: Recheck the destination requirements, available disk space, output location, and export settings. Test changes on a short sample rather than replacing a finished export without review.
When asking for help, include your distribution and version, computer details, editor version and installation method, a description of the footage, the step that failed, and any error message. Those details make it easier to find guidance that applies to your situation.