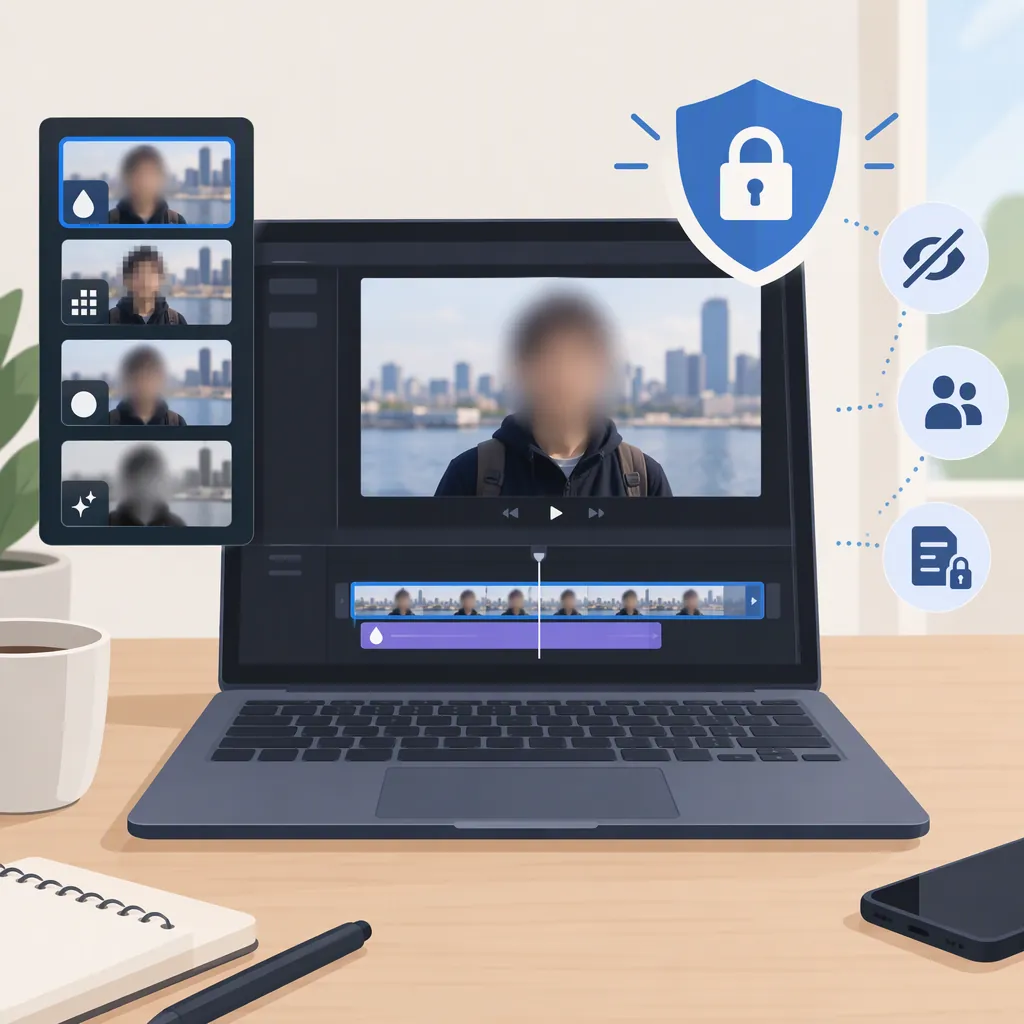
How to Use a Blur Video Editor for Effects and Privacy
To use a blur video editor, decide whether to soften the background or conceal a specific detail. Apply blur or pixelation to the intended area, adjust its strength and duration, and keep the coverage aligned as the subject moves. Before sharing, inspect the exported video at normal speed and frame by frame around cuts and large movements. A visually pleasing blur is not enough to establish that sensitive details remain concealed. [c1] [c2]
Choose Between Creative Blur and Concealment
Start with the purpose of the edit rather than the effect name.
- Creative blur: Soften distracting surroundings while keeping the intended subject recognizable.
- Concealment: Cover a face, name, message, license plate, or screen detail throughout its appearance.
- Whole-frame styling: Apply a blur treatment across the clip when no part needs to remain sharp.
CapCut’s supplied guidance distinguishes privacy masking, which needs continuous coverage, from a softer aesthetic background treatment. It also recommends checking that the subject remains understandable. [c1]
For a privacy-related edit, make coverage the acceptance criterion—not whether the effect looks subtle. If a sensitive detail remains visible during any part of the shot, revise the edit before sharing.
Look for Controls That Match the Shot
Use the following as a selection checklist, not a ranking of editors:
- Area selection: Can you isolate the detail without obscuring the entire image?
- Strength: Can you adjust the blur or pixelation enough for the intended result?
- Duration: Can the effect cover the full interval when the detail appears?
- Movement: Is tracking available, and can you correct coverage when necessary?
- Multiple areas: Can you handle separate details in the same frame?
The Blur-Video App Store description lists ellipse and rectangle selections, multiple blur areas, duration and intensity controls, and automatic tracking. It places unrestricted tracking and feathering among PRO features. [c3]
The Blur Video and Photo Editor Google Play description lists rectangles or custom shapes, multiple areas, duration controls, tracking, and a choice of blur, pixelation, or color. These are listing descriptions, not independently verified performance results. [c4]
Check feature access in the version you intend to use. Do not assume that a tool’s advertised tracking will keep every detail covered without review.
Apply Blur to the Intended Area
A practical editing sequence is to select the clip, choose the effect, set the coverage, and then review its timing.
For a whole-clip effect, VEED’s guide describes selecting the video on the timeline and adjusting blur under Adjust, or choosing an effect such as Box Blur, Pixelate, or Bokeh Blur under Filters. [c2]
For a partial blur, the same guide describes a layered method:
- Duplicate the video and place one copy above the other.
- Apply blur to the upper copy.
- Crop the upper copy to isolate the area that needs blurring.
- Leave the lower copy clear. [c2]
Treat that as a starting arrangement, not proof of coverage for a moving subject. Review the complete shot and change the covered area when the subject moves outside it. CapCut’s guidance recommends adjusting coverage, splitting the clip, or choosing another approach when a fixed blur no longer covers the target. [c1]
Exact control names and available workflows depend on the editor; the steps above describe the supplied VEED guide rather than a universal interface.
Check Motion, Edges, and Transitions
A blur that covers the opening frame may not cover the rest of the shot. CapCut’s guidance specifically calls for checking movement, camera reframing, mask margins, and transitions. [c1]
Leave enough coverage around the detail to account for the widest movement in the clip. Inspect turns, changes of direction, entrances and exits, and any point where the camera reframes. For faces, check the forehead, chin, and profile rather than only the center of the face. [c1]
Use the checklist below on the exported file as well as the editing preview. This is a review procedure, not a certification of anonymity.
Export Review Checklist
- [ ] Watch the complete exported clip at normal speed.
- [ ] Inspect the first and last frame of each affected shot.
- [ ] Step through every cut and transition involving a sensitive detail.
- [ ] Pause around the largest subject and camera movements.
- [ ] Confirm that each separate sensitive area remains covered.
- [ ] Check that no face, name, number, or screen detail appears before the effect begins or after it ends.
- [ ] Revise exposed areas and repeat the review after exporting again.
Keep Tool and Privacy Limitations Visible
Feature descriptions establish what providers advertise, not how reliably a particular clip will be processed. The supplied sources do not provide an independent comparison of tracking accuracy or concealment effectiveness.
Also separate the privacy of the edited image from the editor’s handling of data. Apple’s listing says its app privacy information is developer-provided and has not been verified by Apple. Google Play likewise identifies its data-safety information as developer-provided and notes that practices may vary. [c3] [c4]
Before using sensitive footage, review the selected tool’s current privacy information and available processing options. Do not infer local-only processing, deletion guarantees, or confidentiality from the presence of a blur feature. The blur instructions cited here do not establish those assurances.
FAQ
How Do I Blur Only Part of a Video?
Use an area selection if your editor offers one, or use a layered workflow. VEED’s guide describes duplicating the clip, blurring the upper copy, and cropping it to the intended area while keeping the lower copy clear. Check the coverage throughout the shot if the detail moves. [c2] [c1]
Can Automatic Tracking Keep a Moving Face Blurred?
The supplied mobile app listings advertise tracking, but they do not establish reliable coverage for every clip. Review the full shot, especially turns and large movements. If the face leaves the covered area, adjust the coverage, split the clip, or use another approach. [c3] [c4] [c1]
Should I Blur the Background or the Face?
Blur the background when the subject should remain recognizable and surrounding detail is distracting. Cover the face when that is the detail you intend to conceal. CapCut’s guidance treats these as different purposes and recommends continuous coverage for privacy-related masking. [c1]