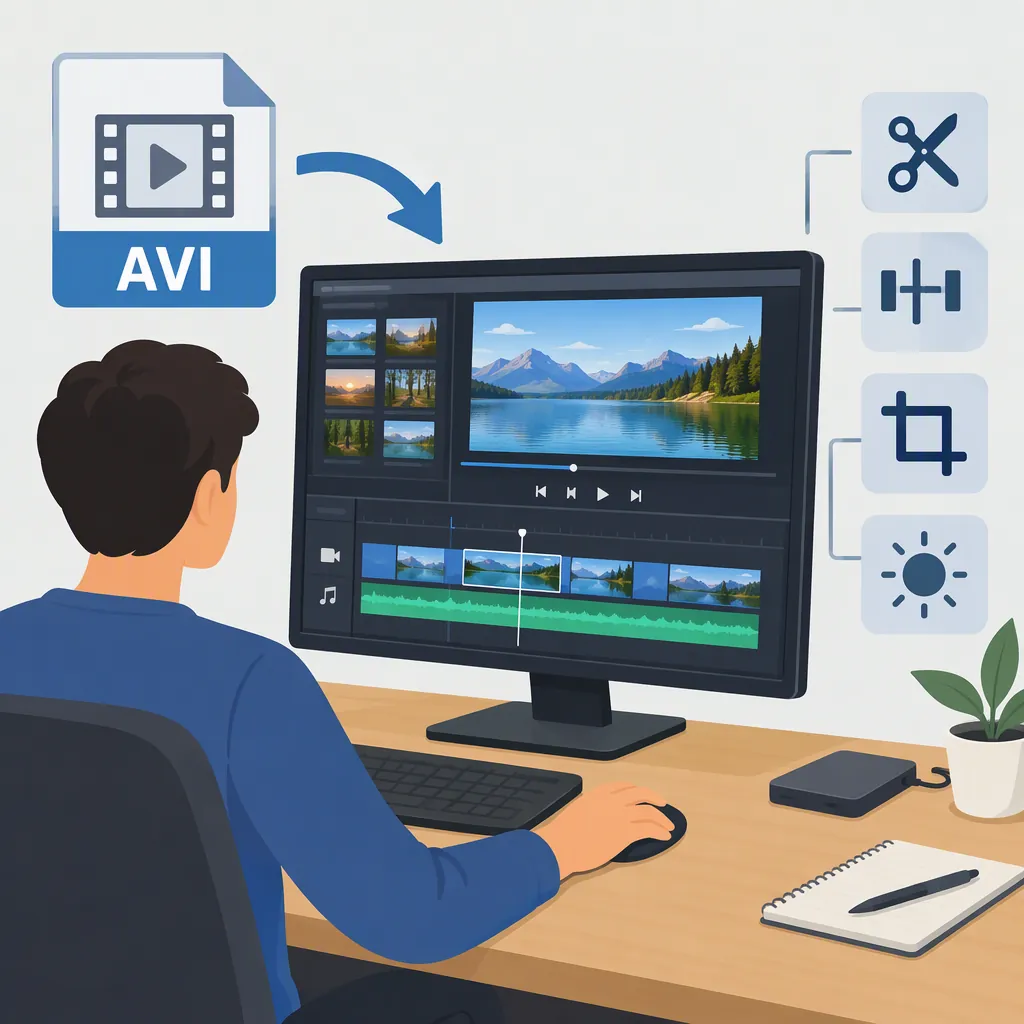
Avi Editor: How to Edit Avi Video Files
To edit an AVI video, test that your editor opens the actual file with working picture and sound. Then place it on a timeline, trim or split unwanted footage, adjust visuals and audio as needed, and export to the required delivery format. Importing AVI and exporting AVI are separate requirements: an editor may accept an AVI source but produce a different output format. [avi-online] [avi-mac]
What to Check Before Choosing an Avi Editor
AVI is a multimedia container that stores video and audio. The references describe importing AVI footage, editing it on a timeline, and exporting a finished video. [avi-online] [avi-mac]
The container is not the same as the encoding inside it. A codec encodes or decodes a video or audio stream. Two files ending in .avi can contain differently encoded streams, so the extension alone is not a sufficient compatibility test.
Before choosing an AVI editor, define these requirements:
| Requirement | What to check |
|---|---|
| Source files | Can the editor open your actual AVI files with both picture and sound? |
| Editing tools | Can you trim, split, rearrange clips, and make the text or audio changes you need? |
| Delivery | Must the finished file remain AVI, or is another format acceptable? |
| Output settings | What resolution, frame rate, and audio requirements must the finished video meet? |
| Working environment | Does the workflow suit your operating system, upload restrictions, and privacy requirements? |
Test a short representative clip before committing to the full project. If your footage comes from several cameras or recording applications, test a file from each source.
Compare Desktop and Browser Workflows
Both desktop and browser-based workflows can follow the same basic sequence: import media, edit it on a timeline, and export the result. The references illustrate these approaches, but they do not provide an independent comparison of current editors. [avi-mac] [avi-online]
- Desktop workflow: Check the editor’s current supported-format documentation for your operating system. Test your files before beginning a long edit.
- Browser workflow: Check upload limits, available editing tools, output formats, and current data-handling terms. Do not upload sensitive footage unless you have permission and the workflow meets your privacy requirements.
Compatibility qualification: The Mac reference discusses older operating systems, including High Sierra and Lion, along with historical software information. It describes conversion for some incompatible AVI files, but it is not evidence of present-day compatibility, pricing, or universal format support. [avi-mac]
Choose based on your tested requirements—not claims that a tool is best, fastest, or most secure.
How to Edit an Avi Video Step by Step
The following procedure adapts the import, timeline-editing, and export sequence in the references. Exact controls and button names vary by editor. [avi-mac] [avi-online]
1. Preserve and Test the Source
Keep the original AVI unchanged and work from a copy. Import a representative file, then preview its beginning, middle, and end.
Check that:
- The picture appears and plays as expected.
- Audio is present where you expect it.
- Speech and visible actions remain synchronized.
- The clip’s displayed duration matches your expectations.
If something is wrong, resolve the import problem before building the full sequence.
2. Arrange the Clips
Place clips on the timeline in the intended order. Play through the joins to check that the sequence makes sense.
If a clip contains linked picture and sound, keep them together when moving it unless you intentionally want to edit them separately.
3. Trim Ends and Remove Internal Sections
Trimming removes material from the beginning or end of a clip; splitting lets you isolate sections within it. Both operations appear in the reference workflows. [avi-mac] [avi-online]
To remove an internal section:
- Move the playhead to the first frame of the unwanted section.
- Split the clip at that position.
- Move to the end of the unwanted section and split again.
- Select and delete the middle segment.
- Check whether the deletion left an empty gap. Close it if the remaining footage should play continuously.
- Preview across the join, listening for abrupt audio cuts and checking that picture and sound still align.
For an end trim, adjust the clip’s start or end boundary, then preview the new opening or ending.
4. Make Visual and Audio Adjustments
The references describe optional changes such as text, music, and visual effects. Add them only where they support the intended result. [avi-mac] [avi-online]
For text, check its wording, placement, readability, and on-screen duration. Preview it over the actual footage rather than judging it only in a settings panel.
For audio:
- Listen to the original track before changing its level.
- Adjust clip volume where needed, then replay the surrounding section to check for sudden loudness changes.
- If adding music beneath speech, reduce it until the speech remains clear.
- After moving or splitting clips, check synchronization again.
- Listen to transitions between clips for abrupt starts, stops, or unintended silence.
These are review steps, not a guarantee of a particular audio result.
5. Save the Project and Export a Sample
Save the editing project separately from the finished video so you can return to the sequence later.
Before exporting the full timeline, export a short section containing representative footage, an edit point, and any important text or audio changes. Check these settings against the delivery requirements:
- Output format: AVI if required; otherwise the accepted delivery format.
- Video encoding: A supported option for the intended playback or receiving workflow.
- Resolution: The required frame dimensions.
- Frame rate: The required frames per second.
- Audio: Audio enabled when needed, with the required channel and sample-rate settings if specified.
Do not assume the export settings are correct just because the source imported successfully.
6. Review the Finished File
Open the sample outside the editor. Check its picture, sound, synchronization, text, and transitions. Confirm the exported file’s properties as well as its appearance.
Once the sample meets the requirements, export the full sequence and review the beginning, middle, end, and important edit points.
Avi Editing Checklist
- Original AVI files are preserved.
- Representative files import with picture and sound.
- Unwanted sections are removed without accidental gaps.
- Text and audio changes have been previewed.
- Output format, resolution, frame rate, and audio settings are checked.
- A sample export has been reviewed outside the editor.
- The finished file has been checked.
Troubleshoot Avi Import and Export Problems
If the Avi Will Not Open Correctly
Record the error message and, where available, the file’s video codec, audio codec, resolution, and frame rate from its media-information or properties view. Compare those details with the editor’s current documentation—not just its list of accepted file extensions.
Check the same file in another playback application as a diagnostic step. If it plays there but not in the editor, that does not prove the editor supports its encoding.
Conversion is one possible workaround described in the Mac reference. [avi-mac] If it is necessary:
- Preserve the original.
- Choose a format and encoding documented as supported by the editor.
- Convert a short sample.
- Compare picture, sound, duration, and synchronization.
- Import and test that sample before converting the remaining footage.
Do not assume conversion will preserve quality unchanged or resolve every problem.
If the Required Export Format Is Missing
Check output support independently of input support. The online reference describes editing AVI sources and delivering another format, so an “AVI editor” label does not establish AVI export capability. [avi-online]
Export documentation note: The online reference’s main instructions mention MP4 or GIF, while its format FAQ says MP4 only. Verify the options in the current interface before relying on either statement. [avi-online]
If AVI delivery is mandatory, confirm a working AVI export route with a sample before completing the edit.
FAQ
Can I Edit an Avi File Without Converting It First?
Yes, if your editor successfully imports and edits that particular file. The references describe AVI import workflows, but also cases where conversion is needed; they do not establish universal compatibility. Test picture, sound, and a sample export before proceeding. [avi-mac] [avi-online]
What Should I Check If My Avi Imports Without Sound?
First, confirm that the source contains audible sound in another playback application. Then check whether the editor’s audio track is muted, its level is lowered, or the clip’s audio is missing from the timeline.
If audio still does not appear, record the source’s audio encoding and compare it with the editor’s supported-format documentation. If conversion is needed, test a short sample rather than processing the entire file immediately; conversion is a workaround described in the Mac reference, not a universal fix. [avi-mac]
Does an Avi Editor Have to Export Avi?
No. Editing an AVI source and delivering an AVI file are separate requirements. The online reference describes AVI editing with output in another format. If your recipient requires AVI, confirm that export option and test the resulting file before starting the full project. [avi-online]
How Do I Remove a Section from the Middle of an Avi Video?
Import the file and place it on the timeline. Split at the unwanted section’s start and end, delete the isolated segment, and close any unintended gap. Preview the join to check timing and audio continuity. Splitting and removing unwanted parts are included in the reference workflows. [avi-mac] [avi-online]
Sources
-
[avi-mac] AVI Editor for Mac: How to Edit AVI Files on Mac (High Sierra)
-
[avi-online] AVI Video Maker — Clideo