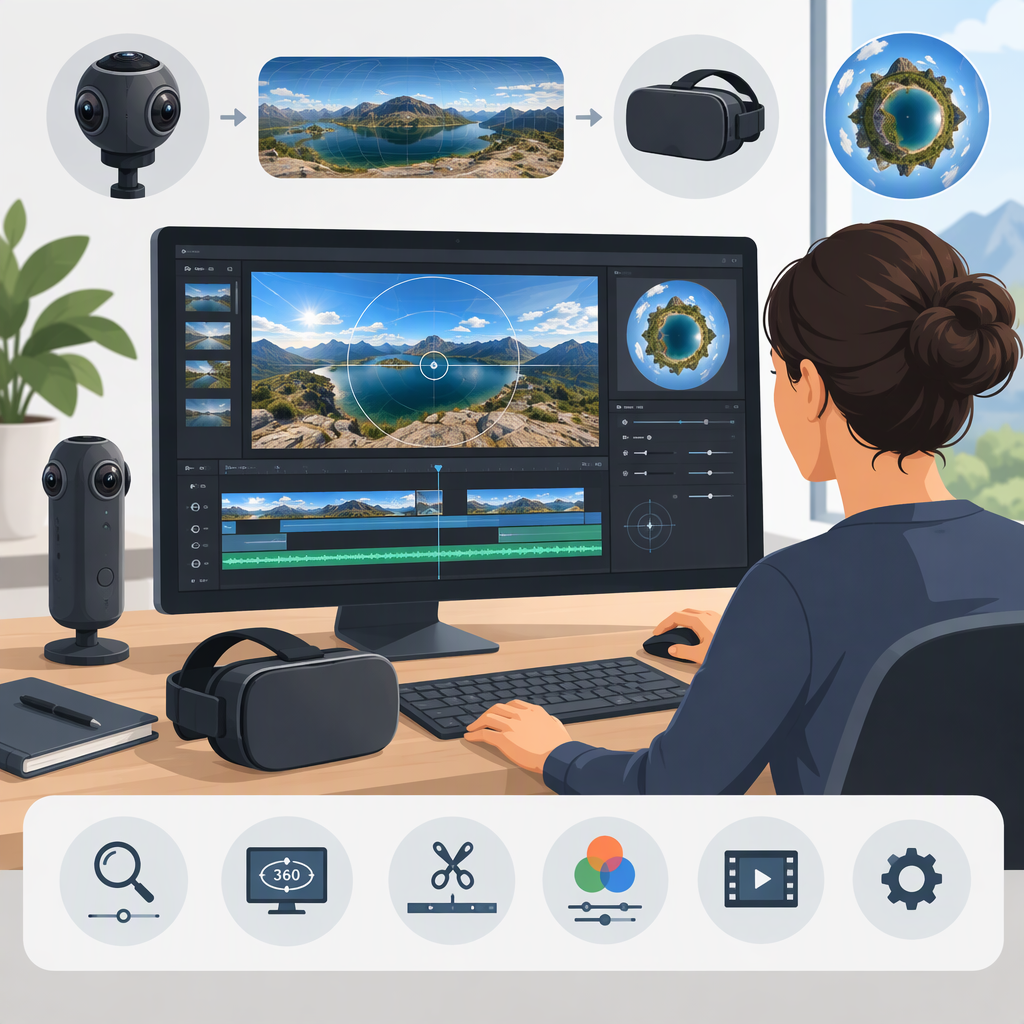
360 Video Editor: What to Look for and How to Edit 360° Footage
A good 360 video editor for your project is one that can handle your particular footage, let you preview the intended view, and export a file that works for your chosen destination. Before choosing, check its documentation for your camera’s source format, stitching or projection needs, and the output you want. Don’t assume that every editor supports every 360° format or preserves the information a 360° player needs.
A useful first decision is whether viewers should be able to look around the scene themselves, or whether you want to make a conventional flat video with a view you control. That choice affects how you edit and what you need to check before sharing.
What to Look for in a 360 Video Editor
Compare editors against your footage and intended output—not just a general “360” feature label:
- Input compatibility: Does the editor support your camera’s files as they are, or does your workflow require stitching or another preparation step? Camera footage may need stitching to combine separate lens views into a complete 360° image. The camera maker’s instructions are the place to check what your files require. (insta360.com)
- Correct 360° interpretation: Can you set or confirm the projection and layout that match your source? For example, Adobe’s documentation describes equirectangular projection and monoscopic layout as VR sequence properties, and gives a 2:1 clip as an example for monoscopic layout. That example is not a rule for every 360° file; check your footage and editor documentation. (helpx.adobe.com)
- A useful preview: Can you inspect the scene as a viewer would, by looking around, rather than judging it only as a flattened rectangle? This matters for checking the viewer-controlled experience in a 360° output and for choosing a view when making a flat reframe. (helpx.adobe.com)
- The output you intend to make: If you want an interactive 360° video, check that the editor and destination support the relevant output workflow. If you want a flat reframe, check that you can select and adjust the view. These are different deliverables, not simply different export-quality settings. (support.google.com)
- Destination-specific export guidance: Find the exact requirements for your chosen platform and file type in their documentation. Do not rely on a generic export preset or assume that an ordinary video export will retain 360° playback behavior. YouTube, for example, gives separate preparation and playback-check instructions for 180° and 360° uploads. (support.google.com)
If you cannot confirm a required capability in the documentation for the editor version you plan to use, treat it as unconfirmed. Verify it with a representative source clip or choose a workflow whose requirements you can establish before editing the full project.
Choose: Immersive 360° Video or Flat Reframe?
| Intended result | Who controls the view? | Consider it when… | Check before sharing |
|---|---|---|---|
| Interactive 360° video | The viewer looks in different directions during playback. | You want the audience to explore the recorded surroundings rather than receive one fixed camera view. | Confirm the export works as 360° in the destination’s supported playback context. (help.pinnaclesys.com) |
| Flat reframe | You choose the view shown in the conventional video. | You want to guide attention or deliver a standard, non-interactive video. | Review the selected view throughout the clip; the finished file is not an interactive 360° experience. (help.pinnaclesys.com) |
A practical decision test: If the surroundings are part of the experience and you want viewers to choose where to look, start with the 360° output. If the story depends on guiding everyone’s attention to the same subject, consider a flat reframe. These are editorial choices, not universal rules: the right answer depends on your story and delivery destination.
A Practical, Conditional Workflow
- Identify the source and the deliverable. Record the camera or source type, whether the file is already stitched, and whether the intended result is 360° or flat. If you have separate lens files, check the camera instructions for the required stitching process. Not every workflow starts with separate files. (insta360.com)
- Prepare or stitch only if needed. Follow the camera’s instructions for producing the editor-ready footage. Stitching can combine separate lens recordings into a complete 360° image, but the exact files and method depend on the camera. Do not apply a generic stitching recipe to an unknown source. (insta360.com)
- Match the project to the source. In the editor, check that the sequence or project uses the appropriate VR properties for the footage, such as projection and layout where those settings are available. YouTube likewise advises setting the editing sequence for VR and matching it to the source footage. The exact controls and supported formats vary by editor. (helpx.adobe.com)
- Preview before making detailed edits. Inspect the footage in a 360°-aware view if you are keeping it immersive. Look for visible stitching problems or unwanted changes in orientation. If making a flat reframe, choose the view you want to show and review how it changes over time. These are practical editorial checks; the controls for carrying them out depend on the editor.
- Edit for the chosen experience. For an immersive result, consider how cuts and changes in direction may feel when viewers can look around. For a flat reframe, review whether the selected view keeps the important action visible. Preview the result using the editor’s relevant viewing mode instead of relying only on the flattened source image. (helpx.adobe.com)
- Export for the intended destination. Use the destination’s current instructions to confirm file preparation and export requirements. This guide does not prescribe a universal resolution, codec, projection, metadata setting, or export preset: those depend on the footage, editor, and destination.
- Check the exported file—not just the timeline. Play the export in an appropriate viewer. For a 360° upload to YouTube, its help guidance says you can check on a computer for the 360° pan control and rotate the view; it also notes that 360° playback may take time to become available after upload. For another destination, use that destination’s own verification instructions. (support.google.com)
Final Check Before Sharing
- Does the export show the intended result: interactive 360° or a flat reframe?
- If it should be 360°, can you look around in the destination or another appropriate 360° playback context?
- If it is a flat reframe, does the chosen view show the important action throughout?
- Did you check the destination’s specific upload and playback guidance rather than assume a generic export will work?
The key is to verify the complete path—source footage, editing setup, export, and playback—against your own camera, editor version, and destination. A feature list alone cannot establish that a particular editor is suitable for your project.