Ubuntu Video Editor: How to Compare Options and Get Started
Choosing a Video Editor for Ubuntu
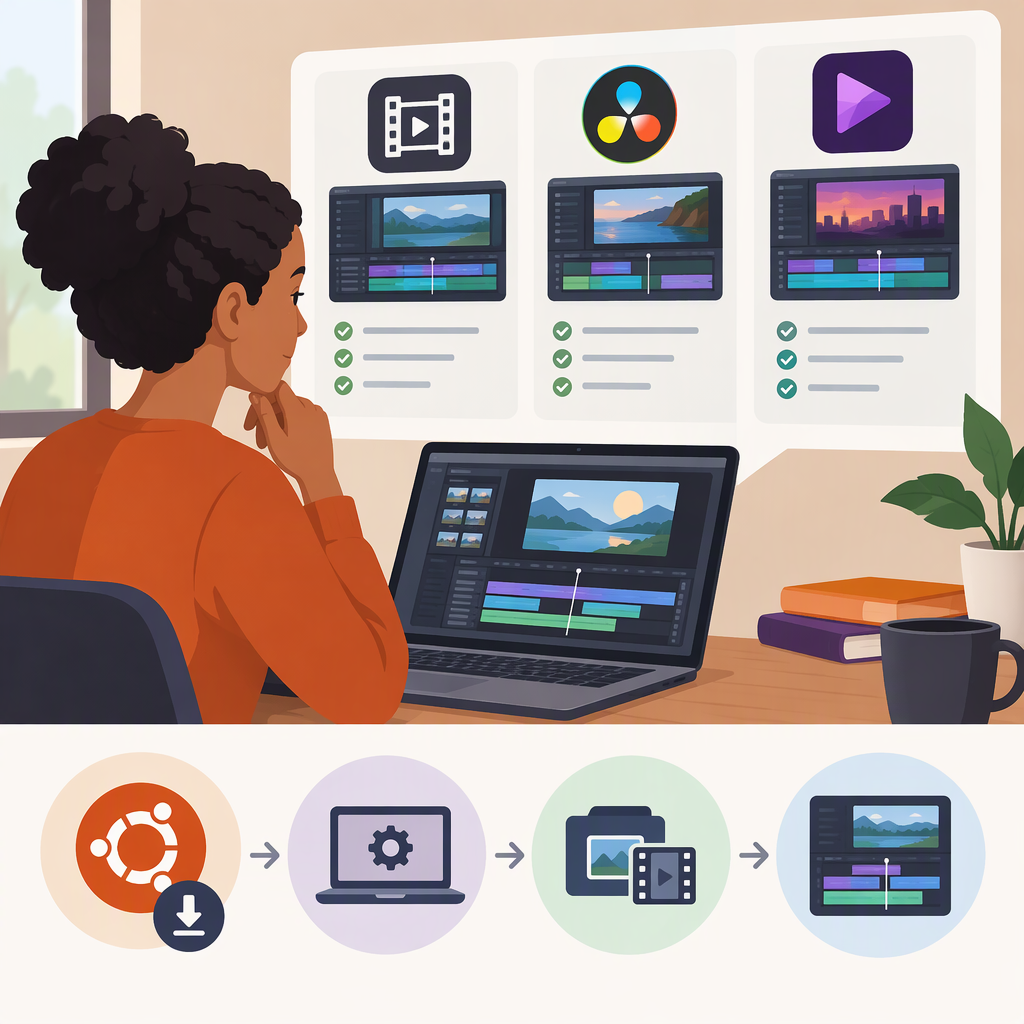
There is no single editor that is the right choice for every Ubuntu user. Start by comparing Kdenlive, Shotcut, and OpenShot against your editing needs and preferred installation method; then check the editor’s current official requirements against your Ubuntu version and computer. If you are undecided, try the same short sample project in the candidates before committing to a larger edit.
The descriptions below are factual pointers to official documentation—not a ranking or a claim that any one editor is best. Official project pages identify Kdenlive as available for Linux, Shotcut as available for Linux, and OpenShot as available for Linux. (kdenlive.org)
Compare Three Ubuntu Options
| Editor | What to check first | Installation notes | A reasonable way to choose |
|---|---|---|---|
| Kdenlive | Its manual covers a project workflow that includes adding clips, working on a timeline, using effects and music, and rendering a video. | The Kdenlive team maintains Linux AppImage and Flatpak packages. Its manual says the team no longer supports a PPA from release 24.02 onward. (docs.kdenlive.org) | Consider it if you want to follow its documented project-and-timeline workflow. Try the Quick Start with a small project before moving important work into it. (docs.kdenlive.org) |
| Shotcut | Its official FAQ publishes Linux system requirements, including a 64-bit Linux system with glibc 2.35 or later. It also lists CPU and memory guidance by video resolution. (shotcut.org) | Download a Linux build from Shotcut’s official site, then compare its stated requirements with your system before installing. | Consider it if you want to evaluate an editor whose official FAQ gives explicit Linux requirements. The FAQ recommends proxy and preview-scaling features for systems near the lower end of its CPU and memory guidance. (shotcut.org) |
| OpenShot | Its official installation documentation describes Linux AppImage and package-manager options, and says Debian-based distributions such as Ubuntu can use its PPA. It warns that distribution-repository packages may be outdated. (openshot.org) | The official site offers Linux AppImage and Snap options, and provides a PPA route for people who prefer apt. Check the version and route on the official download page. (openshot.org) | Consider it if you prefer to compare a portable AppImage with a package-manager route. If using a repository package, check its version rather than assuming it matches the current official release. (openshot.org) |
These differences are starting points, not guarantees about performance or compatibility on a particular machine. For a practical comparison, use a copy of a short representative clip, make one simple edit, and export a short file. Check that the formats and output settings you need are available in the version you install.
Check Ubuntu Compatibility Before Installing
Do these checks for the specific editor and installation format you plan to use:
- Find your Ubuntu release and system architecture. On Ubuntu, open Settings → About to see the OS version. If you are comfortable with the terminal,
uname -mreports the machine architecture. Do not assume a Linux download supports every Ubuntu release or processor type. - Open the editor’s official requirements and installation pages. Match your Ubuntu release and architecture to any stated requirements. For Shotcut, compare your Linux system with its stated 64-bit and glibc requirements; if you are unsure about glibc, consult Ubuntu’s system information or support documentation rather than guessing. (shotcut.org)
- Check the exact package route. AppImage, Flatpak, Snap, and a distribution package are different installation routes. Use the editor’s official instructions for the route you choose, and check whether the package comes from the project or your distribution. For Kdenlive, the team identifies AppImage and Flatpak as its maintained Linux packages. For OpenShot, the project documents AppImage and PPA options and also lists Snap on its download page. (docs.kdenlive.org)
- Check your actual media and output needs. Use a copy of the kind of video and audio you intend to edit, and confirm that the installed version can open it and export the format and resolution you need. General Linux support by itself does not establish that every media file, hardware setup, or workflow will work.
- If a requirement is unclear, pause before importing valuable footage. Look for the editor’s current official requirements, installation notes, and troubleshooting guide for your package format. Compatibility for an unspecified Ubuntu release or hardware setup should be treated as unknown, not assumed.
Install and Make a First Test Edit
Because Ubuntu versions and package formats differ, use the editor’s official instructions for your chosen release and installation route. Avoid copying commands from an old tutorial unless they still match the project’s current instructions.
For OpenShot’s official PPA route, the project publishes these commands for its stable PPA:
sudo add-apt-repository ppa:openshot.developers/ppa
sudo apt update
sudo apt install openshot-qt python3-openshot
This adds a third-party software repository to your system. If you prefer not to add a PPA, check the official download page for the available AppImage or Snap route instead. The OpenShot project also lists a separate daily PPA as experimental; it is not the stable PPA shown above. (openshot.org)
For Kdenlive, choose the AppImage or Flatpak offered by the project and follow its installation documentation. For Shotcut, start from its official download page and confirm that your Linux system meets the FAQ’s requirements. This guide does not assume a particular Ubuntu release or give universal installation commands for those packages. (kdenlive.org)
Once the editor opens, make a throwaway test project:
- Create a new project and save it in a new folder.
- Add a copy of a short video clip and, if relevant, a music or voice clip.
- Place the media on the timeline, trim a section, and play it back.
- Export a brief test video using an output setting suited to your intended destination.
- Open the exported file in a media player and check picture, sound, and duration before starting a larger project.
Kdenlive’s Quick Start documents a path through creating a project, adding clips, editing on the timeline, and rendering. The steps above are a general evaluation exercise, not a claim that every interface uses the same labels or controls. (docs.kdenlive.org)
Bottom Line
For an Ubuntu video editor, compare Kdenlive, Shotcut, and OpenShot without assuming a universal winner. Check each project’s official requirements and installation instructions for your Ubuntu version, then test a small project with your own media. Pay particular attention to package format, system requirements, and whether the export you need works in practice on your setup.