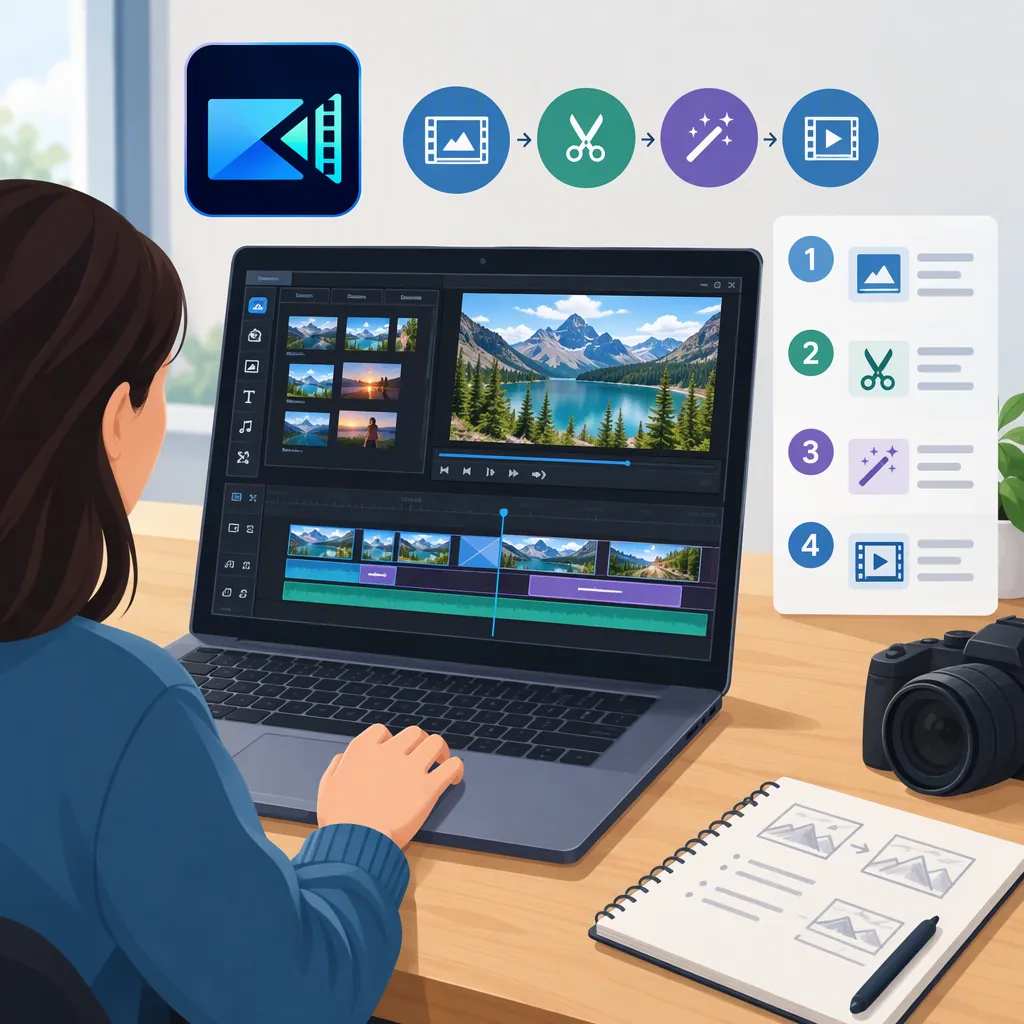
Cyberlink Video Editor: PowerDirector Editions and Basic Editing Guide
PowerDirector is a CyberLink video editor with distinct offerings, including an Android app listed on Google Play and PowerDirector 365 for PC download listed on Amazon. Identify your platform and edition before choosing a tutorial or planning around a particular tool. [source_1] [source_2] For a basic edit, organize your clips, build a rough cut, refine framing, sound, and text, then review a test export.
Guide scope: This guide uses public listings and a third-party review, not hands-on testing. It provides an editing workflow and a limited desktop interface entry point described by that review. The sources do not establish identical controls or feature access across editions, current official system requirements, or verified menu instructions for every version.
Identify Your PowerDirector Edition
The phrase “CyberLink video editor” identifies the brand and editing purpose, but it is not enough to select exact instructions. Start with the platform, edition name, and version shown in your installation.
PowerDirector Names and Access Modes
This table summarizes the referenced offerings and review terminology—not a complete PowerDirector product catalog.
| Name in the source | Platform or context | Access mode described | What to verify |
|---|---|---|---|
| PowerDirector - Video Editor | Android app on Google Play, from Cyberlink Corp | Contains ads and in-app purchases; lists premium benefits. [source_1] | Free-feature limits and availability on your device or account. |
| CyberLink PowerDirector 365 — one-year subscription [PC Download] | PC download on Amazon | One-year subscription. [source_2] | Terms and feature access applicable to your installed edition. |
| PowerDirector 2026 / 365 | Edition comparison in the DIY Video Editor review | Describes Ultra and Ultimate as standalone 2026 editions and 365 as a subscription offering; discusses perpetual and subscription licensing. [source_3] | Current official license terms and precise edition differences. |
The DIY Video Editor review includes an affiliate disclosure. Treat its edition comparisons and interface descriptions as third-party context rather than definitive current licensing guidance or independently verified instructions. [source_3]
Edition Identification Checklist
- Record your operating system and device model.
- Copy the edition name and version from your installation.
- Note whether your access is subscription-based or tied to a specific release.
- Match the tutorial’s platform and version to yours.
- Mark any required tool whose availability you have not confirmed.
Start a Basic PowerDirector Edit
Before adding effects, decide what the video needs to communicate and assemble a clear sequence. The Android listing describes trimming, cutting, cropping, music, speed adjustments, text, and a multi-track timeline—the capabilities used to frame the practice workflow below. [source_1]
Desktop Entry Point Described by the Review
For the desktop interface discussed in the PowerDirector 2026 / 365 review, the reviewer describes selecting a clip or track and then clicking Edit above the timeline to access adjustments for video, photos, or audio. The review also describes a Tools section replacing the earlier arrangement of separate “Rooms.” [source_3]
If your desktop interface matches that description:
- Select the clip or track you want to adjust.
- Click Edit above the timeline.
- Inspect the available adjustments and choose the one relevant to that item. [source_3]
- Make a limited change, then preview the affected section before continuing.
Use this as a source-described entry point, not a complete trimming or audio tutorial. If the controls do not match, use instructions for your installed version rather than guessing. Do not apply this desktop navigation to Android.
Example Task: A 30-Second Demonstration Video
Illustrative brief: Make a vertical video showing a simple three-step process using footage you have permission to edit. Include an opening title, the three steps, and a closing shot. The duration and checks below are practice targets, not PowerDirector requirements.
| Step | Editing task | Concrete output | Check before continuing |
|---|---|---|---|
| 1. Define the output | Write down the audience, target duration, and vertical framing. | A brief such as “Show three steps clearly in about 30 seconds.” | Can you explain the purpose in one sentence? |
| 2. Organize the media | Put footage, audio, and graphics in clearly named folders; retain untouched originals. | Selected clips with descriptive filenames. | Do you have the necessary media and usage permissions? |
| 3. Build a rough cut | Trim waiting time and arrange the process in order. Trimming and cutting are described in the Android listing. [source_1] | An opening, three understandable steps, and a closing shot. | Does the sequence make sense without decorative effects? |
| 4. Refine framing and timing | Check shot boundaries. Consider cropping for framing and speed adjustment for nonessential waiting; both are listed capabilities. [source_1] | Shots that keep the important action visible at a clear pace. | Has cropping removed anything important? Does a speed change obscure the process? |
| 5. Review sound | Plan dialogue or narration and optional music. The listing describes adding music and multi-track editing. [source_1] | Understandable speech without distracting music or abrupt volume changes. | Can you hear every necessary word? |
| 6. Add essential text | Add a short opening title and brief step labels using the listed text capability. [source_1] | Consistent labels such as “Step 1,” “Step 2,” and “Step 3.” | Are labels readable and visible long enough to understand? |
| 7. Export a short test | Export a representative segment before the full video. The listing describes video export. [source_1] | A sample containing a title, an edit, and audio. | Does the file pass the playback checks below? |
If a planned tool is unavailable, simplify the task. Choose footage that already fits the intended framing, leave an action at normal speed, or omit optional music.
Timeline Review Checklist
Use this checklist to review the content before testing the exported file:
- Every shot contributes to the message.
- The three steps appear in an understandable order.
- Trims do not remove necessary actions or words.
- Framing and speed changes preserve important information.
- Speech is clear and music does not distract.
- Titles are concise, correctly spelled, and timed to the relevant action.
- Music, footage, and graphics have appropriate usage permissions.
Check Feature Access and AI Conditions
Verify access before building a project around captions, cloud projects, or an AI tool.
The Android listing places auto captions and cloud projects under premium benefits. The PC subscription listing says generative and cloud-based AI features use credits and may require additional credit purchases. These are offering-specific conditions, not a shared allowance across PowerDirector editions. [source_1] [source_2]
For automated results, plan a manual review:
- Compare captions with the spoken words, including names and punctuation.
- Inspect altered images for unwanted changes.
- Listen to processed audio for missing words or distracting artifacts.
- Keep a fallback editing method that does not depend on the automated tool.
Before uploading sensitive footage, review the applicable privacy information and confirm whether the selected tool requires online processing. Google Play’s data-safety section is developer-provided and notes that practices may vary by use, region, and age; it is not an independent privacy audit. [source_1]
Feature Verification Record
Complete one record for each tool your project depends on:
- Feature needed:
- Installed edition and version:
- Available in this installation:
- Subscription or credit requirement:
- Online processing requirement:
- Media permissions checked:
- Manual review completed:
- Fallback editing method:
Choose Export Settings and Test the File
Choose output settings according to the destination’s requirements, your source footage, and the options actually available in your installation—not simply the highest setting shown.
The Android listing advertises export up to 4K. That does not verify availability on a particular device or establish export speed, stability, or image quality. [source_1]
Before exporting, record:
- Destination requirements: Required or accepted format, dimensions, orientation, frame rate, and any file-size limits.
- Source properties: The resolution and frame rate of your selected footage. Note differences between clips.
- Available output options: Which settings your installation offers that meet the destination requirements.
- Test segment: A short section containing text, movement, an edit, and audio.
If an exact setting is unavailable, identify an accepted alternative before proceeding. Do not assume that a higher resolution or different frame rate will solve a playback problem.
Filled Example Export Test Log
Hypothetical example only: All values and playback observations below are invented to demonstrate how to fill out the log. They are not PowerDirector recommendations, platform requirements, or results from hands-on testing.
| Log field | Illustrative entry |
|---|---|
| Project version | three-step-demo-v03; planned full duration: 30 seconds |
| Source properties | Selected clips recorded vertically at 1080 × 1920, 30 fps |
| Destination requirements | Assume the destination accepts MP4 at 1080 × 1920 and 30 fps; verify its actual requirements separately |
| Test segment | An 8-second section containing a step label, moving action, a cut, and narration |
| Selected output settings | MP4, 1080 × 1920, 30 fps—assuming these options are available in the installed edition |
| Other export settings | Record the selected preset and any displayed quality, bitrate, audio, or encoding settings exactly as shown |
| Illustrative playback result | File opens in a separate player; framing is correct, label is readable, speech is understandable, and audio remains synchronized |
| Decision | This sample passes the stated checks; export and inspect the complete video next |
| Next test if it fails | Record the failure and change one relevant setting or project element before repeating the same segment |
The example matches the assumed source frame rate and destination requirements. Your own choices should follow your actual footage and destination, using only settings your installed version provides.
Export Playback Checklist
Watch the sample outside the editor. After it passes, export the complete project and watch that file from beginning to end.
- The file opens in the intended playback environment.
- Output dimensions and orientation match the plan.
- Titles remain visible and readable in the exported frame.
- Audio stays synchronized throughout.
- No unexpected blank frames, gaps, or missing audio appear.
- The final image and audio end as intended.
A passing sample does not establish that the full export is correct. Review the complete file too.
If an export fails, record the settings and exact error message. Try reproducing the issue with a short copy of the project, then change one variable at a time.
Reusable Export Test Log
- Project version:
- Source resolution and frame rate:
- Destination requirements:
- Test segment:
- Output format:
- Selected resolution and frame rate:
- Other export settings:
- Result or exact error message:
- Playback checks completed:
- Single change for the next test:
FAQ
Is PowerDirector a Cyberlink Video Editor?
Yes. The Google Play listing names Cyberlink Corp as the developer of PowerDirector - Video Editor, and the Amazon listing identifies CyberLink PowerDirector 365 for PC download. [source_1] [source_2]
Is PowerDirector Completely Free?
Do not assume all tools are free. The Android listing identifies ads, in-app purchases, and premium benefits. The referenced PC listing is for a paid one-year subscription. These sources do not establish exact free-feature limits for every edition. [source_1] [source_2]
What Is the Difference Between PowerDirector 2026 And 365?
The DIY Video Editor review distinguishes standalone 2026 editions from the 365 subscription offering and discusses perpetual versus subscription licensing. It is a third-party review with an affiliate disclosure, so verify the terms applicable to your installation. [source_3]
Where Do I Start Adjusting a Clip in Desktop PowerDirector?
The reviewed PowerDirector 2026 / 365 desktop interface uses a clip or track selection followed by Edit above the timeline. Use that entry point only if your interface matches; it is not an Android instruction. [source_3]
Can I Follow a Desktop PowerDirector Tutorial on Android?
Use its general editing ideas, but choose Android- and version-specific instructions for exact controls. The sources describe separate Android and PC offerings, not matching menus or feature access. [source_1] [source_2]
Should I Always Export in 4K?
No. Select settings that meet your destination’s requirements and suit your footage. The Android listing’s “up to 4K” statement does not establish that 4K is available on your device or appropriate for every project. [source_1]