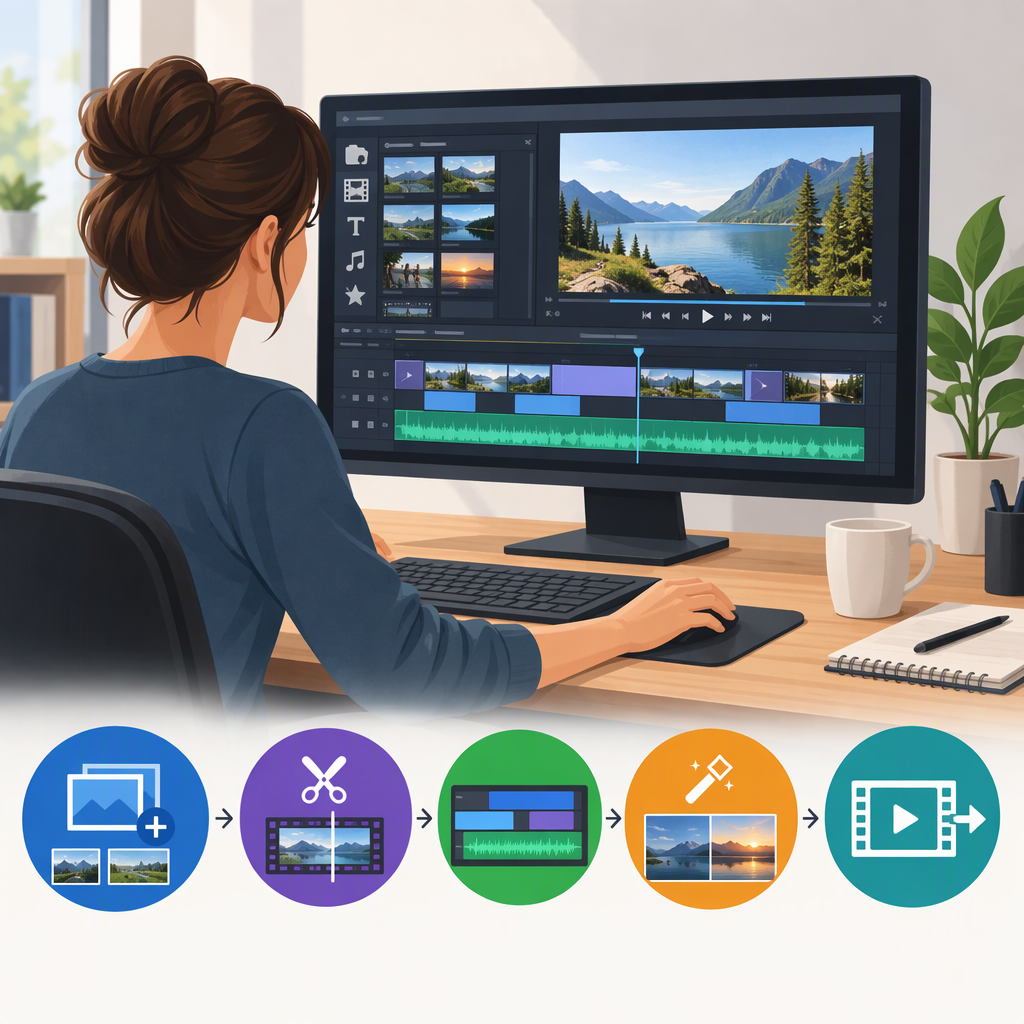
Pinnacle Video Editing: A Beginner’s Workflow for Pinnacle Studio 26
This guide covers Pinnacle Studio 26. It walks through a straightforward edit—from starting a movie project to checking the exported file—using the version-specific help and tutorials listed below. Pinnacle Studio menus and options can vary by version, so if you have a different release, check its own help before following version-specific steps. Corel’s support library lists separate user guides for different versions, and Pinnacle Studio 26 Help includes a section on finding your version information. (kb.corel.com)
The Short Version
Start a movie project, import your footage, put clips in order on the timeline, trim unwanted parts, and save the project. When the edit is ready, open Export, choose a destination and file name, select an output setting that suits your footage and intended use, and start the export. Then find the saved file and play it from beginning to end.
1. Start a Project and Gather Your Media
Before editing, put the video, audio, and image files you plan to use somewhere you can find them. If you move or rename source files while editing, the project may no longer be able to locate them; keeping them together in a stable folder can make them easier to manage.
In the Pinnacle Studio project-setup tutorial, the starting point is File > New > Movie, which opens a new timeline. The tutorial also demonstrates organizing media in a Project Bin and importing files. If those labels differ in your installation, refer to the help for your version. (learn.corel.com)
2. Import Clips and Arrange the Story
Bring your media into the project using its import workflow, then add the video clips to the timeline in the order you want them to appear. Preview the sequence as you work. For a simple first edit, focus on the story and clip order before adding extra effects.
Example: For a short day-out video, you might arrange an establishing shot first, then a few activity clips, and finish with a closing shot. This is an illustrative editing example, not a test result or a required Pinnacle Studio sequence.
3. Trim Unwanted Footage
Use the timeline’s split or trim controls to remove material you do not want in the finished sequence. Corel’s Pinnacle tutorial describes using the Split button, the trim function on the timeline, or Trim mode to remove unwanted sections from the beginning, middle, or end of a clip. (learn.corel.com)
A simple approach:
- Select a clip on the timeline and preview it.
- Find where the usable moment should begin and end.
- Split or trim the clip at those points, then remove the unwanted section.
- Play across the edit to check for accidental gaps or cuts that feel abrupt.
Pay attention to the editing mode: Pinnacle Studio’s modes affect what happens to other clips when you trim or add media. For example, the official tutorial explains that Overwrite mode leaves other timeline content in place after a split, so you may need to close gaps yourself. (learn.corel.com)
4. Save the Editable Project
Save the project using Pinnacle Studio’s save command before exporting, and save again after substantial changes. The project is the editable arrangement of your clips; the exported video is the rendered output file. Keeping both lets you return to make changes without treating the finished video as your only copy.
5. Export a Video File
When the timeline is ready, open the Export tab. Pinnacle Studio’s export guide describes choosing an output destination and file name, selecting export options, and starting the export. The available settings depend on the output type and version. (help.pinnaclesys.com)
For a basic file export:
- Open Export and choose file output if you want a video file to play or share.
- Select a destination folder and enter a file name you will recognize.
- Choose an available preset or customize the output if you have specific requirements. The official export tutorial describes options for format, extension, device, or web, and says presets can affect properties such as quality and file size. Exact choices may vary by version. (pinnaclesys.com)
- If you are unsure which output settings to change, avoid guessing at a “best” resolution or frame rate. Use a suitable preset, or match the timeline where the option is available and appropriate for your project. The official tutorial specifically describes a Same as Timeline option; consult your version’s help if you do not see it. (pinnaclesys.com)
- Start the export and allow rendering to finish. Pinnacle Studio’s help notes that projects with elements such as transitions, titles, or effects may require rendering. (help.pinnaclesys.com)
Trade-off: A larger or higher-resolution export may suit some viewing or delivery needs, but can take more storage. A smaller output may be easier to store or share, but may not meet a destination’s requirements. Choose based on where the file will be used rather than assuming one setting is right for every project.
6. Check the Exported File
After export completes, open the destination folder and play the video. Check that it opens, that the beginning and ending are present, and that picture and sound continue through the sequence. If the file is missing, first confirm the destination selected in the Export tab; Pinnacle’s support knowledge base documents cases where users cannot locate an exported file. (help.pinnaclesys.com)
A successful export is not just a completed progress indicator: the practical check is that the resulting file exists where expected and plays through the parts you intend to deliver.
If the Steps Do Not Match Your Screen
First confirm which Pinnacle Studio version you have, then open help or the user guide for that version. Corel’s support page provides a versioned guide list, and Pinnacle Studio 26’s help identifies its guide as the companion reference for that release. This matters especially for menu labels, editing controls, and export settings. (kb.corel.com)