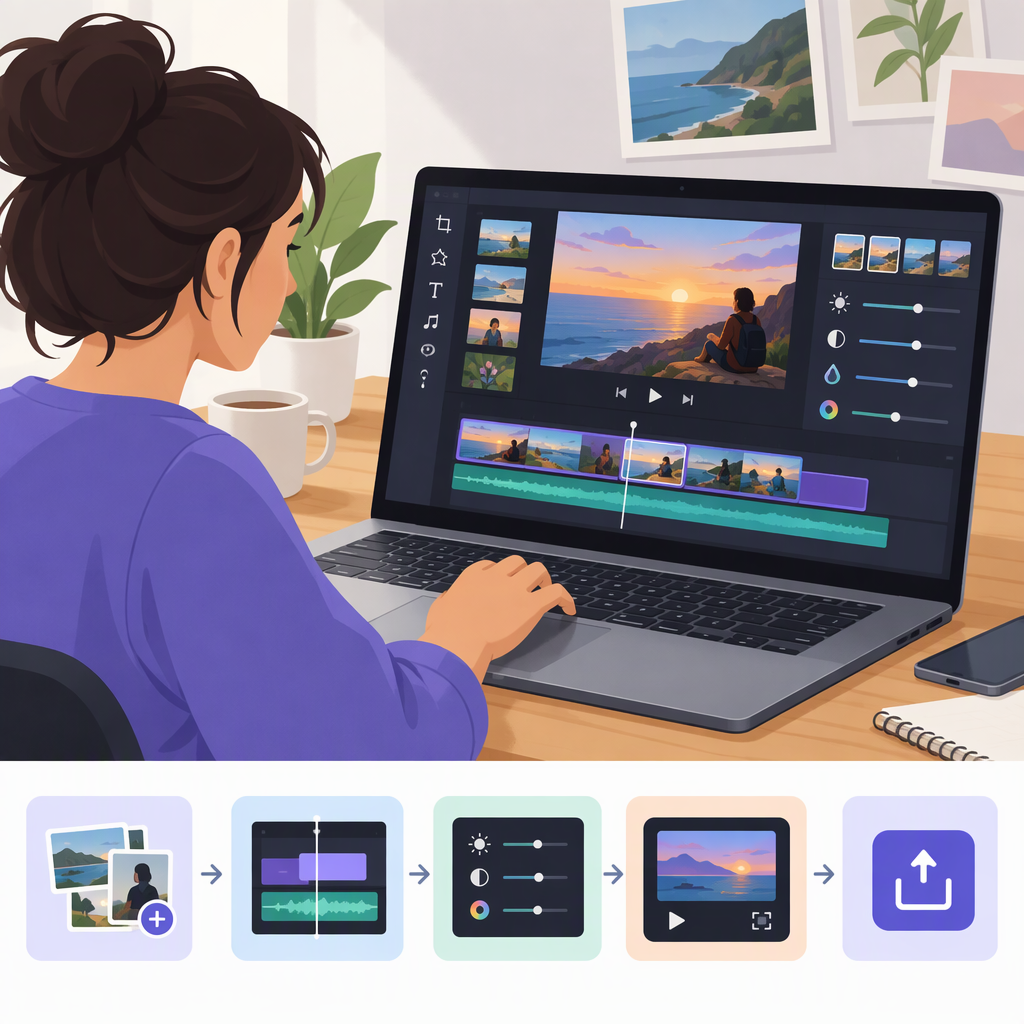
Picsart Video Editor: A Practical Guide to Editing and Exporting
Picsart has more than one video-editing experience, so start by matching the tool to the edit. Its browser-based Video Editor is described as a timeline workspace for arranging footage and audio, trimming clips, adding text or subtitles, and previewing a project. Video Studio is presented as a set of individual browser-based tools—such as trim, merge, crop, resize, and convert—for quick changes. Picsart also offers AI video experiences, which are different from editing clips manually on a timeline. The right choice depends on the job and the controls available in the experience you open. (picsart.com)
Choose the Picsart Experience That Matches Your Edit
| If your task is… | Consider… | What the available information supports |
|---|---|---|
| Trim or arrange footage, then add text, subtitles, music, or other layers | Picsart Video Editor | Picsart describes a browser-based editor with video and audio on a multi-track timeline, plus trimming, text, subtitles, music, and preview controls. (picsart.com) |
| Make one quick change, such as trimming, cropping, resizing, merging, or converting a file | Video Studio | Picsart describes this as a collection of browser tools. It says Video Studio works in modern mobile and desktop browsers, including Android, iPhone, and Windows. (picsart.com) |
| Ask AI to change footage or help create a video | An AI video experience | Picsart lists a dedicated AI Video Editor alongside its standard editor. Its Help Center describes that AI editor as changing a video based on a text description. This is not the same workflow as manually arranging clips on a timeline. (picsart.com) |
These descriptions can help you choose a starting point, but they do not establish that every tool or control is available on every device, account, or version. If a specific platform or feature is essential, confirm it in the experience you plan to use before building your edit.
Edit a Video in Picsart: A Basic Timeline Workflow
Picsart’s video-editor page describes a timeline-based workflow, and its TikTok editing guide gives a concrete sequence for a short social video. Use these steps as a practical starting point; interface details may vary.
- Open the Video Editor and add your footage. Select the clips you intend to use. For a multi-clip edit, bring in the planned takes so you can arrange them in sequence. (picsart.com)
- Arrange the clips and trim them. Put them in story order, then remove unnecessary openings or endings. If you cut a section from the middle, replay the cut and check that a sentence or movement still feels complete. Picsart’s guide specifically describes trimming and splitting clips. (picsart.com)
- Set the frame for the destination. If you’re making a vertical short, check the framing and keep the subject visible. Picsart’s TikTok guide describes resizing to a vertical 9:16 canvas for that use case; don’t assume that is the right format for every platform or project. (picsart.com)
- Add text or subtitles if they help. Use text for a title or short label. For spoken footage, Picsart’s guide describes generating timed subtitles and restyling them. Review the captions against the audio—especially names, technical terms, and punctuation—rather than assuming automatic captions are error-free. (picsart.com)
- Set the audio. Add music or another track if needed, and listen with the voice in the mix. Picsart’s guide advises keeping music quieter when speech carries the message. Use only audio you have permission to use. (picsart.com)
- Preview the complete edit. Watch from beginning to end, checking clip joins, framing, text timing, captions, and sound. Make corrections before exporting. Picsart describes previewing as part of its editing workflow. (picsart.com)
Example: For a short vertical clip with one spoken tip, a simple plan is to remove the pause before the tip, frame the speaker for a 9:16 canvas, add a brief title and reviewed captions, balance any background music below the voice, then watch the whole sequence once before export. This is an instructional example, not a claim of a hands-on test.
Export and Sharing: What to Check
Picsart’s public editor materials describe reaching an export, and its video pages refer to preparing files for different destinations. The sources available here do not establish a universal export sequence or confirm specific resolution, frame-rate, duration, watermark, or file-size limits for every Picsart editing experience. Don’t rely on an assumed setting: use the export controls shown in your chosen experience and check the resulting file before sharing. (picsart.com)
Before you post or deliver the video, confirm:
- Format and framing: Does the file’s aspect ratio and crop suit the destination? Check that important details aren’t cut off.
- Playback and sound: Does the exported file play through, with speech clear and the ending intact?
- Text and captions: Are overlays readable, timed correctly, and inside the visible frame?
- Export prompts: If Picsart asks for a subscription when you save, export, or download, its Help Center says an edit containing at least one premium item can trigger that prompt. Review the elements in the project and decide whether to replace any premium item or proceed under the terms shown to you. (support.picsart.com)
- Destination requirements: If a client, platform, or class requires a particular resolution, format, or file size, confirm that the exported file meets it. Those specifications are not verified here for every Picsart product or account.
For a quick trim, crop, resize, or conversion, Video Studio may be a more direct fit than opening a full timeline editor. For an edit that needs several clips, audio, text, and captions together, the timeline Video Editor is the more relevant experience described by Picsart. Neither description alone guarantees a specific export specification; check the actual output against your requirements before relying on it.