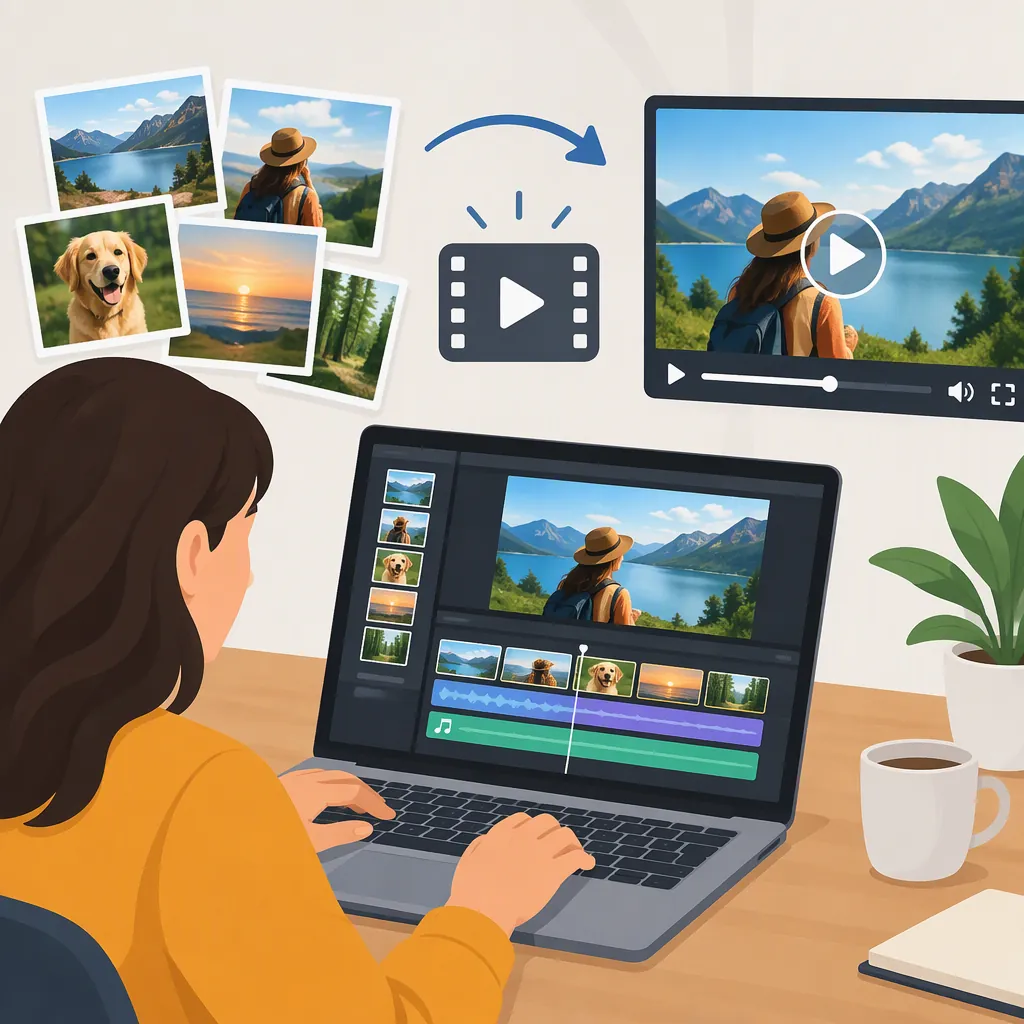
Photo Video Editor: How to Make a Video Album
To make a video album with a photo video editor, select your photos, arrange them in a meaningful order, set each image’s duration, add optional captions and music, and review the exported file. Look for explicit photo-slideshow support rather than relying on the app’s name. One supplied Google Play listing describes photo selection, music, transitions, and duration adjustment; these are listing statements, not independently tested capabilities. [c1]
Define the Album Before Choosing an Editor
Start with the result you want: a family recap, travel story, event album, or short visual presentation. Write down the intended audience, viewing destination, and approximate running time before importing photos.
For this workflow, treat a photo video editor as a tool for arranging still images on a timeline and producing a video. Distinguish that goal from making a static collage or editing individual pictures. The supplied Photo Editor & Video Maker listing describes both collage creation and photo slideshows, so check the specific workflow rather than assuming those outputs are interchangeable. [c1]
The references are limited to two Google Play pages. They do not establish a best editor, provide independent performance testing, or support a comparison across desktop, browser, and mobile tools.
Photo Album Project Brief
Fill in before editing:
- Album purpose: ______
- Intended viewers: ______
- Viewing destination: ______
- Target running time: ______
- Preferred frame shape: ______
- Opening photo: ______
- Closing photo: ______
- Music or narration needed: ______
- Photos that should not be included: ______
Check the Features Your Project Needs
Use store descriptions as a starting point for questions, not as proof of output quality.
The Photo Editor & Video Maker listing describes slideshow music, effects, transitions, frames, and duration controls. [c1] The supplied developer page for Video Editor Photo Editor. describes a video maker with songs, background music for video albums, and photo-to-MV creation, but gives less workflow detail. [c2]
Before committing a full album, try a small project with a few non-sensitive photos. Check whether you can reorder images, control their timing, choose how photos fit the frame, and save an acceptable result. Also inspect current pricing, ads, permissions, and any restrictions relevant to your project. The supplied pages do not establish export resolution, watermark behavior, or offline editing support.
Small-Project Evaluation Checklist
- [ ] Import a few non-sensitive photos.
- [ ] Put them in a deliberate order.
- [ ] Change one photo’s display duration.
- [ ] Check crop or fit controls.
- [ ] Add a caption if the project needs one.
- [ ] Test music controls if the project needs audio.
- [ ] Export the sample and play the saved file.
- [ ] Record any payment prompts, watermarks, or unavailable settings.
- [ ] Review permissions and privacy information before adding personal photos.
Select, Sequence, and Frame Your Photos
Build a shortlist rather than importing every image. Remove duplicates, exclude photos you do not have permission to share, and choose a sequence that makes sense without explanation.
For an event album, consider chronological order. For travel, try grouping by place. For a personal recap, organize around a few themes. Choose an opening image that introduces the subject and a closing image that gives the album a deliberate ending.
Choose a frame shape appropriate to the intended destination, then review each photo individually. If a crop removes an important face, object, or detail, try a fit option or a different image instead. Avoid assuming that photo-cropping settings also control the exported video’s dimensions; verify the video settings separately.
Sequence Planning Worksheet
| Position | Photo | Role in the Album | Crop or Fit Check | Caption Needed? |
| --- | --- | --- | --- | --- |
| Opening | ______ | Introduce the subject | ______ | ______ |
| Early sequence | ______ | Establish context | ______ | ______ |
| Middle sequence | ______ | Show the main moments | ______ | ______ |
| Final sequence | ______ | Resolve the story | ______ | ______ |
| Closing | ______ | Provide an ending | ______ | ______ |
Set Timing, Captions, and Audio
Begin with simple timing, then watch the sequence at normal speed. Give a detailed image or a caption more time if it feels rushed. Shorten repeated or less important shots if the album feels slow.
As a planning example—not a recommended default—12 photos displayed for 4 seconds each account for 48 seconds of image display time before any additional title cards or transition behavior. Check the editor’s timeline for the actual project duration.
Keep captions brief and review them at the size viewers are likely to use. Use transitions selectively, and inspect their previews for awkward crops or distracting movement.
Add music only when you have permission for the intended use. Do not assume that a track available inside an editor is cleared for every publishing destination. If you include narration, listen through the complete sequence and adjust the music so the words remain understandable.
Timing and Audio Review Pass
- [ ] Watch once without pausing.
- [ ] Mark any photo that disappears too quickly.
- [ ] Mark any caption that requires replaying to read.
- [ ] Remove transitions that distract from the photos.
- [ ] Confirm permission for the intended use of the music.
- [ ] Listen for abrupt audio starts and endings.
- [ ] Check that narration is understandable throughout.
- [ ] Recheck the total duration after changes.
Export and Inspect the Finished Video
Check the destination’s current requirements before choosing export settings. Use the available controls to select a suitable frame shape, resolution, and file format; do not assume that either supplied listing guarantees a particular export option.
Review the saved file, not just the editing preview. Check the opening and ending, image order, crops, captions, audio, and any unexpected watermark. Where practical, play it on the device or destination where it will be viewed.
Keep the source photos and an editable project copy if the editor supports one. Before sharing, review the album for personal details, unintended participants, and anything that should remain private.
Final Video Acceptance Checklist
- [ ] The saved file opens and plays through.
- [ ] The frame shape suits the destination.
- [ ] Important photo details remain visible.
- [ ] Captions are readable and accurate.
- [ ] Audio starts and ends as intended.
- [ ] No unexpected watermark or placeholder appears.
- [ ] Sharing permissions and privacy concerns have been reviewed.
- [ ] Source photos and any supported editable project are retained.
FAQ
Can a Photo Editor Also Make a Video Album?
Some listings describe both functions. The supplied Photo Editor & Video Maker listing includes photo editing, collage creation, and slideshow creation with music and transitions. Check for explicit slideshow support and test the workflow; the description alone does not verify performance. [c1]
How Many Photos Should I Include?
Start with your intended running time and a small selection of meaningful photos. As a planning example, 12 photos at 4 seconds each account for 48 seconds before additional title cards or transition behavior. Review the actual timeline and adjust for captions, detail, and pacing.
Do I Need Music for a Photo Slideshow?
No. Treat music as an optional editorial choice. Both supplied pages describe music-related workflows, but those descriptions do not establish permission to use a particular track. Check the track’s terms for your intended use before publishing. [c1] [c2]
Which Photo Video Editor Is Best?
The supplied references are not enough to identify a best editor. They are store listings rather than independent comparisons. Evaluate a small sample project against your needs for photo sequencing, timing, captions, audio, export, cost, and privacy.