Video Editing: A Beginner-Friendly Workflow from Footage to Export
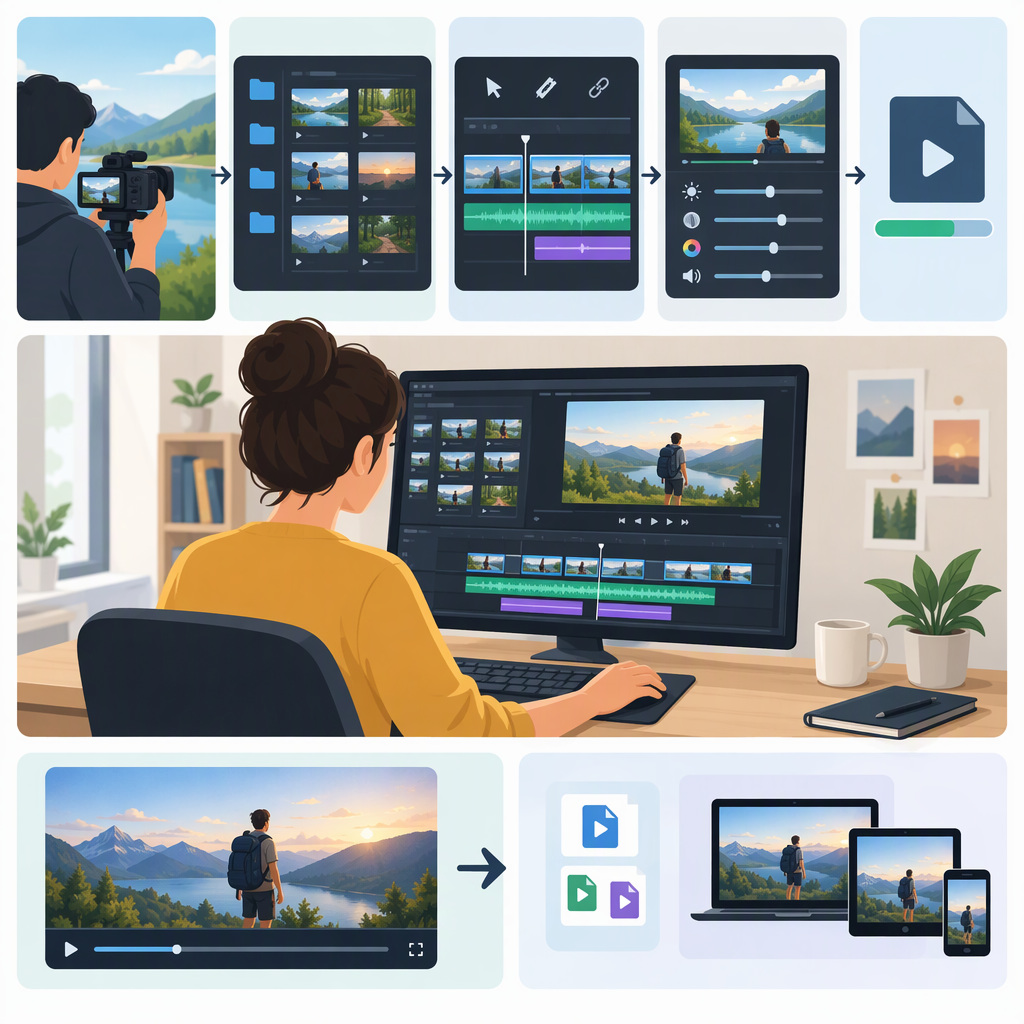
Editing a video means choosing which moments to keep, arranging them in sequence, adjusting their boundaries, reviewing the result, and exporting a finished file. A simple workflow is: prepare and review your footage → assemble clips on a timeline → trim, split, move, or remove sections → check playback, picture, and sound → export for your intended destination → watch the exported file. The editing concepts are broadly useful, but the buttons and export settings vary by software and destination.
1. Prepare Your Footage
Start by identifying the clips, images, and audio you expect to use. If you have many files, grouping them by scene or purpose can make it easier to find what you need; this is a practical organization choice, not a required editing rule.
Review the footage before assembling it. Note the moments that communicate what you want to show, and set aside material you know you do not want. Then create a project in your editor and add the chosen media. The exact import steps depend on the application; for example, Apple’s iMovie guide describes adding a clip from the media browser to a movie timeline. (support.apple.com)
Next: Make a rough plan for the order of the clips. It can be as simple as beginning, middle, and end.
2. Assemble a Rough Timeline
A timeline represents the order and duration of the material in your video. Place the selected clips in the order you want viewers to see them. At this stage, focus on whether the sequence makes sense; fine adjustments can come later.
For example, a short how-to video might use this illustrative sequence:
- Show the finished result.
- Introduce the materials or starting point.
- Show the main steps in order.
- End with the completed result.
This is an example structure, not a required format. Choose an order that helps your intended viewer follow the subject.
After arranging clips, play the sequence. Check whether each shot leads naturally to the next and whether the order matches your plan. Moving a clip can create a gap or overlap, depending on the editor and how the clip is moved, so inspect the timeline after rearranging. (helpx.adobe.com)
3. Shape the Edit with Basic Timeline Operations
Editors use different controls, but these operations describe common ways to change a sequence:
- Select: Choose a clip or section so you can make an edit to it. Selection controls vary by application.
- Trim: Shorten or lengthen the visible portion at a clip’s beginning or end. Trimming changes the boundary of the clip; it does not necessarily divide it into separate pieces. Adobe and Apple both document trimming as a way to adjust which part of a clip appears in the edit. (helpx.adobe.com)
- Split: Divide one clip into two sections at a chosen point. This is useful when you want to remove a section from the middle or treat the two sides separately. Apple’s iMovie guide describes splitting as a way to adjust the sections, remove unwanted material, or add different titles. (support.apple.com)
- Move: Change where a clip appears in the sequence. Play the edit afterward to check that the new order works and that you have not left an unintended gap. (helpx.adobe.com)
- Remove: Delete a selected clip or section you do not want. If the removed material leaves empty space, decide whether the next clip should move into it or whether the pause is intentional.
Worked Example: Remove a Pause in the Middle of a Clip
Suppose a speaker’s recording contains a long pause between two useful sentences. In an editor that supports splitting, place the playhead at the start of the pause and split the clip. Split it again at the end of the pause, select the middle section, and remove it. Then play across the join. If the edit feels abrupt, adjust the cut or keep a little more of the pause. The names and controls for these actions differ by editor; Apple’s iMovie instructions, for instance, describe positioning the playhead and splitting a clip. (support.apple.com)
Next: Watch the sequence from before the edit through the next shot. This helps reveal whether the cut, order, or gap needs another adjustment.
4. Review the Picture, Sound, and Optional Finishing Touches
Before exporting, play the edit and check it as a viewer. This checklist is a practical review aid, not a universal technical standard:
- Sequence: Does the video begin and end where you intend? Are the clips in the right order? Are any gaps or accidental overlaps visible?
- Picture: Can you see the important action? Do any cuts remove information the viewer needs?
- Sound: Is the intended audio present and understandable? Listen for sections that are unexpectedly silent, too distracting, or cut off. If you find a problem, adjust the edit or audio in your application and listen again.
- Titles, captions, transitions, and visual adjustments: Add them when they serve the video’s purpose. They are options, not mandatory steps for every edit.
A cut from one clip to the next may be all that is needed. If you add a transition or title, play that part of the video to check that it supports rather than distracts from the sequence.
5. Export for the Intended Destination, Then Inspect the File
Choose export settings based on where and how the video will be used. Do not assume one resolution, frame rate, or file format is right for every project: available settings depend on the format and export options in the editor, and a destination may publish its own specifications. Adobe’s export reference explains that settings vary with the selected format. (helpx.adobe.com)
A practical decision path is:
- Identify the destination. Is the file for a particular platform, a presentation, an archive, or direct sharing?
- Look up that destination’s current requirements or recommendations. If there is no named destination, avoid claiming a platform-specific preset is necessary.
- Choose the matching options in your editor. The labels and available choices differ between applications.
- Export and play the resulting file. Check the beginning, middle, and end; confirm that the picture and intended sound are present and that the video plays as expected.
For a YouTube upload, YouTube’s help guidance says it generally prefers videos at the highest resolution available. That is destination-specific guidance, not a universal export rule for every use. (support.google.com)
Quick Recap
Prepare and review media. Assemble a rough sequence. Trim, split, move, or remove clips as needed. Play the edit and check continuity, picture, and sound. Choose export settings for the intended destination. Finally, inspect the exported file. If you need click-by-click instructions, use the documentation for your specific editor and version; the workflow above explains the editing decisions without assuming a particular application.