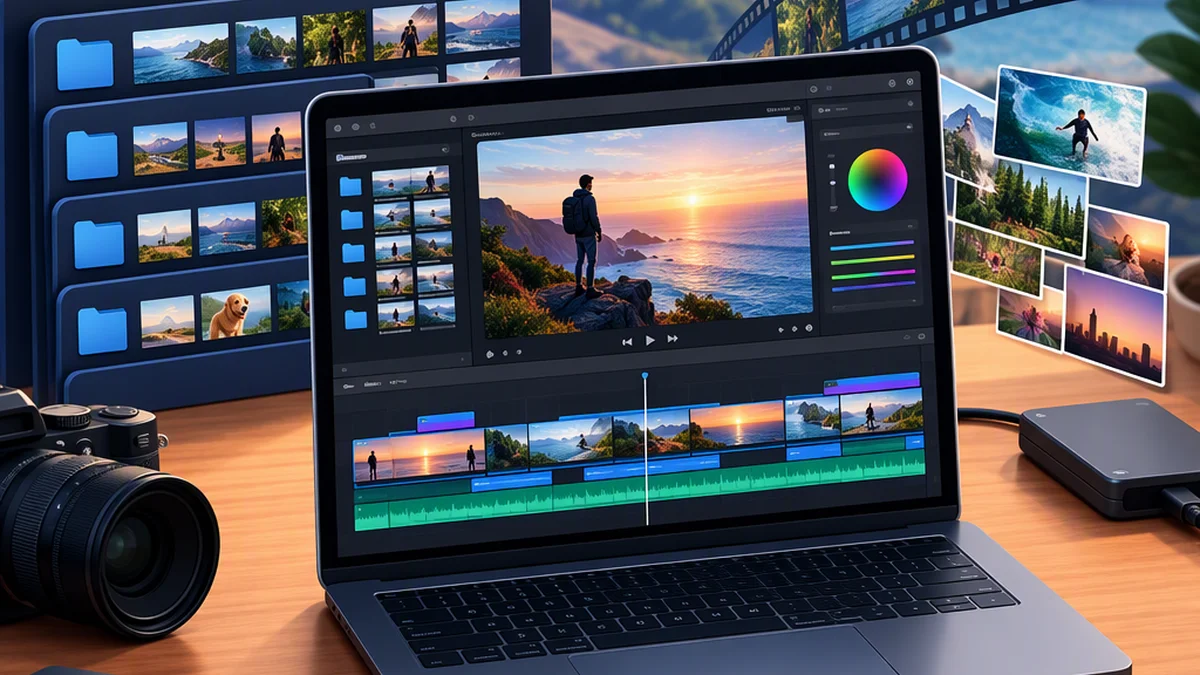
Fcp Video Editor: Set up Final Cut Pro Library Media
FCP means Final Cut Pro, Apple’s video editor for Mac and iPad. It is used to assemble clips into projects and edit picture and sound. [c1][c2] If you are starting a production or preparing one for another editor, understanding where its media lives is an important part of setup.
Final Cut Pro for Mac uses libraries containing events and projects. Final Cut Pro for iPad offers a touch-first editing experience and supports exporting projects to Mac. [c1] This guide covers library and media storage in Final Cut Pro for Mac, not the iPad interface or basic timeline editing.
You will learn how to choose where recordings live, check their actual locations, consolidate files for handoff, and distinguish library backups from media backups. For a broader introduction to the editing tools and platform options, start with Apple’s Final Cut Pro overview.
1. Confirm Your Platform and Workflow
The library instructions below apply to Final Cut Pro for Mac.
If your production will move between iPad and Mac, test the intended transfer with a small project before importing an entire shoot. Apple supports exporting an iPad project to Mac for additional features; do not assume transfers work identically in both directions. [c1]
Check Apple’s current requirements for your device, operating system, app version, and required features. Some features require Apple silicon or internet access. [c1]
2. Understand Libraries, Events, and Projects
A Final Cut Pro library tracks media, editing decisions, and associated metadata. It can contain multiple events and projects, and new events or projects are added to the active library. [c2]
Clips refer to underlying media files. Having a project in a library therefore does not necessarily mean all its recordings are stored inside that library. [c2]
Before importing, confirm that the correct library is selected. Use clear names that distinguish the production, its media groups, and its timelines.
For example, an interview production could use:
- Library:
Interview_Production - Event:
Interview_and_B-roll - Projects:
Interview_Review_01andInterview_Final
Choose names that another editor can understand, and record both the library location and the original-media locations.
3. Choose Managed or External Media
Apple distinguishes two storage arrangements: [c2]
| Arrangement | Where source media lives | What to check |
|---|---|---|
| Managed media | Inside the library | Whether the required recordings are actually in the library package |
| External media | Outside the library, with the library linking to it | Whether the required folders and storage devices will be available when reopening or handing off the library |
External media is not inherently incomplete or unsafe; it simply requires an explicit folder and device arrangement. Avoid moving or renaming source files casually during an active edit.
Make the Choice During Import
In File > Import > Media, review the file-handling options before importing:
- Copy to library copies imported files to the library’s configured media storage location. Check that location first: it may be inside the library or in an external folder.
- Leave files in place, when available, keeps source files at their existing locations and links to them rather than copying them to the configured media location.
The available options depend on the source being imported. Do not assume that every source supports leaving files in place.
Verify an Existing Clip’s Location
Select a source clip in the browser and use File > Reveal in Finder to inspect its file location. Check representative clips from each source folder or recording device, not just one clip from the production.
Keep these two questions separate:
- Where will newly imported media be stored?
- Where are the files already used by this library stored?
A storage setting answers the first question; checking the actual files answers the second.
Final Cut Pro edits project information rather than modifying the underlying recordings. [c2] That nondestructive editing model does not replace a separate backup of irreplaceable originals.
4. Set Library Storage Locations
To inspect or change a library’s storage settings: [c3]
- Select the library in the Libraries sidebar.
- Choose File > Library Properties, or press Control-Command-J.
- Click Modify Settings.
- Review the storage-location menus.
- Choose the intended destinations and click OK.
These storage fields serve different purposes: [c3]
- Media: imported, proxy, optimized, and consolidated media files.
- Cache: render, analysis, thumbnail, and waveform files.
- Backups: automatic backups of the library database—not copies of its media.
To locate or change where automatic library backups are saved, check the Backups menu in this dialog. Review the current destination, or choose the folder where you want future backups saved. Record that path separately from your media-backup location.
Record the Media and Cache destinations separately as well. For example, a production may keep source media in a dedicated delivery folder while using another location for cache files.
Changing the storage settings does not automatically move existing source media or backups. Apple says the new locations apply to future imports and other newly stored items; existing source media and backup files remain in their original locations. [c3]
After changing a setting, verify existing clip locations rather than assuming the old recordings have moved.
5. Consolidate Media to the Intended Destination
Consolidation copies media into the selected library file or its configured external storage location. It does not always mean “put everything inside the library.” [c3]
Before consolidating, confirm the library’s Media destination. Then: [c3]
- Select the library.
- Open Library Properties.
- Click Consolidate in the Media section.
- Select the optimized and proxy media checkboxes if those files are needed.
- Click OK.
Decide whether the recipient needs generated optimized or proxy media as well as original recordings. Apple notes that copying a project between libraries does not include associated proxy, optimized, or render files by default. [c2]
After consolidation, inspect the destination and check source-clip locations again. Keep the original recordings until the proposed handoff has been independently reopened and verified.
6. Verify the Handoff Without Relying on the Original Drive
A library can appear to work while still reading recordings from the original external drive. Checking it on the same connected setup is therefore not enough to establish a successful handoff.
Use this acceptance checklist:
- Record the delivery library location and every required media folder.
- Confirm that project media points to the intended delivery locations.
- Reopen the delivered library in the receiving environment, with the original source locations unavailable—for example, after safely ejecting the original source drive.
- Check for missing-media warnings and offline clips.
- Review every project included in the handoff for missing media.
- Play representative clips to check that picture and sound are accessible.
Do not delete originals to perform this test. Use a separate receiving setup or safely disconnect source storage after copying is complete.
The handoff has not passed if required media is missing, clips still depend on an unavailable source location, or the delivered library cannot be reopened. Record the affected clips and paths, then review the library’s storage settings and consolidation destination.
Sample playback is a useful quick check, but it does not replace a complete check of required media locations and missing-media status.
7. Keep Library Backups Separate from Media Backups
Final Cut Pro’s automatic library backups contain the library database, not its media files. [c3] A dated backup can preserve editing information without containing a separate copy of the recordings.
To check where future automatic backups will be saved, use the Backups storage field described in section 4. If you previously changed that destination, older backups remain in their original location. [c3]
Apple documents File > Open Library > From Backup as the route for opening a library backup from a particular time and date. [c3] Use that recovery route alongside—not instead of—your original-media backup plan.
A useful handoff or backup note includes:
- Library location
- Original-media locations
- Included optimized or proxy media
- Automatic library-backup location
- Separate original-media backup location
- Any unresolved missing-media or reopening problems
A library backup, a consolidated media copy, and a verified handoff serve different purposes. Check each separately.
FAQ
Is a Timeline Clip a Separate Copy of My Recording?
No. A clip represents media and points to a source file; it is not itself the recording. [c2] Whether the recording travels with the library depends on its actual storage location and what you include in the handoff.
Does Changing the Media Storage Setting Move Existing Files?
No. The new setting applies to future imports and other newly stored items. Existing source media remains in its original location unless you take a separate action, such as consolidation. [c3]
What Should a Beginner Check First?
Start with a small test library. Import a few clips, verify their actual file locations, inspect the library’s storage settings, and test reopening the library without access to the original source location. Resolve storage and backup questions before applying the arrangement to an entire shoot.