Edius Video Editing: A Beginner Workflow
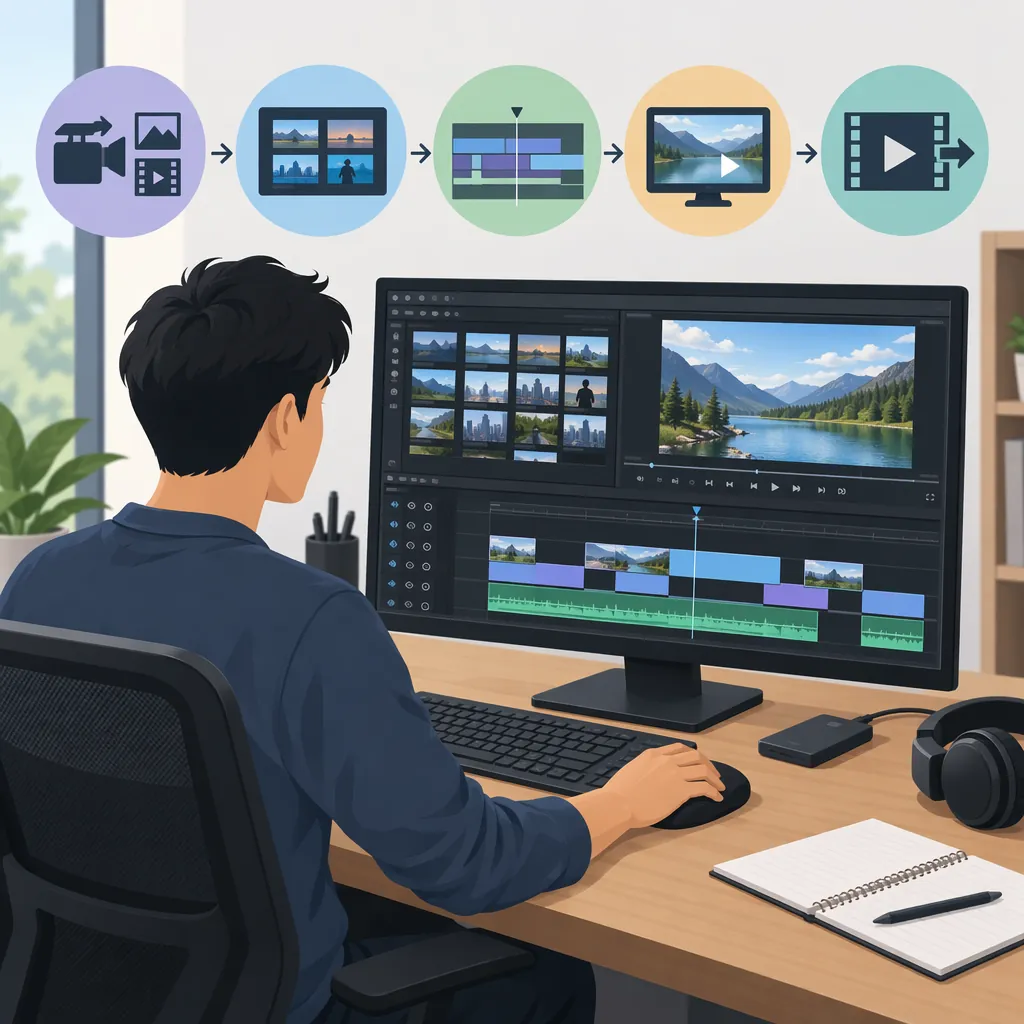
For a first EDIUS video editing project, work through project settings, media organization, timeline editing, titles, audio, and file export. Aim to finish a short sequence with organized media, a reviewed rough cut, one readable title, understandable audio, and a checked export.
The EDIUS basic tutorial provides an English introduction by Gavin Lucas, runs 106 minutes, and is available to watch online or download. Its chapters cover the Bin window, timeline editing, Sync Lock, titles, transitions, and export. [c1]
Scope: This guide pairs those tutorial topics with practice goals, not verified menu-by-menu instructions. The tutorial page does not identify the demonstrated EDIUS version; use documentation matching your installed version for exact controls. [c1]
Prepare Your Project Before Editing
Start with a small practice project: a few representative video clips, a short audio recording, and a simple title. Choose material that lets you practice the complete workflow without managing a large production.
Before choosing project settings, write down the delivery destination and its requirements: frame size, frame rate, aspect ratio, and audio specifications. These are project decisions, not universal EDIUS defaults.
Use the tutorial's interface, important settings, individual layout, and importing-material chapters for orientation. [c1] Your practice goal is to create and save a project, record its settings, and import the selected media. Before continuing, confirm that you can locate the imported clips and review their picture and sound.
For installation or update questions, the EDIUS 11 Downloads page distinguishes edition-specific installers and links to important notes, supported operating systems, and design limitations. Consult those linked requirements rather than treating the installer listing alone as a complete compatibility check. [c2]
Project Preparation Worksheet
- Installed EDIUS version, build, and edition: ______
- Intended delivery destination: ______
- Required frame size and aspect ratio: ______
- Required frame rate: ______
- Audio delivery requirements: ______
- Source media folder: ______
- Project and export folders: ______
- Representative test clips selected: ______
Completion check: You have a saved practice project, a written settings record, and imported media you can locate and review.
Organize Media and Build a Rough Cut
The tutorial includes chapters on working with the Bin window, working in the timeline, and Sync Lock. [c1] Use them in that order to connect media preparation with editing and revision.
1. Organize the Practice Media in the Bin
Follow the Bin chapter to learn the available organization controls. For this exercise, group material by purpose—for example, interviews, supporting footage, music, and graphics—and use recognizable names.
Practice result: You can find each selected clip without searching through an undifferentiated collection, and you can identify what role it will serve in the sequence.
2. Assemble a Short Timeline Sequence
Use the timeline chapter to learn how to select and arrange material. [c1] Build a short rough cut around one message or sequence of events. A useful exercise is a beginning that establishes the subject, a middle that develops it, and an ending that completes the thought.
Review the sequence before adding decorative effects. Remove moments that do not contribute to its purpose and inspect cut boundaries for accidental gaps or unwanted frames.
Practice result: You have a playable rough cut with an understandable order and no obvious unintended material.
3. Check Alignment After a Timing Change
Save a separate revision, then make a small timing change using controls documented for your version. Review both the changed area and later clips, including related audio.
Use the tutorial's Sync Lock chapter to study that setting before relying on it during revisions. [c1] This exercise does not assume a particular Sync Lock behavior; its goal is to make checking alignment part of your editing routine.
Practice result: You have reviewed the revised sequence and confirmed whether picture and related audio remain aligned.
Rough-Cut Review Checklist
- Can you explain the sequence's purpose in one sentence?
- Does each selected clip contribute to that purpose?
- Are there accidental gaps or unwanted frames?
- Is dialogue aligned with the intended picture?
- After a timing change, have you checked later clips?
- Have you saved a separate revision before major restructuring?
Review Titles, Audio, and Export
Once the rough cut works, finish a few elements rather than applying every available effect. The basic tutorial lists transitions, title basics, adding music from an audio CD, and exporting to disc, AVCHD, and file among its topics. Those chapters are learning resources, not recommendations for a particular delivery format today. [c1]
Add and Check One Title
Use the title-basics chapter to learn the relevant controls. [c1] Add one title that identifies the subject or introduces the sequence.
Review its spelling, readability, placement, and duration against the actual footage.
Practice result: The title communicates its purpose, remains readable, and appears at the intended time.
Review Audio and Transitions
Listen through the sequence, paying attention to abrupt audio changes and whether speech remains understandable against music. If music is not needed, leave it out.
The tutorial includes transition and audio-CD music chapters. [c1] Use transitions deliberately; a plain cut is sufficient when the sequence does not need another treatment. The audio-CD chapter should not be treated as a general guide to every current music-import workflow.
Practice result: You have reviewed the full sequence's sound and checked any transitions you chose to use.
Export and Inspect a Test File
Use the file-export portion of the tutorial as an introduction, then consult your version's guidance for the exact export controls. [c1] Select settings from the recipient's requirements rather than assuming one preset fits every destination.
Export a short representative segment containing picture, sound, and a title. Open the resulting file separately from the editing timeline and check its framing, motion, titles, sound, and duration.
Practice result: You have a test file that you have inspected in the intended review environment. This check does not establish compatibility with every destination or playback device.
Export Acceptance Checklist
- Export settings match the written delivery requirements.
- The exported file opens in the intended review environment.
- Framing and aspect ratio are correct.
- Titles are readable and correctly spelled.
- Dialogue, music, and picture remain aligned.
- The beginning and ending contain no unintended material.
- After the test passes, the full export has been reviewed—not only the timeline preview.
Check Version-Specific Limitations
When something behaves unexpectedly, record the EDIUS edition, exact build, media characteristics, and any involved plug-in before changing settings or updating software.
The EDIUS 11 Downloads page lists build 11.51.22362, released September 29, 2026, alongside fixes and known issues. These notes describe a specific release context, not every EDIUS installation. [c2]
Two cautions are particularly relevant to this practice workflow:
- Stabilizer and export: The page lists a known issue in which the Stabilizer filter is ignored if file export starts before its analysis completes. Wait for analysis to finish and review the exported result. [c2]
- VisTitle compatibility: The page states that VisTitle 3.0.0.x must be updated to 3.1.0.0 or later for EDIUS 11.10 and later. Check the installed plug-in version when investigating title-related compatibility. [c2]
Do not assume an update or downgrade is a universal fix. Read the applicable release notes first; the page also includes downgrade-related instructions involving GV License Manager. [c2]
Troubleshooting Record
- EDIUS edition and exact build: ______
- Plug-in name and version, if involved: ______
- Source file characteristics: ______
- Project settings: ______
- Steps that reproduce the problem: ______
- Does it occur in preview, export, or both? ______
- Relevant release-note entry: ______
FAQ
Is There an English Edius Tutorial for Beginners?
Yes. The EDIUS basic tutorial is an English introduction by Gavin Lucas, with a running time of 106 minutes, available online or as a download. Its description addresses new users and people switching from another editing platform, but does not identify the demonstrated software version. [c1]
What Should I Complete in My First Edius Project?
Aim for organized media, a short rough cut, one checked title, reviewed audio, and an inspected test export. These are practice goals paired with the tutorial's Bin, timeline, title, transition, music, and export topics—not a claim that the tutorial provides current steps for every installed version. [c1]
Which Export Settings Should I Use?
Use the receiving platform's or recipient's requirements. The basic tutorial includes file export, but does not establish one universal export configuration. [c1] Test a representative segment and inspect the resulting file before exporting and reviewing the complete sequence.
What Should I Check Before Updating Edius 11?
Confirm your edition and build, back up your project, and review the applicable installer notes, plug-in requirements, fixes, and known issues. The EDIUS 11 Downloads page includes specific VisTitle compatibility and downgrade cautions, so updating and downgrading should not be treated as interchangeable troubleshooting steps. [c2]