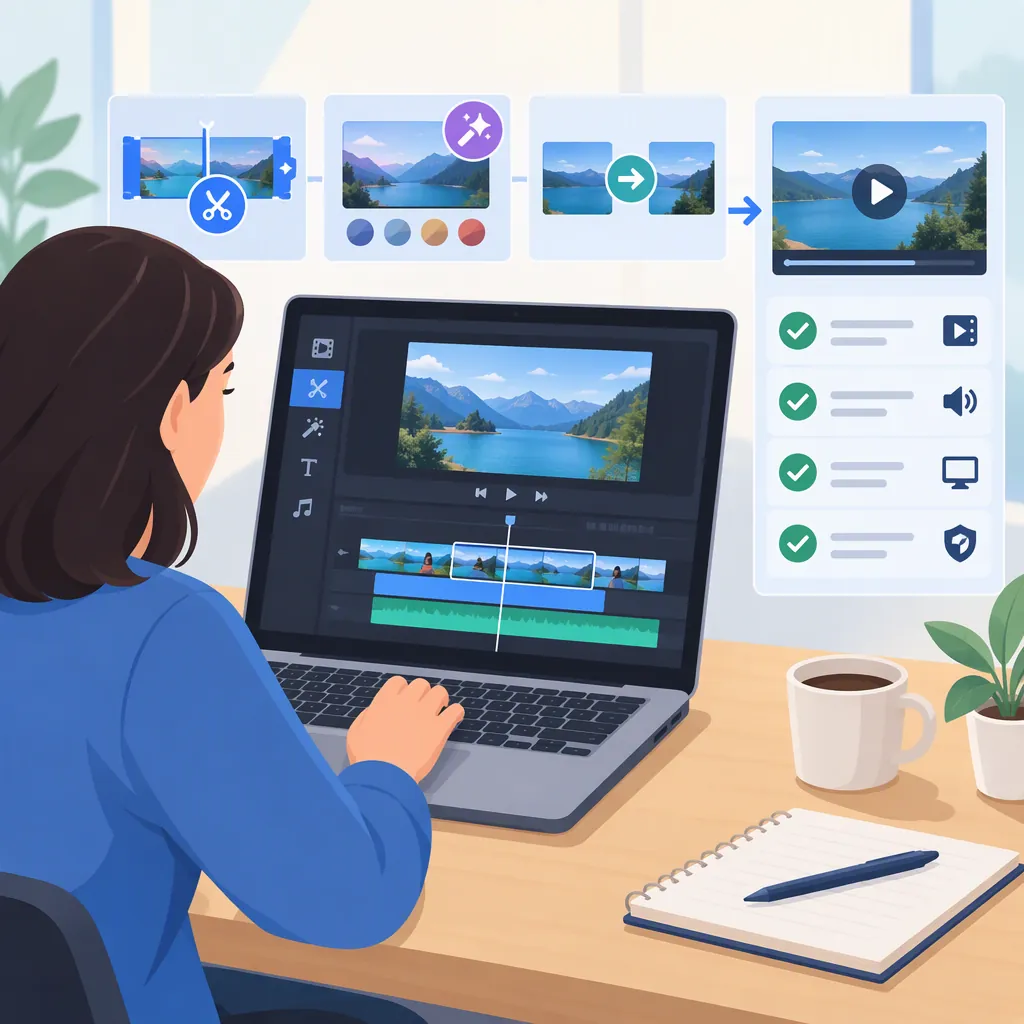
Easeus Video Editor: Editing Preparation and Verification Guide
Before starting a full project in EaseUS Video Editor, test whether your installed version can handle your footage, required edits, and final output. The available Apponic listing records version 1.5.6.9, a Demo license, EaseUS as the developer, and Windows 7/8/10 as operating systems. These are third-party listing details—not confirmation of current availability, licensing, or compatibility. [source_1]
This guide covers editing preparation and project-specific checks, not verified menu instructions or current product capabilities.
What Is Known—And What You Need to Verify
| Area | What the available source records | What remains to be checked |
|---|---|---|
| Version and developer | Version 1.5.6.9; developer EaseUS | Your installed version and its support status |
| License | Demo | Applicable terms, current pricing, and any usage or export restrictions |
| Operating systems | Windows 7/8/10 | Compatibility with your actual system |
| Export restrictions | Watermark behavior is not specified in the supplied listing | Whether a test output contains a watermark or other limits |
The recorded details come from Apponic, not a current vendor manual. Use them as background rather than as requirements or guarantees for your installation. [source_1]
Test Your Installation Before Editing
Choose a short sample that represents the actual project: similar footage, audio, framing, and any text you need to include. Keep the original files unchanged while testing.
The checks below are project acceptance criteria, not confirmed EaseUS Video Editor capabilities. Continue only when the results meet your needs; a successful test applies to the files and settings tested, not every possible project.
Pre-Project Verification Checklist
| Verification item | Record these results | Condition for continuing |
|---|---|---|
| Version and system | Application version, operating system, and any startup errors | The application opens on the intended system without an unresolved issue that blocks the work |
| License terms | Applicable terms and any stated usage or output restrictions | The terms permit your intended use; unresolved restrictions are clarified before committing |
| Source footage | Whether each representative clip opens, displays correctly, and plays with its expected audio | Required footage is usable without unexplained missing picture or sound |
| Editing controls | Whether you can perform the specific changes your project requires | Required operations are available and work in the test |
| Project saving | Where the project is saved and what happens after closing and reopening it | The test project reopens with its media and edits intact |
| Sample export | Whether output is available, completes, and shows a watermark or other restriction | The output meets your project’s licensing and delivery requirements |
| Picture and sound | Framing, resolution, text readability, audio levels, and synchronization in the exported file | The sample meets the destination’s requirements and has no unresolved defects |
Pause before the full edit if required footage fails to open, necessary controls are unavailable, the project cannot be reopened reliably, or the output has unacceptable restrictions. Record the symptom and the test conditions rather than assuming the cause.
Keep a brief test note with the version, sample filenames, output settings, observed problems, and pass-or-pause decision. This gives you a clear basis for deciding whether to proceed.
Build the Edit Around Your Test Results
The following is a general workflow to use in EaseUS Video Editor only where your installed version supports it. It is not a verified sequence of product commands.
1. Define the Deliverable
Write down the intended audience, approximate duration, destination, and required picture and sound specifications. Include any restrictions that matter to the project, such as whether watermarked output is acceptable.
Use these requirements to judge the sample export. Do not start a deadline-sensitive edit while a necessary output requirement remains untested.
2. Organize and Check the Media
Keep original footage separate from working files and use clear filenames. Test representative files before assembling the sequence.
If one type of source file fails the check, resolve that issue before relying on it throughout the project. A successful test with one clip does not establish that all other clips will work.
3. Confirm Required Controls, Then Build a Rough Sequence
List the changes the project needs—for example, removing unwanted portions, arranging clips, adjusting sound, or adding text. Test each required operation before building the full sequence; these examples are requirements to investigate, not claims about available features.
Once the checks pass, select the useful material and arrange it in an order that communicates the story. Focus first on meaning and sequence rather than fine adjustments.
4. Save, Reopen, and Refine
After the rough sequence, save and reopen the project using the method you tested. Confirm that the media and edits remain intact before investing more time.
Then review the cuts for unwanted starts, pauses, and endings. Listen for distracting level changes. If your project includes text, check spelling, readability, placement, and timing.
5. Validate a Sample Before the Full Output
If export is available, produce a short sample containing representative edits, sound, and text. Review the exported file independently of the editing preview.
Proceed to the complete output only after the sample meets your delivery requirements. If you change an output setting or introduce a previously untested type of media, repeat the relevant check.
Review the Finished File
Treat the saved project and exported video as separate deliverables. If your version supports both, retain the project for later changes and check the exported file on its own.
Watch the entire output, not just the opening. Check for:
- Missing footage, unintended black frames, or incorrect clip order.
- Cropped picture or text that is difficult to read.
- Unexpected watermarks or incomplete output.
- Missing audio, abrupt level changes, or synchronization problems.
- A duration, framing, or resolution that does not meet the destination’s requirements.
Keep the original media and necessary project files until the delivery has been checked. If you find a problem, note where it occurs and determine whether it is also present in the editing preview or only in the exported file before making changes.
FAQ
Is Easeus Video Editor Free?
The Apponic listing labels the license as Demo; that does not establish unrestricted free use or current pricing. Read the applicable terms for the version you intend to use, including any restrictions on your intended output. [source_1]
Does Easeus Video Editor Support Windows 11?
The supplied listing names Windows 7/8/10, not Windows 11. That omission neither confirms nor rules out Windows 11 compatibility for a current version. Check the requirements for your intended version, then test startup, representative footage, project reopening, and output on your system. [source_1]
Will an Export Have a Watermark?
The supplied listing does not specify watermark behavior, and its Demo label alone does not answer the question. Review the applicable terms and inspect a short test export before editing the full project. [source_1]
Does This Guide Provide Exact Easeus Video Editor Menu Steps?
No. The available reference is a third-party listing, not a current vendor manual, so it does not establish version-specific menu instructions. Use this guide to define your checks and acceptance criteria, then follow instructions that match your installed version. [source_1]
Sources
- [source_1] EaseUS Video Editor Download