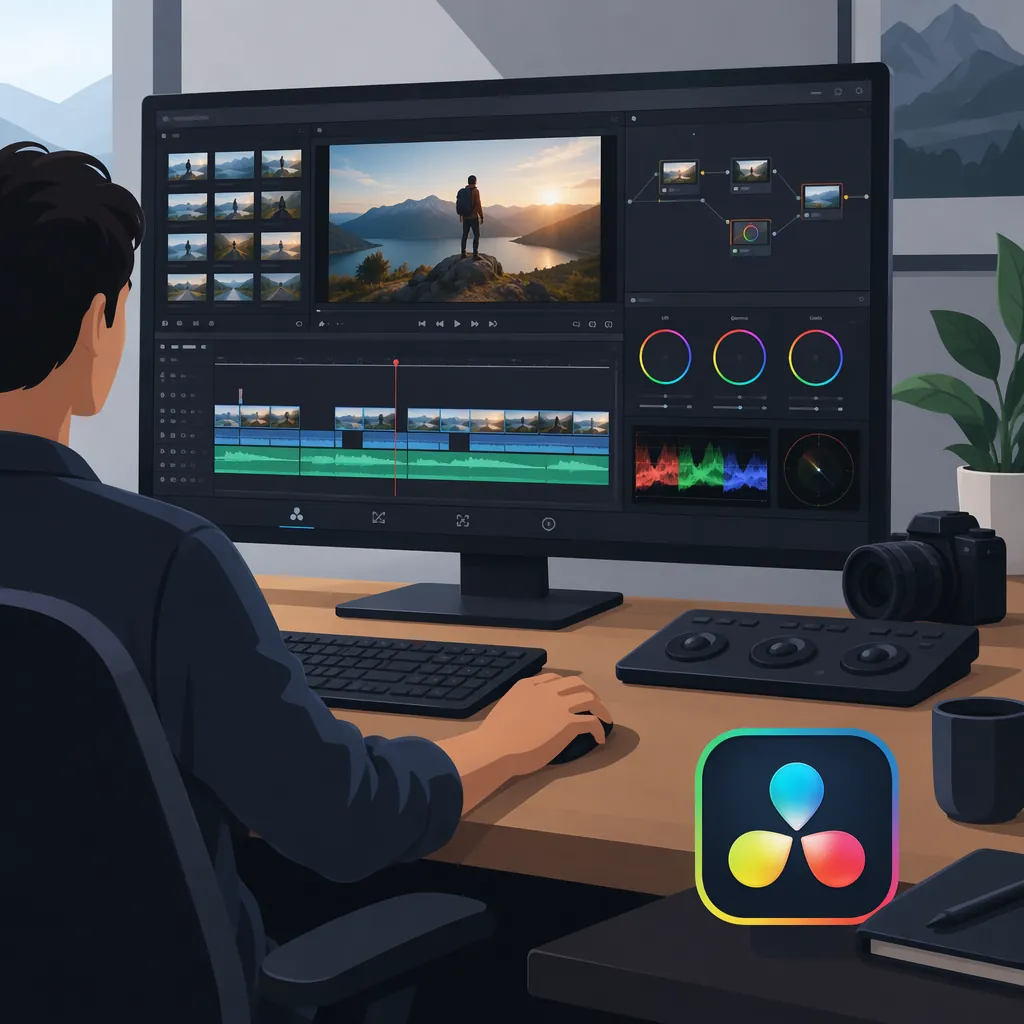
Blackmagic Video Editor: A Beginner’s Guide to DaVinci Resolve
DaVinci Resolve is Blackmagic Design’s video-editing software, identified in the company’s editing training and release materials. This guide gives you a small first-edit exercise: organize a few clips into bins, assemble a timeline, trim the sequence, add a title, and review an exported file. [ref_1] [ref_2]
For specific editing demonstrations, use Blackmagic Design’s Introduction to Editing in DaVinci Resolve 15. It covers importing and organizing media, timeline assembly, trimming, transitions, reframing, keyboard customization, and titles. [ref_1]
Version note: The training is for Resolve 15. The other reference is Blackmagic Design’s April 4, 2025 Resolve 20 announcement, which described a public beta at publication. Neither establishes today’s latest release, current pricing, complete edition differences, or system requirements. Check your installed version and edition before following a demonstration or relying on a particular feature. [ref_1] [ref_2]
Make Your First DaVinci Resolve Edit
The following exercise is an editorial practice plan, not a reproduction of Blackmagic Design’s training or a current menu-by-menu tutorial. Its import, bin organization, timeline, trimming, transition, and title tasks correspond to subjects covered in the Resolve 15 training. Use that demonstration for specific operations, allowing for differences in your installation. [ref_1]
Prepare a Small Practice Project
Choose material you have permission to edit:
- One main clip, such as a short explanation or demonstration.
- Three to five supporting shots showing the subject or action.
- Optional separate audio, if it is relevant to the sequence.
- A short, accurate title.
Aim for a 30–60-second sequence with a clear opening, middle, and ending. This duration is a suggested exercise constraint, not a Resolve requirement.
Before starting, record:
- Installed Resolve version and edition: ______
- Practice subject: ______
- Intended destination and screen shape: ______
- Required delivery specifications, if any: ______
- Tutorial version being followed: ______
1. Import and Organize the Media
Import your selected clips into the practice project. Create clearly named bins—for example, Main Clip, Supporting Shots, and Audio—and place each item in the appropriate bin.
Review the footage before editing. Note which section of the main clip explains the subject most clearly and which supporting shots add useful information.
Completion standard: You can locate each selected clip without searching through an unsorted collection.
2. Assemble One Timeline
Create a timeline and place the selected material in a beginning-to-end order. Start with the main explanation or action, then incorporate supporting shots where they help the viewer understand it.
Do not make automation, complex animation, or unfamiliar effects necessary to finish this first exercise.
Completion standard: The timeline contains a complete rough sequence rather than disconnected fragments. It communicates the subject even before polishing.
3. Trim for Meaning and Pacing
Revisit the start and end of each clip. Remove unnecessary pauses, repeated information, and shots that do not contribute to the sequence.
Play across each cut rather than judging it only from a still frame. Check that removing material has not changed the speaker’s meaning or made the action confusing.
Completion standard: Each shot has a clear purpose, and adjacent clips play together without unintended gaps or confusing jumps.
4. Add a Title and Check Framing
Add one title that identifies the subject or provides necessary context. Check spelling, readability, and how long it remains visible.
Review the framing of each shot. If you reframe a shot, confirm that important details remain visible. Add a transition only when it serves a clear purpose; leaving a straightforward cut is an acceptable choice.
Completion standard: The title is accurate and readable, and the framing preserves the information the viewer needs.
5. Watch the Whole Sequence
Play the timeline from beginning to end without stopping. Write down problems, then address them in a separate pass.
Listen for understandable speech and unintended audio interruptions. Review the opening, pacing, title, supporting shots, and ending together—not just as individual edits.
Completion standard: The sequence makes sense as a complete piece, and any unresolved problems are recorded.
First-Edit Checklist
- Clips are organized into understandable bins.
- One timeline contains a complete sequence.
- The opening establishes the subject.
- Each shot contributes information or context.
- Cut points have been checked during playback.
- Titles are readable and correctly spelled.
- Framing preserves important details.
- Audio is understandable.
- Remaining issues are listed for another pass.
Explore Newer Tools Only When They Fit the Task
Blackmagic Design’s DaVinci Resolve 20 announcement — April 4, 2025 described a dedicated keyframe editor on the Cut and Edit pages, voiceover tools, and layout changes for vertical projects. These may be relevant when you move beyond a basic assembly into animation, narration, or vertical delivery. [ref_2]
The same announcement named several AI-assisted tools. The task mappings below describe announced capabilities, not independently verified results or guarantees of quality or time savings. [ref_2]
| Announced tool | Task described in the announcement | Suggested review focus |
|---|---|---|
| AI IntelliScript | Assemble a timeline from a script by matching transcribed clip audio | Selected takes, omitted material, and fidelity to the script |
| AI Animated Subtitles | Animate subtitle words as they are spoken | Wording, timing, and readability |
| AI Multicam SmartSwitch | Select multicamera angles using active-speaker detection | Speaker changes and whether each angle supports the scene |
| AI Audio Assistant | Analyze timeline audio and create a mix | Dialogue clarity and the balance of speech, music, and effects |
The tool names and task descriptions above come from the April 2025 announcement. The review checks are editorial recommendations. [ref_2]
Before testing a tool, verify its availability in your installed version and edition. Use a short section first, compare the result with the original material, and decide whether to use, correct, or omit it.
Compact test record:
- Task and tool: ______
- Version and edition availability checked: ______
- Test section and errors found: ______
- Decision: use, revise, or omit: ______
Review the Export as a Separate Deliverable
As a general editing practice, treat the exported file as a separate item to check. A timeline that looks finished still needs an output review.
Record the intended destination’s delivery requirements before choosing export settings. Then export the practice sequence and play the resulting file from beginning to end.
If you find a problem, distinguish between:
- An editorial issue: incorrect title text, an awkward cut, or missing content in the timeline.
- An output-settings issue: a file that does not match the required delivery specifications.
This guide does not prescribe a universal resolution, frame rate, codec, or export preset. Choose settings according to the project’s requirements rather than assuming one combination fits every destination.
Export Quality-Control Checklist
- Delivery specifications were recorded before export.
- The output file opens and plays through.
- The opening and ending are intentional.
- Titles and any subtitles are accurate and readable.
- Framing suits the intended screen shape.
- Audio is understandable and continuous.
- The file matches the required delivery specifications.
FAQ
What Is the Blackmagic Video Editor Called?
DaVinci Resolve is the video-editing software identified in Blackmagic Design’s training and release materials. The references here cover Resolve 15 editing training and the Resolve 20 announcement. [ref_1] [ref_2]
Can I Use Resolve 15 Training to Learn Editing Basics?
Yes, as a starting point for topics such as importing media, organizing bins, assembling a timeline, trimming, transitions, reframing, and titles. Because the training is version-specific, do not assume its interface or exact steps match a newer installation. [ref_1]
Do I Need AI Tools to Complete This Practice Edit?
No AI step is part of the exercise. Its core tasks follow the traditional editing subjects covered by the Resolve 15 training. The AI tools described in the Resolve 20 announcement are optional areas to explore afterward, subject to availability in your installation. [ref_1] [ref_2]
Does the Resolve 20 Announcement Confirm the Latest Version or Which Features Are Free?
No. It describes public-beta availability on April 4, 2025, not current release status or a complete feature comparison between editions. It should not be used as a current pricing or entitlement guide. [ref_2]