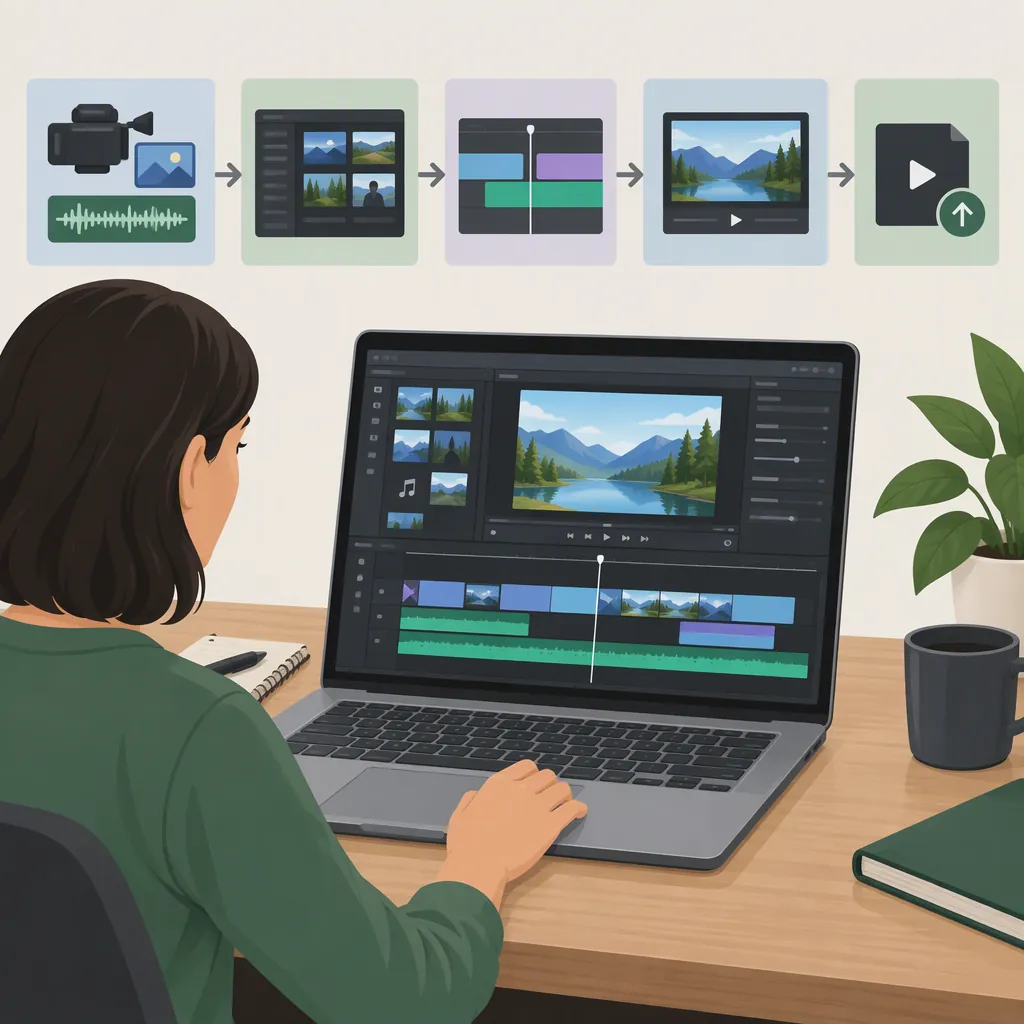
Camtasia Video Editing: From Recording to Export
For Camtasia video editing, prepare and record your content, choose how to arrange the recorded media, trim unwanted beginnings and endings, split clips where needed, and export the timeline. TechSmith documents both packaged Rev Media and separate-track editing. The steps below follow its public support guide; controls and export options can differ between Windows, Mac, and installed versions. [c1]
Prepare the Recording Before Editing
Start with a short outline of what the viewer needs to learn. As an editorial practice, give each recording segment one clear purpose: introduce the task, demonstrate an action, or show the result.
TechSmith recommends rehearsing a script, closing unnecessary applications, disabling desktop notifications, and cleaning up the recording area before capture. These precautions address unwanted material that might otherwise appear in the recording. [c1]
In the documented workflow, open New Recording from the Camtasia Home window or select Record from an open project. Choose the screen area and the camera, microphone, and optional system-audio inputs you need. System audio captures computer sounds, including application alerts. [c1]
Before making the full recording, consider a brief test. Review whether the text is readable, the microphone is audible, and the camera position leaves important screen content visible. This is a suggested quality check, not a guarantee of recording quality.
Pre-Recording Checklist
- Write the video's purpose in one sentence.
- Rehearse the steps you will demonstrate.
- Close unrelated applications and browser tabs.
- Disable notifications that could interrupt the recording.
- Check the selected screen area and recording inputs.
- Record and review a short test before the full take.
Choose How to Organize Recorded Media
If Camtasia Rev is enabled in the recorder, TechSmith says it opens after recording stops. From Rev, Edit in Camtasia continues the workflow in the editor. The support guide describes two ways to place the recording on the timeline: [c1]
- Rev Media: Combines the recorded screen, camera, and audio streams into one media package.
- Unpacked Media: Places the recorded streams on separate tracks for more individual editing control.
As a workflow choice, use the packaged arrangement when you intend to edit the recording mainly as a unit. Consider separate tracks when your planned edits require handling the screen, camera, or audio independently.
For Rev Media, the documented Modify control reopens Rev to change the layout or effects. The guide also describes selecting a media stream in Properties or adjusting its position on the canvas—for example, when the camera covers relevant screen content. [c1]
Trim Clips and Split at Meaningful Boundaries
Make a first editing pass focused on sequence and timing before adding decorative elements.
Trim a beginning or ending: Select the media on the timeline and drag its end inward. TechSmith notes that you can drag the end back outward to restore trimmed content and that trimming does not affect the original recording in the media bin. [c1]
Split a Rev Media clip: Select the clip, move the playhead to the desired position, and click Split. The documented result is two separate clips. You can then use Modify to apply a different layout or effects to a section and save those changes. [c1]
A split creates a boundary; it is not, by itself, a removal step. Use boundaries deliberately—for example, between an introduction and a demonstration—rather than making cuts simply to increase visual activity.
After each edit, preview across the boundary. Listen for interrupted words and check that the demonstrated action still makes sense. This review is an editorial recommendation rather than a Camtasia-specific feature claim.
Add Visual Guidance Without Obscuring the Task
TechSmith describes annotations as visual elements and text used to emphasize content, direct attention, provide information, or cover areas of a video. [c1] As an editorial guideline, add an annotation only when it answers a viewer's likely question, such as where to click or which value to inspect.
The support guide documents adding transitions from the Transitions tab by dragging one onto timeline media. Placement determines whether it applies to the beginning, end, or adjoining ends of clips. Its duration can be adjusted by dragging the transition's end. [c1]
Use transitions selectively. A direct cut may be sufficient when the viewer is following a continuous procedure. Preview any annotation or transition to check that it does not hide a control, distract from narration, or imply an action that was not actually demonstrated.
Export and Review the Finished File
The documented local export route is Export > Local File. On Windows, the guide describes choosing a preset or custom settings. On Mac, it describes choosing a file format and using Options for advanced settings. [c1]
For a conventional video deliverable, choose the format and dimensions required by its destination rather than assuming one setting suits every project. Review the exported file separately from the editor preview.
If the project includes interactive elements, check delivery requirements before exporting. TechSmith states that its Smart Player is required for the interactive features described in the guide and specifically notes that YouTube does not support Camtasia quizzes or interactive hotspots. Do not assume every destination preserves every project feature. [c1]
Documentation limit: This article relies on the supplied TechSmith workflow, which includes Windows and Mac differences. It does not establish current pricing, plan entitlements, hardware requirements, or identical controls across all Camtasia releases.
Export Review Checklist
- Open the exported file and watch it from beginning to end.
- Check that the beginning and ending are intentional.
- Listen across every edited boundary.
- Confirm that screen text and annotations are readable.
- Check that the camera does not cover important actions.
- Verify any required captions or interactive elements in the intended playback environment.
FAQ
Does Trimming Change the Original Recording?
According to TechSmith, trimming a clip on the timeline does not affect the original recording in the media bin. You can drag the clip end back outward if you trimmed too much. [c1]
What Is the Difference Between Rev Media and Unpacked Media?
Rev Media combines recorded screen, camera, and audio streams into one package. Unpacked Media places those streams on separate tracks for more individual editing control. These are the two arrangements described in TechSmith's Rev-to-editor workflow. [c1]
Can I Export Only Part of the Timeline?
Yes. The guide describes selecting a timeline range with the green and red playhead handles. On Windows, right-click the selection and choose Export Timeline Selection As. On Mac, choose Export > Local File and confirm that only the selected portion should be exported. Check the controls in your installed version. [c1]