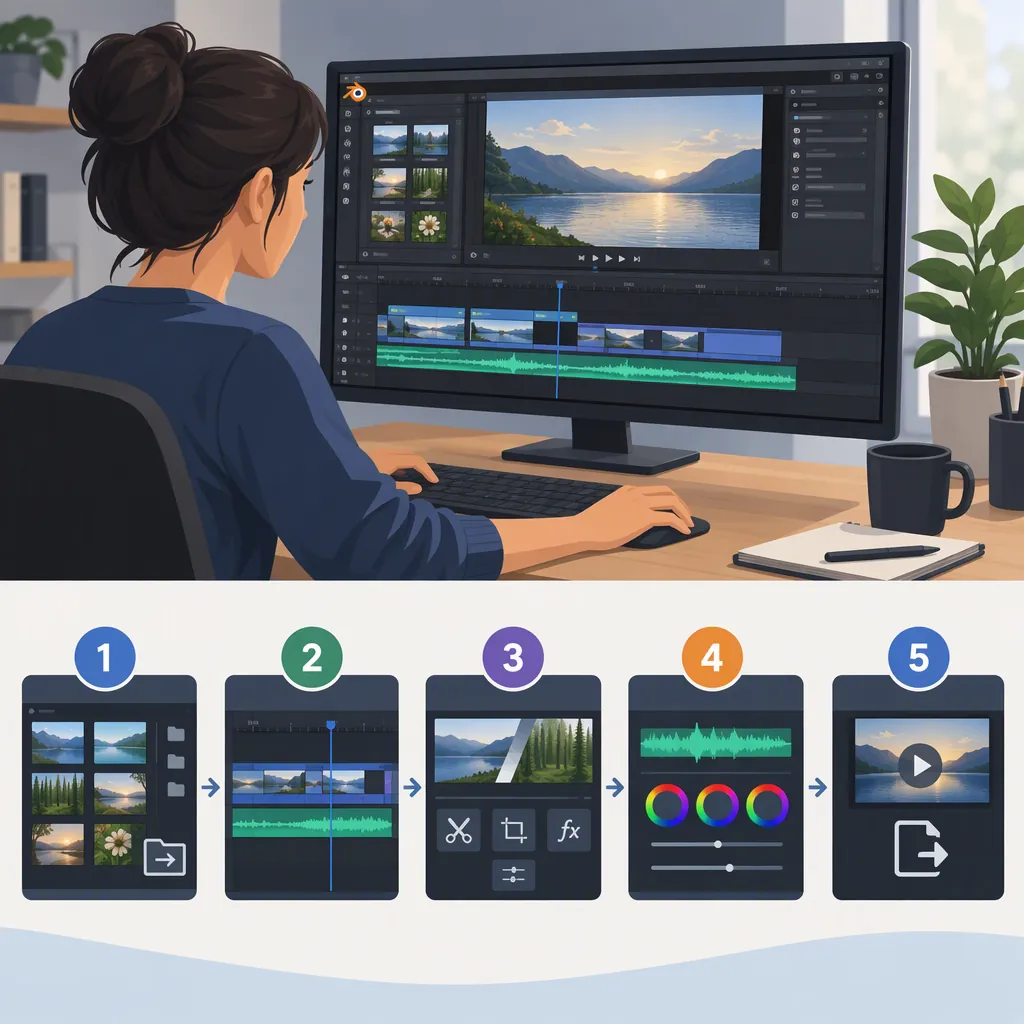
Blender Video Editor: A Beginner’s Editing Workflow
To start editing video in Blender, open the Video Editing preset, drag footage into the Sequencer, trim strip edges, and split selected strips with K. Blender Studio’s 4.5 LTS lesson documents these basics, including moving strips with G and adjusting colors with modifiers. These instructions are version-specific; older community tutorials may show different controls. [blender45] [tutorial2020]
Open the Video Editing Workspace
Blender’s video editing workflow uses the Video Sequencer. In the Blender Studio 4.5 LTS lesson, the Video Editing preset provides a lower Sequencer for arranging strips and an upper preview for viewing the result. [blender45]
For a practice edit, start with a new file and select Video Editing from the splash screen. The lesson also identifies Ctrl + N as a way to open the preset selection. Use a separate practice file so that learning the interface does not interfere with an existing project. [blender45]
Keep the first exercise small: choose a short clip and concentrate on importing, trimming, and splitting before adding effects.
Import Footage and Check Its Size
Drag a video file into the Sequencer to add it to the edit. The lesson describes the sidebar as the location for a strip’s settings. It also explains that the purple indicator beneath the timecode shows cached timeline areas, with image data stored in RAM. [blender45]
Check the project resolution before making framing decisions. The lesson warns that footage whose resolution differs from the default 1920 × 1080 will be scaled. It describes two approaches: set the intended resolution and reset the strip’s Transform scale to 1, or select the strip and use Image > Apply > Scale to Fit. [blender45]
Choose the approach according to your intended output. Matching the project to the source and fitting the source into a differently sized project are different editing decisions; do not assume that every project should use the default dimensions.
Trim, Move, and Split Strips
The Sequencer arranges media as strips across timeline channels. Blender Studio’s lesson documents these basic operations: [blender45]
- Trim: Drag the start or end of a strip with the left mouse button to change its length.
- Move: Select a strip and press G to reposition it in the timeline.
- Split: Select a strip, or multiple strips, and press K to split the selection.
- Add: Use Shift + A to access strip-adding options.
For a first exercise, trim unwanted material from the beginning and end, then split at one intended edit point. Review the preview after each change rather than making several unfamiliar edits at once.
The checklist below is an editing exercise, not a complete export procedure.
First-Edit Practice Checklist
- [ ] Open a separate practice file in the Video Editing preset.
- [ ] Drag one short video file into the Sequencer.
- [ ] Check the project resolution and strip scale.
- [ ] Trim the strip’s beginning and end.
- [ ] Split the selected strip at one intended edit point with K.
- [ ] Practice moving a selected strip with G.
- [ ] Review the preview for unintended gaps or framing changes.
Add Color Adjustments with Care
The Blender Studio lesson describes strip modifiers as stacked adjustments and shows them as a way to adjust the colors of most strips. It also cautions that compressed footage can limit the quality of subsequent color adjustments. [blender45]
For rendered material, the lesson suggests EXR or 16-bit PNG when preserving bit depth matters. This is guidance about retaining image information, not a guarantee that changing formats will improve footage already recorded or compressed. [blender45]
Keep compositing separate from basic timeline editing when planning the project. In the supplied 2022 community discussion, participants describe using the compositor for green-screen work rather than treating it as a straightforward video-editor operation. That discussion is historical context, not confirmation of current feature availability. [community2022]
Account for Version and Export Limits
Use the Blender Fundamentals 4.5 LTS lesson as the version-specific basis for the controls described here. The community tutorial series was posted in 2020, and its author acknowledged interface changes in Blender 2.92 in a 2021 reply. It lists topics such as video and audio import, cutting, speed changes, text, photos, and color correction, but its age matters when following interface instructions. [blender45] [tutorial2020]
The supplied community discussion contains differing opinions about Blender’s suitability for editing. Those posts document individual preferences and workflows; they do not establish comparative speed, reliability, or professional suitability. [community2022]
The supplied 4.5 LTS course outline lists an exporting lesson, but the provided text does not include its export instructions. Consequently, this article does not prescribe an output codec, container, audio configuration, or exact export menu sequence. Before a final output, use a short test to check framing, duration, sound, and playback against your project requirements. [blender45]
FAQ
Can Blender Be Used to Edit Video?
Yes. Blender Studio’s 4.5 LTS lesson documents a Video Editing workspace with file import, timeline strips, trimming, splitting, and color modifiers. This establishes a basic editing workflow without implying that Blender is the best choice for every project. [blender45]
How Do You Cut a Clip in Blender?
The 4.5 LTS lesson identifies K as the shortcut for splitting selected strips. For trimming the beginning or end instead, it describes dragging a strip’s edge with the left mouse button. [blender45]
Can You Follow Older Blender Video Editing Tutorials?
Treat them as version-specific learning material. The supplied 2020 tutorial covers common editing topics, but its author later acknowledged changes in Blender 2.92. Compare interface-dependent instructions with material for the version you are using. [tutorial2020]
Sources
-
[blender45] Video Editing Theory - Blender Fundamentals 4.5 LTS - Blender Studio
-
[tutorial2020] Video Editing With Blender (Complete Tutorial Series) - Tutorials, Tips and Tricks - Blender Artists Community
-
[community2022] Anyone use Blender's video editor? - Blender and CG Discussions - Blender Artists Community