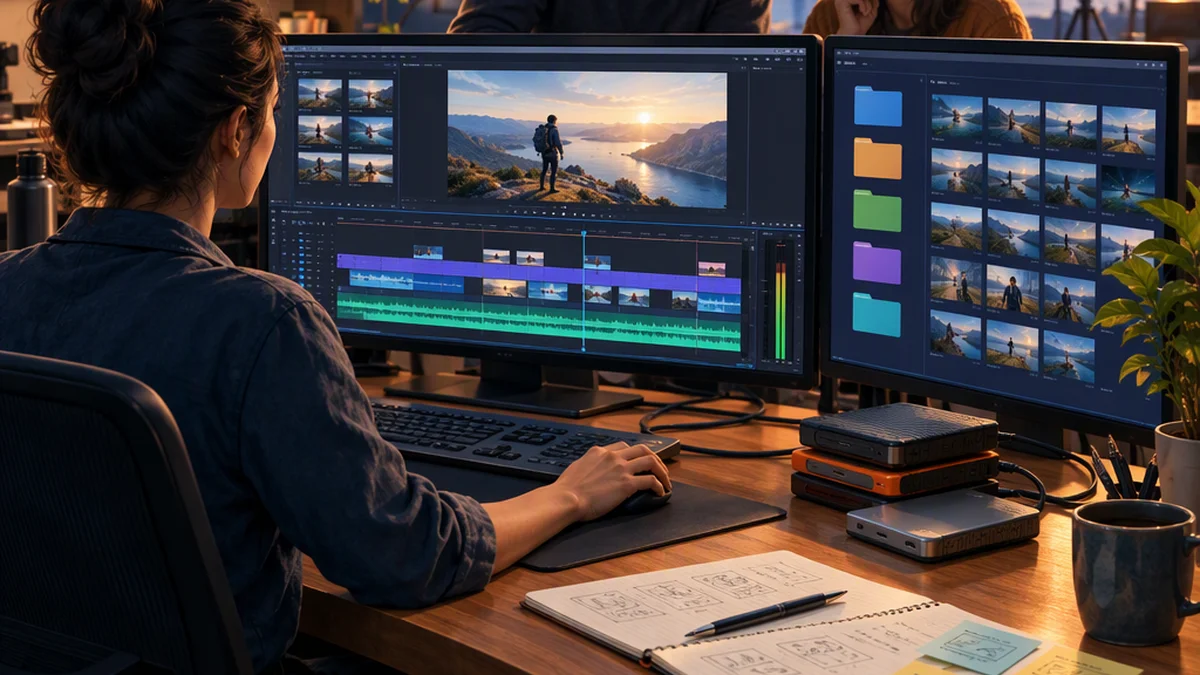
Avid Video Editing: A Practical, Evidence-Aware Guide to Evaluating and Organizing an Avid Workflow
Avid video editing commonly refers to editing with Avid Media Composer, a nonlinear editing application for assembling picture and sound into sequences. A usable workflow connects that editing work to source-media management, review, finishing, delivery, and recovery.
This guide explains the basic Media Composer editing path and the planning decisions that support it: how to bring in footage, organize bins, manage sequence versions, and test handoffs. It is not a button-by-button tutorial. Menu names, format support, linking options, and export settings depend on the installed version, so verify those details in its documentation.
The Basic Media Composer Editing Path
A typical project moves through the following stages:
- Create a project. Set the project format and frame rate with the intended delivery in mind. Record how sources with different frame rates or image dimensions will be handled.
- Bring footage into bins. Depending on the source format and version, link to existing files or create working media through import or transcoding. Test representative picture and audio before processing an entire shoot.
- Prepare and organize clips. Check audio channels, synchronize separately recorded sound where needed, and add useful names and metadata.
- Create a sequence. A sequence holds the timeline edit; a bin holds the sequence and other editorial objects. Organize tracks so picture, dialogue, music, and effects remain understandable.
- Build and refine the edit. Mark source In and Out points, insert or overwrite material into the sequence, and trim edits. Review timing, continuity, synchronization, and audio as the cut develops.
- Export for review. Preserve the reviewed sequence version, then export a file using settings agreed with reviewers. Watch the exported file rather than assuming that a successful export means it is correct.
- Finish and deliver. Either complete the required finishing in the editorial environment or hand off to the receiving departments. If you edited with lower-resolution working media, verify the route back to the required finishing sources before final delivery.
Consult the documentation for your exact version for project setup, supported linking methods, transcoding, synchronization, timeline operations, and export settings. A short end-to-end test is more useful than discovering a compatibility problem after the full edit.
Is an Avid Workflow a Practical Fit?
Evaluate Media Composer against the production’s requirements rather than choosing it solely because another team uses it.
Useful considerations include:
- Existing projects and team practices: Will you receive Avid projects or bins? Do editors and assistants already work with agreed Avid conventions?
- Collaboration requirements: How will people access project data and media? Shared access requires an agreed storage and coordination approach, not simply a shared folder.
- Finishing requirements: Does the sound or color department specify a particular exchange format, media arrangement, or reference export?
- Learning and administration: Can the team support the learning time, media preparation, backups, and troubleshooting the workflow requires?
- System compatibility: Does the exact software version support the planned operating system, hardware, storage, and source formats?
Before committing, use representative footage to test media preparation, editing, review export, and any external finishing handoff. This provides a production-specific basis for the decision without relying on broad claims about which editor is “best.”
Define the Editorial Requirements First
Before creating a production project, write a short brief answering these questions:
- What must be delivered? List formats, aspect ratios, captions, language versions, and audio layouts.
- What are the source formats? Record cameras, resolutions, frame rates, and audio sources.
- Who will edit, review, and approve? Identify collaborators and the person responsible for final approval.
- How quickly must revisions happen? Set expectations for review rounds and turnaround.
- Where will media and project data live? Define storage access and backup responsibilities.
- What must be retained? Specify source media, project data, handoff files, and final masters.
For example, a single editor producing a short web interview may need a straightforward review-export cycle. A documentary team working over several months may need detailed logging and stricter bin organization. A production with separate picture and sound teams should test its handoff early.
A Step-By-Step Avid Workflow Planning Checklist
1. Inventory and Protect the Source Media
Create a source inventory that includes:
- Clip name and card or drive identifier
- Camera model, if known
- Resolution and frame rate
- Audio channel information
- Production date
- Checksum or other verification status, where available
Give each card, drive, or transfer folder a unique identifier. Keep camera originals protected from accidental changes and maintain verified backup copies.
In Media Composer, distinguish two media decisions:
- Linking lets editorial reference supported source files without first converting them into new working media. Access still depends on the source files, their location, and the linking support available in the installed version.
- Transcoding creates new media in a chosen working format. It can support a more consistent editing setup or a lower-resolution offline workflow, but requires processing time and additional storage.
Neither method is universally preferable. Test playback, audio, source identification, and the finishing path with representative files. If you transcode for offline editing, confirm that the sequence can reconnect to the intended finishing sources.
Do not casually rename or move linked source files after editing begins; changes can break the paths used to locate them.
2. Establish the Project Standard
Choose the project frame rate, image dimensions, audio sample rate, timecode convention, and delivery targets before substantial editing. Record these decisions in a project readme.
Do not choose settings solely because they match one source clip. Consider delivery requirements and the handling of mixed-format footage.
Create a short test sequence with representative picture and sound. Export a review file and check:
- Timing and running time
- Audio synchronization and channel layout
- Image dimensions and framing
- Playback on the intended review system
Resolve discrepancies before building a full edit.
3. Understand Projects, Bins, and Media
A Media Composer project contains organizational data, including bins and settings. Bins hold editorial objects such as clips and sequences; the underlying picture and sound files live separately.
Backing up a project or bin is not the same as backing up its media. A sequence can remain in a bin even when the files needed to play it are unavailable.
Use bins to group material around editorial tasks. Example categories include:
- Synced Clips
- Interviews
- B-roll
- Selects
- Graphics
- Music
- Sound Effects
- Sequences
Keep source clips, working sequences, and approved cuts distinguishable. Use names that identify content and status rather than labels such as “misc” or “new.”
Where multiple people use a project, agree on bin access and editing responsibilities within the supported collaboration setup. A useful test is whether a collaborator can locate the approved sequence and its relevant sources without asking the project’s creator.
4. Apply a Consistent Logging Standard
Add descriptions, speaker names, locations, topics, production dates, and rights notes where relevant. Use markers for key quotes, editorial questions, visual problems, clearance concerns, and possible pickups.
Do not rely on color alone. Pair colors with written notes or standardized labels.
Before logging all the footage, try finding one person, topic, or quote using the proposed metadata. If retrieval is difficult, refine the rules first.
5. Control Sequence Versions
Preserve important edits rather than repeatedly overwriting them. Use a naming convention that identifies the project, sequence purpose, version, and status.
For example:
PROJECT_EP01_CUT_v07_EDITORIAL
PROJECT_EP01_CUT_v08_REVIEW
PROJECT_EP01_CUT_v09_APPROVED
These are example names, not required Avid syntax. Define what each status means for your team.
Once a cut has been sent for review, preserve that version and make subsequent changes in a new sequence version. Keep a short change log so collaborators can identify what changed.
6. Test Finishing Handoffs Early
If sound, color, graphics, captions, or online finishing will happen elsewhere, perform a sample handoff before the edit becomes too advanced.
AAF may be part of an Avid handoff, particularly when transferring sequence structure to another application. However, an AAF is not a guarantee that every effect, title, or media reference will translate correctly. The receiving department must specify and test the required exchange method.
Agree on:
- Exchange-file format and settings
- Whether media will be embedded, copied, or referenced
- Required media handles, if applicable
- Reference picture, timecode, and audio layout
- Which source files the receiving system needs
Referenced-media workflows depend on the recipient having access to the correct files. Sound and color departments may need different media and preparation, so do not assume one package serves both.
Include representative material in the test, such as synchronized audio, mixed-format footage, or effects used in the edit. Ask the receiving department to confirm picture timing, audio tracks, source references, and any elements requiring separate treatment.
A successful export alone does not prove that the receiving workflow can use it correctly.
7. Separate Backup from Archive Planning
A working backup protects an active project. An archive must make a completed project understandable and retrievable later.
Back up project data frequently, maintain protected copies of source media, and document the locations of working media and final deliverables. At wrap, create an archive manifest listing what was retained and where it can be found.
Do not assume a final video file is enough to reopen and revise the edit. Test recovery by opening a retained project or sequence and checking that the required media is available.
Example Production Folder Structure
The following is an example for organizing production assets outside the editing interface. It is not a prescription for Avid-managed media locations or project storage. Do not move application-managed files merely to match it.
PROJECT_NAME/
  00_ADMIN/
    Project_Readme.txt
    Editorial_Change_Log.txt
    Rights_and_Clearance_Notes/
  01_CAMERA_ORIGINALS/
  02_AUDIO_ORIGINALS/
  03_WORKING_MEDIA/
  04_EDITORIAL_PROJECT_BACKUPS/
  05_GRAPHICS_AND_STILLS/
  06_REVIEW_EXPORTS/
  07_AUDIO_HANDOFFS/
  08_FINISHING_HANDOFFS/
  09_FINAL_DELIVERABLES/
  10_ARCHIVE_MANIFEST/
Folders organize stored files; bins organize editorial material within Media Composer. They do not need identical structures.
Make Review and Approval Repeatable
Each review export should identify the sequence version, running time, review date, and purpose: editorial feedback, legal review, client approval, or technical quality control.
Ask reviewers for timecoded comments. For example, “shorten the answer at 02:15” is easier to act on than “the middle feels slow.”
Separate creative requests from technical corrections:
- Creative: change the opening, shorten an answer, or revise story order.
- Technical: correct spelling, fix an audio issue, add a missing caption, or replace an incorrect logo.
For significant versions, record what changed, who requested it, what remains unresolved, and whether the change affects picture lock or finishing. Establish one clear source of final approval.
What to Verify in Avid Documentation
Use the documentation supplied with the installed release, the application's Help resources, and Avid’s official support materials. Match all guidance to the exact product and version.
| Resource | What to check |
|---|---|
| Media Composer documentation and Help | Project setup, bins, linking, transcoding, editing, relinking, and export procedures |
| Release notes and ReadMe files | Version-specific changes, known limitations, and installation considerations |
| System requirements and compatibility information | Supported operating systems, hardware, drivers, and storage configurations |
| Licensing documentation | Applicable license terms and any edition-specific restrictions |
Older tutorials can help explain concepts, but their interface steps and compatibility advice may not match your setup.
FAQ
Should I Link or Transcode Footage in Media Composer?
Choose based on supported source formats, playback performance, storage, and finishing requirements. Linking references source files; transcoding creates new working media. Test both the edit and the path to final delivery before standardizing the workflow.
Does an Avid Project Backup Include the Footage?
Not by itself. Project and bin data are separate from the underlying media files. Protect both, and test that a restored project can access its required media.
What Is One Avoidable Organizational Error?
Ambiguous sequence naming. Names such as “final,” “final2,” and “new edit” do not explain status or history. Use a controlled naming convention and preserve versions circulated for approval.
How Can a Small Team Prepare for Collaboration?
Agree on bin organization, metadata, sequence names, storage rules, backup responsibilities, and approval authority. Document these decisions even if only one person currently edits; another person may later need to revise or archive the project.
Related Links
- Avid Media Composer on Facebook — a social channel, not version-specific technical documentation.
- YouTube video reference — confirm its topic and software version before applying any demonstrated steps.