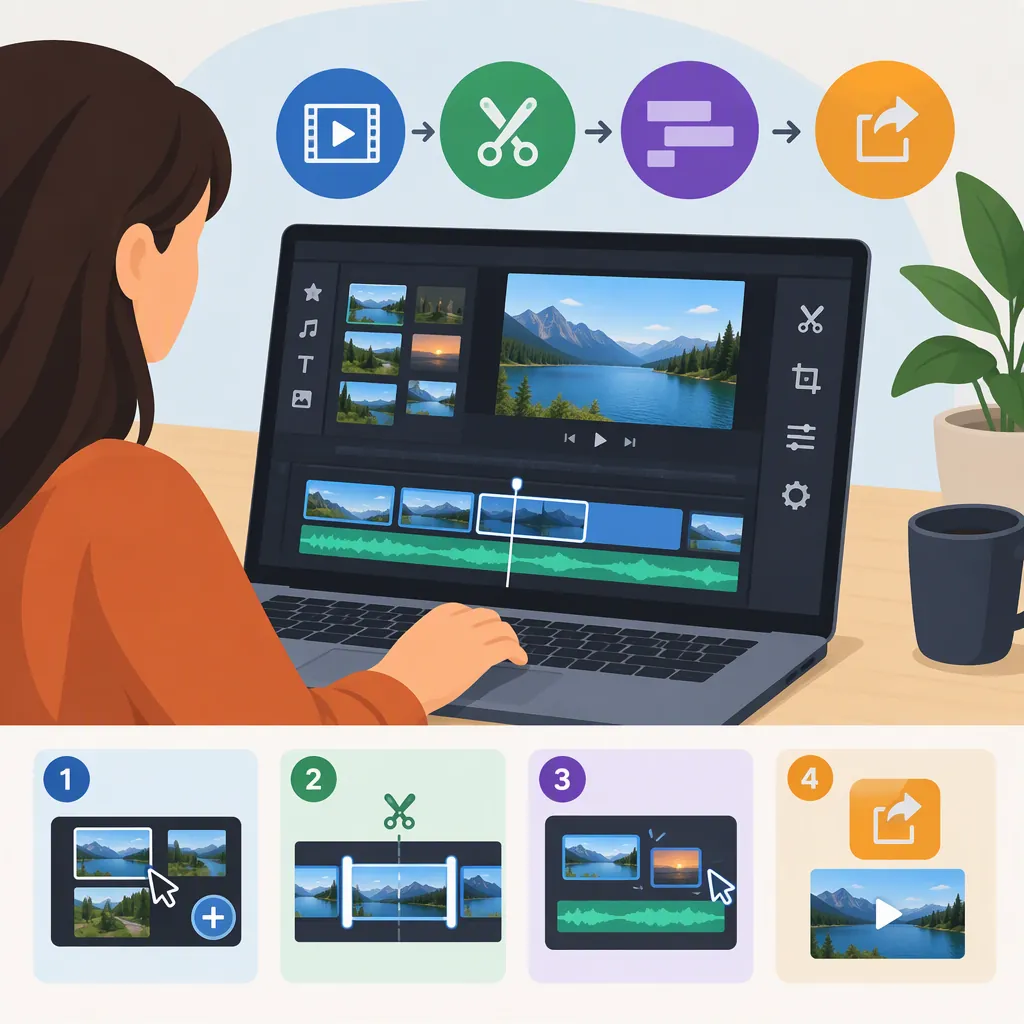
Animotica Video Editor: A Guide to Trimming, Splitting, and Joining Clips
Animotica’s Help Center describes it as a video editor for Windows 10/11. Its basic editing tutorial follows this workflow: create a project, add clips, select a clip, trim or split it, arrange the sequence, and choose Save video. These instructions reflect the supplied documentation, not a hands-on test of the current app. [animotica-help] [animotica-basic-editing]
Before You Start
The supplied Help Center states that Animotica runs on Windows 10/11 and directs users to the Microsoft Store for installation. It does not establish compatibility with macOS, mobile devices, or every Windows hardware configuration. [animotica-help]
For this walkthrough, keep your original footage separately and decide what the finished sequence should contain. Write down the desired opening, ending, and any unwanted material in the middle. These are general editing precautions, rather than documented Animotica requirements.
The supplied basic editing tutorial is dated March 15, 2024. Menu wording and availability may differ in the version you have installed; the references do not verify the current interface, pricing, or license terms. [animotica-basic-editing]
Create a Project and Trim a Clip
According to the basic editing tutorial, begin with Create a new project, then choose Add video/photo clips and add your footage. Select the clip you want to edit. The tutorial uses MP4 or AVI files as examples; that is not a complete compatibility list. [animotica-basic-editing]
Choose the trimming operation that matches your goal:
- Trim from the start: select the moment where the retained footage should begin, then remove the preceding material.
- Trim from the end: select the intended endpoint, then remove the following material.
- Trim → Trim Slider: set both start and end points to retain a particular portion of the clip.
These operations and labels are described in the supplied tutorial. [animotica-basic-editing]
As a general review step, play the new opening and ending before proceeding. Check that a cut does not interrupt a word or remove context needed to understand the scene.
Split a Clip or Remove a Middle Section
Trimming changes a clip’s boundaries; splitting creates separate pieces at a selected point. The Animotica tutorial instructs users to select the desired moment in a clip and choose Split from the menu below the clips. [animotica-basic-editing]
To remove an unwanted section from the middle, the tutorial describes this sequence:
- Select the moment immediately before the unwanted section.
- Choose Split to divide the clip into two pieces.
- Select the second piece.
- Trim its beginning until the footage you want to keep resumes.
The tutorial suggests either the trim slider or trimming from the beginning for the last step. [animotica-basic-editing]
Preview across the resulting cut. As a general editing check, listen for abrupt audio changes and confirm that the remaining action still makes sense.
Arrange Clips and Save the Video
To join footage, the tutorial describes adding multiple clips to one project. It also describes using the + button beside a clip to add another clip and dragging clips into position to change their order. [animotica-basic-editing]
Review the sequence before exporting. In a general editing workflow, a direct cut is often enough; add a transition only when it helps communicate a change of scene or time.
The tutorial’s final step is to return to the main menu and choose Save video. It mentions advanced output settings but does not provide a complete export specification in the supplied text. The Help Center says saved videos use MP4 by default and identifies a Videos/Animotica folder under the Windows user directory as the default location. Treat that as a documented default, not a guarantee for a customized installation. [animotica-basic-editing] [animotica-help]
Export Review Checklist
- Confirm that the clips appear in the intended order.
- Play each cut and check for missing words or unintended gaps.
- Review any text for spelling and readability.
- Check speech and music levels if your sequence includes audio.
- Review the output settings shown in your installed version.
- After saving, open the exported file and check the beginning, middle, and end.
Further Documentation and Important Limits
The Animotica Help Center lists tutorials for transitions, text and overlays, background audio, voice-over, volume changes, and project management. That list identifies documentation topics; it does not establish that every function is available under every license or app version. [animotica-help]
The supplied editing tutorial discusses a watermark and a historical removal price. Those statements should not be treated as current purchasing terms. The provided references do not establish today’s price, watermark rules, or promotion eligibility. This guide therefore makes no current free-export or watermark-free claim. [animotica-basic-editing]
FAQ
Does the Supplied Documentation Cover Animotica on Mac?
No. The supplied Help Center states that Animotica only runs on Windows 10/11. These references do not provide a Mac workflow. [animotica-help]
What Is the Difference Between Trimming and Splitting?
In the documented workflow, trimming removes material from a clip’s beginning or end, while splitting divides a clip at a selected moment. To remove material in the middle, the tutorial combines a split with trimming the second piece. [animotica-basic-editing]
Where Should I Look for a Saved Video?
The Help Center identifies the Videos/Animotica folder under your Windows user directory as the default save location and MP4 as the default format. If you changed the destination, check the location selected when saving instead. [animotica-help]
Can I Assume That Exports Are Free of Watermarks?
No. The supplied tutorial mentions a watermark and a historical removal price. It does not verify current license conditions or watermark-free export eligibility. [animotica-basic-editing]
Sources
-
[animotica-basic-editing] Basic Video Editing Made Simple: How To Cut, Split And Merge Your Video In Windows 10/11 - Animotica Blog
-
[animotica-help] Animotica Help Center