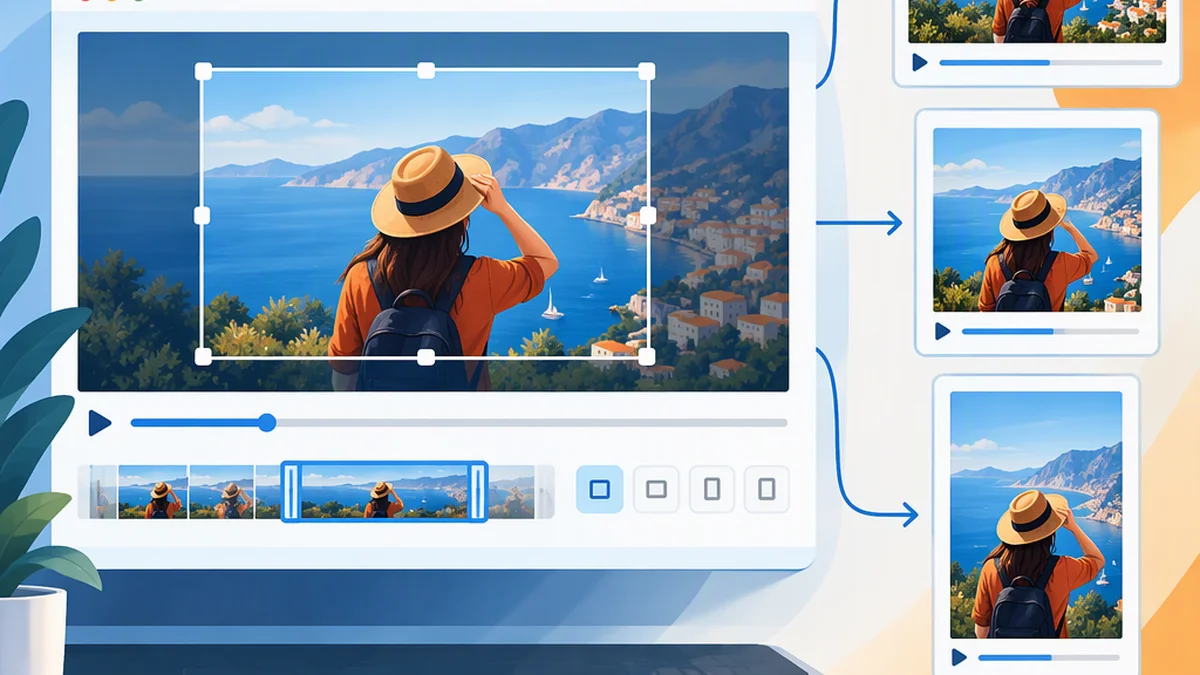
EZGIF Video Crop: A Practical Guide
To crop a video with EZGIF, open the official video crop tool, upload a supported file or enter a direct video URL, select the area to keep, and click “Crop video!”. Choose an aspect ratio such as 16:9, 1:1, or 9:16 if you need a specific frame shape. Review the processed result, then save it to your device using the result area’s save or download control.
EZGIF’s official page states a maximum upload size of 200 MB and says uploaded files are automatically deleted after one hour. Check the current tool page before uploading, especially for large files or sensitive footage.
What Cropping Does
Cropping removes part of the visible video frame. It is useful when you need to eliminate empty space, remove an unwanted edge, or turn a landscape recording into a square or vertical composition.
Cropping is different from several related operations:
- Cutting removes time from the beginning, middle, or end of a video.
- Resizing changes the dimensions of the whole frame. Proportional resizing retains the scene without changing the shape of objects.
- Adding padding places the original frame inside a new shape, usually creating borders or empty space.
- Stretching changes width and height without preserving proportions, which can make people and objects look distorted.
Changing a crop rectangle’s aspect ratio does not stretch the content inside it. It changes which parts of the scene remain visible. Distortion occurs if the retained image is subsequently stretched or resized non-proportionally.
How to Crop a Video with EZGIF
1. Open the Video Crop Tool
Go to https://ezgif.com/crop-video. The page provides a file-upload control and supports entering a direct video URL.
2. Check the Source File
The official page lists support for common formats including MP4, WebM, AVI, MPEG, MKV, FLV, OGG, MOV, M4V, WMV, ASF, and 3GP, among others. It states a maximum upload size of 200 MB.
Before starting, confirm that your file is supported, within the stated limit, and suitable for uploading to an online service.
3. Upload the Video
Choose a file from your device or paste a direct video URL, then continue with the upload control shown by EZGIF. Upload only material that you are permitted to process.
4. Select the Crop Area
After the video loads, use the graphical crop interface to draw a rectangle around the portion you want to keep. Adjust its size and reposition it so that the important subject remains inside.
EZGIF also supports entering crop dimensions manually. The crop width and height describe the area retained from the source frame—not a target size for scaling the whole scene. The crop’s position determines which part of that frame is retained; use the graphical rectangle to check its placement.
For example, cropping a 1920×1080 video to 1080×1080 keeps a square portion at the source’s full height. A centered crop removes 420 pixels from each side. It does not squeeze the entire landscape scene into a square.
Check representative frames near the beginning, middle, and end of the clip. A crop that looks correct on one frame may cut off a face, product, caption, or other important element later.
5. Lock an Aspect Ratio If Needed
Choose an aspect-ratio preset when the destination requires a consistent shape. EZGIF’s official page lists presets including 16:9, 4:3, 1:1, 9:16, 3:2, and others.
Locking the ratio keeps the crop shape consistent while you adjust its size and position. Leave enough room for movement rather than framing the subject tightly around a single moment.
6. Process the Crop
Click “Crop video!” to process the video using the selected area and settings. Processing time can vary with the file, connection, and service conditions.
7. Review the Result
Check the first, middle, and final sections of the processed video. Look for:
- Cut-off faces, hands, products, or captions
- Unwanted borders or unexpected framing
- Missing or unreadable text
- Reduced detail, especially around edges and fast motion
Keep the original file until you have reviewed the cropped version successfully.
8. Save and Check the Downloaded File
Use the save or download control in the processed-result area to save the video to your device.
Open the downloaded file and confirm its format, frame dimensions, and playback. Make sure you saved the processed version and that its framing works at the intended display size.
Choosing an Aspect Ratio
An aspect ratio describes the relationship between a video’s width and height. Selecting it before positioning the crop makes framing more predictable.
| Aspect ratio | Typical use |
|---|---|
| 16:9 | Standard YouTube videos, desktop presentations, and landscape content |
| 9:16 | Vertical short-form video, including TikTok, Instagram Reels, and YouTube Shorts |
| 1:1 | Square social-media feed layouts |
| 4:5 | Taller-than-square, feed-oriented portrait layouts |
| 4:3 | Some older video and presentation content |
These are framing choices, not guarantees about how a platform will display or recompress a file. The table is not a list of every preset available in EZGIF. Check the destination platform’s current specifications when exact publishing requirements matter.
For a moving subject, avoid making the crop so tight that the subject can leave the frame. If the whole scene must remain visible in a different aspect ratio, consider padding rather than cropping.
Practical Crop Examples and Quality Checks
The following examples illustrate framing choices; they are not performance test results.
Example 1: Landscape to Vertical
A speaker is centered in a 16:9 interview. Select 9:16, position the crop over the speaker, and check the full clip to confirm that the speaker remains visible as they move.
Example 2: Landscape to Square
A product demonstration has unused space on both sides. Select 1:1 and keep the product, hands, and important labels inside the crop.
Example 3: Remove a Distracting Edge
A screen recording includes an unwanted browser panel on the right. Draw a crop that removes the panel while preserving the readable application window.
Before processing, check that the crop:
- Leaves enough margin around subjects and captions.
- Matches the intended frame shape.
- Removes only content you can afford to lose.
- Preserves readable text throughout the clip.
Arbitrary crop dimensions can produce an unsuitable aspect ratio or cut off important content, but cropping alone does not distort objects. If you resize the result afterward, preserve its proportions to avoid stretching.
After processing, inspect fine details, text, edges, and fast motion. Cropping may involve re-encoding, which can alter file size or reduce quality depending on the source and output settings. A smaller crop also contains fewer source pixels; enlarging it for display can make lost detail more noticeable.
Limitations, File Size, and Privacy
Upload Size and Processing
EZGIF’s official crop page states a 200 MB maximum upload size. Large files can take longer to upload and process, and being within the stated limit does not guarantee that every file will process successfully.
If an upload fails, check the file size and format. Trimming or compressing a copy locally may help, but compression can reduce quality.
Source discrepancy: The AnyMP4 guide reports a 100 MB limit. That figure conflicts with EZGIF’s official page and should not be treated as the current official limit. The available information does not establish the reason for the difference.
Privacy
EZGIF’s official page says uploaded files are automatically deleted one hour after upload. The video still has to be transferred to an online service. Avoid uploading confidential or highly sensitive footage unless the service’s current privacy information meets your requirements.
Moving Subjects
The official crop page describes a graphical crop area, manual dimensions, and aspect-ratio presets. It does not describe automatic subject tracking or keyframed movement of the crop box.
A fixed crop may therefore fail to keep a moving subject centered throughout the clip. If the subject travels substantially across the frame, leave more margin or use an editor that explicitly supports animated crop movement.
Cost and Access
EZGIF’s official page describes the tool as free, without signup and without watermarks. Check the current page for any changes to these terms or the tool’s limits.
Cropping Versus Resizing in EZGIF
Use cropping to remove visible areas from the frame. Use resizing to change the overall dimensions while retaining the complete scene. EZGIF’s official crop page directs users to a separate resize tool for changing dimensions rather than removing part of the frame.
For example:
- Resizing a 1920×1080 video to 1280×720 preserves the whole scene and its 16:9 proportions.
- Cropping it to a centered 1080×1080 square removes portions from the left and right.
- Resizing the whole landscape frame directly to a square without preserving proportions stretches the image.
A simple decision rule is:
- Remove unwanted areas: crop.
- Shorten the duration: cut.
- Keep the whole frame at a smaller size: resize proportionally.
- Use a new frame shape while keeping the whole scene: add padding.
FAQ
Is EZGIF Video Crop Free?
The official EZGIF crop page describes the tool as free and says that it does not require signup or add watermarks. File-size, format, processing, and quality limitations can still affect whether a particular file works.
Can EZGIF Crop a Video to a Square?
Yes. Select the 1:1 aspect-ratio option, position the crop over the part of the scene you want to retain, and process the video. Review the result for cut-off subjects and missing text before downloading it.
What Setting Should I Use for TikTok or Instagram Reels?
A 9:16 portrait crop is the usual starting point for vertical short-form video. Position the subject within the crop and review the entire clip, because movement can take the subject outside a fixed frame. Check the destination platform’s current specifications when exact requirements matter.
Why Did the Cropped Video Look Blurry?
The video may have been re-encoded during processing, or a small crop may have been enlarged for display. Compression and a low-resolution source can also reduce visible detail. Compare the result with the original at the intended display size.
Can I Crop a Video by Entering Exact Dimensions?
Yes. EZGIF’s official page says you can use the graphical crop tool or enter dimensions manually. These values define the region retained from the source frame, not a resizing target for the entire image. Check the crop’s position and aspect ratio to avoid cutting off important content.
Does Cropping Shorten the Video Duration?
No. Cropping changes the visible area of the frames. To remove time from the beginning, middle, or end, use a video-cutting tool instead.
What Should I Know About Privacy When Using EZGIF Video Crop?
The official page says uploaded files are automatically deleted one hour after upload. Because processing requires uploading your footage, avoid confidential or highly sensitive material unless the service’s current privacy information meets your requirements.
What Is EZGIF’s Video Crop File-Size Limit?
EZGIF’s official crop page states a maximum upload size of 200 MB. Check that page before uploading in case the limit changes.