How to Add a Transition in CapCut: Mobile, Desktop, and Web
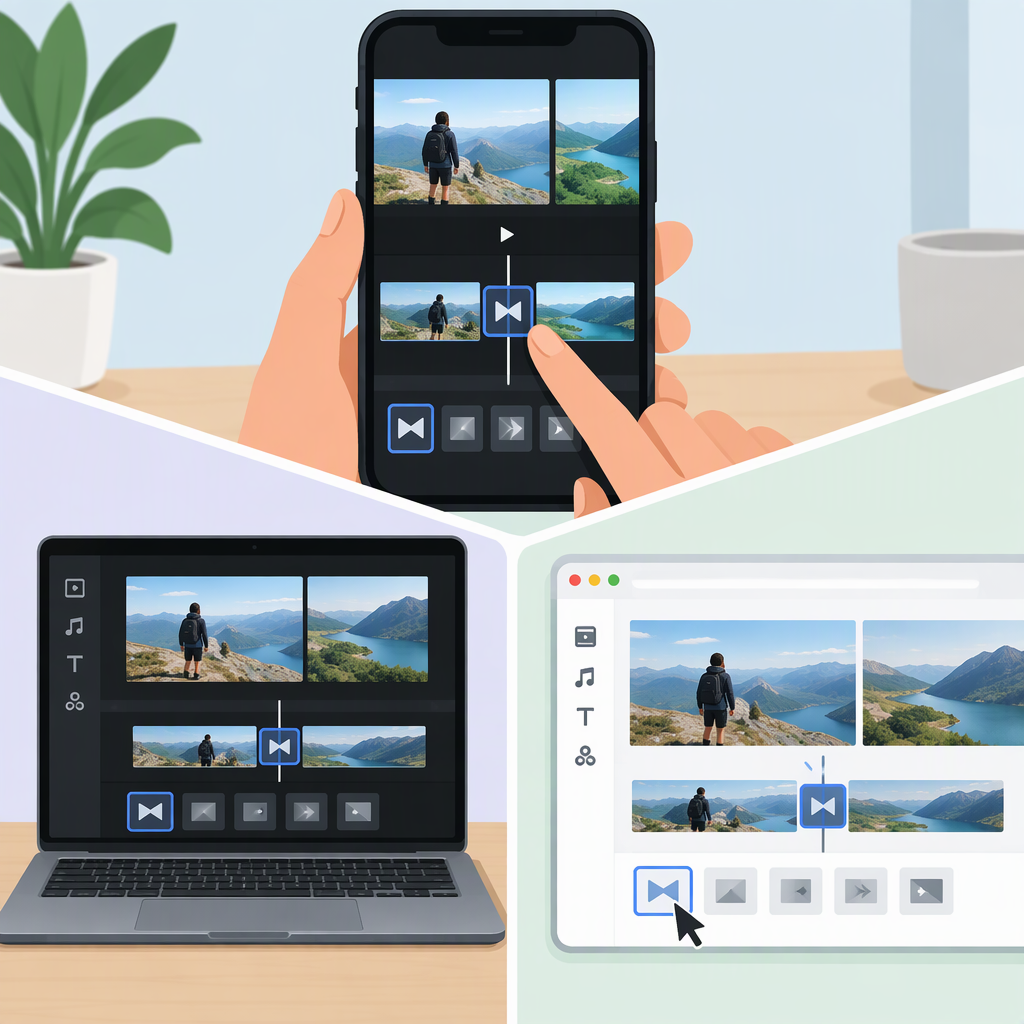
To add a transition in CapCut, place two clips next to each other on the timeline, then apply an effect at the point where they meet. The controls differ by platform: on mobile, tap the small square between clips; on desktop, use the Transitions tab; and in the web editor, use the transition icon between clips. CapCut’s help guide also describes adjusting the duration and previewing the result. (capcut.com)
Add a Transition Between Clips
First, open a project and put at least two clips next to each other on the timeline. A transition connects the boundary between adjacent clips, so a gap—or having only one clip—can prevent the transition control from appearing. (capcut.com)
On the CapCut Mobile App
- Open your project, or start one and add at least two clips to the timeline.
- Tap the small white square between the clips.
- Browse the transition options and tap one to select it.
- Adjust the duration slider if you want a shorter or longer effect.
- Tap the check mark to apply it, then play the edit across the cut to review it. (capcut.com)
On CapCut Desktop
- Open your project and arrange the two clips side by side on the timeline.
- Select Transitions at the top of the editor.
- Choose an effect and drag it to the boundary between the clips.
- Adjust its duration on the timeline if needed.
- Play the sequence across the edit to check the transition in context. (capcut.com)
In CapCut’s Web Editor
- Open the project and place two clips next to each other with no gap.
- Hover between the clips and click the small transition icon.
- Choose an effect from the library and adjust its duration if needed.
- Preview the edit across the cut. (capcut.com)
Choose, Adjust, and Preview the Effect
Choose an effect for the role it needs to play in the edit. A subtle transition can connect shots without drawing much attention; a more noticeable effect can emphasize a change in scene or mood. Neither approach is right for every cut. CapCut’s transition page lists examples such as fade, glitch, slide, zoom, and 3D spin, and says duration can be adjusted. Available options and controls may vary with the editor or app version. (capcut.com)
After applying an effect, preview the surrounding footage at normal speed. Ask whether the transition helps the change between shots feel intentional or distracts from the footage. If it feels too prominent or makes the cut feel slow, try a simpler effect or reduce the duration where that control is available. Preview again after each change.
If the Transition Control Is Missing
Check the timeline before looking for another tool:
- Make sure there are two clips. CapCut says a transition requires two clips.
- Close any gap. Put the clips directly next to each other; a gap can hide the transition control.
- Zoom in on the timeline. The small control between clips may be hard to see when zoomed far out.
- Open the transition controls, not animations or effects. CapCut lists these as separate editing areas.
- Consider an app or version issue. CapCut notes that an outdated version or a glitch can affect whether transitions appear. (capcut.com)
Once the transition is applied, play the edit over the boundary to confirm it appears between the intended clips and works with the neighboring footage.