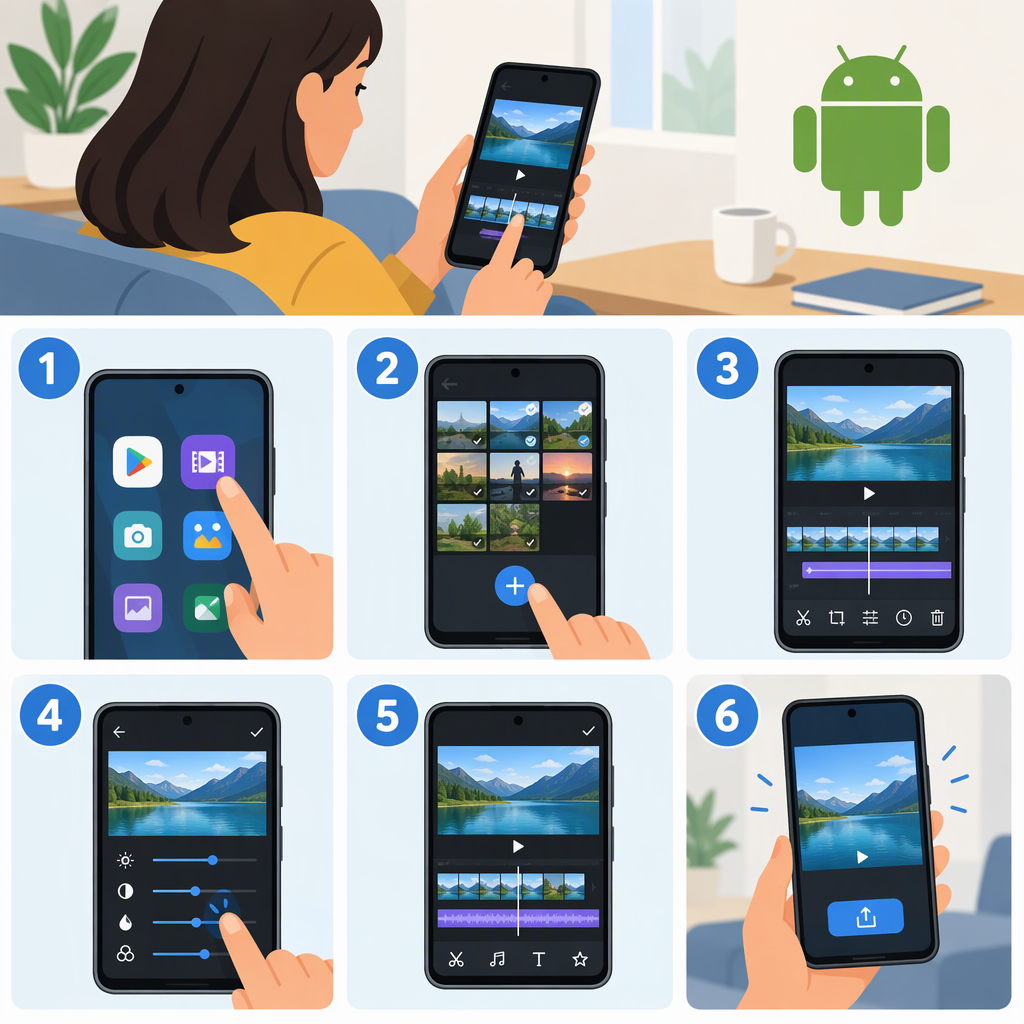
How to Edit Video on an Android Phone
You can edit video on an Android phone with an editor already available on your device or with a separate editing app. The exact controls vary by phone and app. For a straightforward edit, open a video in an editor, make the changes it supports, preview the result, then use its save, export, or share option.
For example, Google Photos documents tools for trimming a video, cropping or rotating it, and making some adjustments. Its instructions say to save a copy when you finish those edits. Some features have device requirements, so the controls you see may differ. (support.google.com)
Choose an Editing Option on Your Phone
Start with an editor you already have if it offers the changes you need. Look for it in your phone’s photo or gallery app, or open a video and see whether an edit control is available. Names and locations vary, and a built-in editor’s features are not the same on every phone.
If you need to combine several clips, rearrange them on a timeline, or add features your existing editor does not offer, choose an editing app that explicitly supports those tasks. Confirm that it works on your phone and has the controls you need before importing footage. These are selection criteria—not a recommendation for a particular app.
Edit Your Video: A Basic Workflow
- Open your footage in the chosen editor. Find the video in the editor, gallery, or photo library. If you’re making a multi-clip video, start a project and add the clips if your editor provides that option.
- Trim the beginning or end. Move the trim controls to keep the section you want. Scrub through the preview to check where the video starts and finishes. In Google Photos on Android, the documented method is to drag the trim handles around the portion to keep. (support.google.com)
- Remove unwanted sections or arrange clips, if supported. A simple trim may only shorten the beginning or end of one video. To remove a section from the middle, or to combine and reorder clips, use an editor that offers splitting or a multi-clip timeline; those controls are app-specific.
- Adjust framing or audio only if needed. If the video is sideways or the subject is framed poorly, look for rotate or crop controls. If sound needs attention, use an audio control only if your editor provides one. Google Photos documents crop and rotate tools, but exact options and availability can vary. (support.google.com)
- Preview the whole edit. Watch from start to finish. Check that the important moment remains, cuts are where you expect, the framing looks right, and any sound you intended to keep is present. Make corrections before saving.
For a simple illustrative edit, you might shorten a single clip by moving its start and end points, previewing the selected section, then saving a copy. That example describes a workflow, not a tested result; other editors may use different controls.
Export, Save, or Share the Finished Video
When you’re satisfied, look for the editor’s Save, Export, or Share action. Follow its prompts and, if settings are offered, choose based on your footage and intended use. There is no one export setting established here as right for every Android editor or destination. If you do not have a specific requirement, avoid changing settings you do not understand.
Google Photos’ Android help says to tap Save to save a copy after the documented edits. Other editors may use different wording or offer different save choices. (support.google.com)
Check the Saved Video
After saving or exporting, open the resulting video and play it. Confirm that it plays, includes the section you meant to keep, and looks and sounds as intended. If you cannot find a control mentioned in a guide, your app or device may differ; check that editor’s instructions rather than assuming the control is available on every Android phone.