How to Choose an Android Video Editor and Edit a Video
Choose an Android video editor by testing the work you need to do: trimming clips, arranging a timeline, adjusting audio, adding text, and exporting. The provided guides discuss options including VN, CapCut, LumaFusion, KineMaster, and YouCut, but they do not establish one best app for every device or budget. Treat their feature descriptions as a shortlist, then verify availability and plan limits in the current app. [c1] [c2]
Start with the Video You Need to Make
Before comparing apps, describe one typical project. A short portrait clip with simple cuts calls for a different workflow than a longer video with narration, music, and several visual layers.
Write down your essential tasks rather than choosing by the longest feature list:
- Basic assembly: trim, split, reorder, and remove clips.
- Audio: adjust speech and music separately if your project requires it.
- Text: add titles or captions and control their timing.
- Layering: place another image or video over the main footage.
- Delivery: export in the shape and quality needed for the destination.
Both supplied guides suggest matching the editor to editing requirements; Syllaby also identifies device capability and budget as selection factors. Neither guide guarantees performance on your particular Android device. [c1] [c2]
Project Requirements Worksheet
Video purpose: ____
Destination and required video shape: ____
Approximate finished length: ____
Essential editing tasks: ____
Need separate speech and music controls: ____
Need captions or visual layers: ____
Budget and acceptable payment model: ____
Android device to test: ____
Compare Workflows, Not Rankings
Use the references to identify workflows worth testing, not as proof that an app will meet every requirement.
| Workflow to investigate | Examples discussed in the references | What to check yourself |
|---|---|---|
| General timeline editing | Primal Video discusses VN as a general-purpose option. [c1] | Can you make your typical edit without unwanted extras or payment prompts? |
| Effects and automated tools | Both guides discuss CapCut in connection with effects or AI tools. [c1] [c2] | Are the specific tools you need available under your intended plan? |
| More detailed timeline control | Primal Video discusses LumaFusion; Syllaby discusses KineMaster and PowerDirector. [c1] [c2] | Can you comfortably manage layers, audio, and precise cuts on your screen? |
| Basic cuts and text-led edits | Syllaby discusses YouCut, InShot, and Canva for different simpler editing tasks. [c2] | Does the app cover your required cuts, text, and export settings? |
These are summaries of the supplied articles, not independently verified product specifications or endorsements. The list is not exhaustive.
Check Plan Limits Before Building a Project
The references differ on CapCut's free-plan restrictions. Syllaby describes it as a free option with minimal limitations, while Primal Video's May 2026 guide describes a more restricted free tier. Syllaby's supplied page title says 2026, but its article heading and publication date refer to 2025. Do not treat either description as a guarantee of current access or pricing. [c1] [c2]
Before investing time in a full edit, make a small project using your intended tools and export it. Check for watermarks, end cards, paid assets, caption restrictions, and any sign-in or upload requirements. Inspect the exported file, not just the timeline preview.
The supplied references are editorial guides rather than official compatibility, pricing, or privacy documentation. They cannot establish current device support, offline behavior, or how every feature handles your footage.
Short Test Project Checklist
- Import a few representative clips.
- Trim and reorder them.
- Add the text, audio, or effect you actually need.
- Attempt an export under the intended plan.
- Inspect the beginning and end for branding or extra cards.
- Check picture, sound, and text in the exported file.
- Record payment prompts and any sign-in or upload requirements.
- Mark each requirement as passed, failed, or unverified.
Follow a Simple Android Editing Workflow
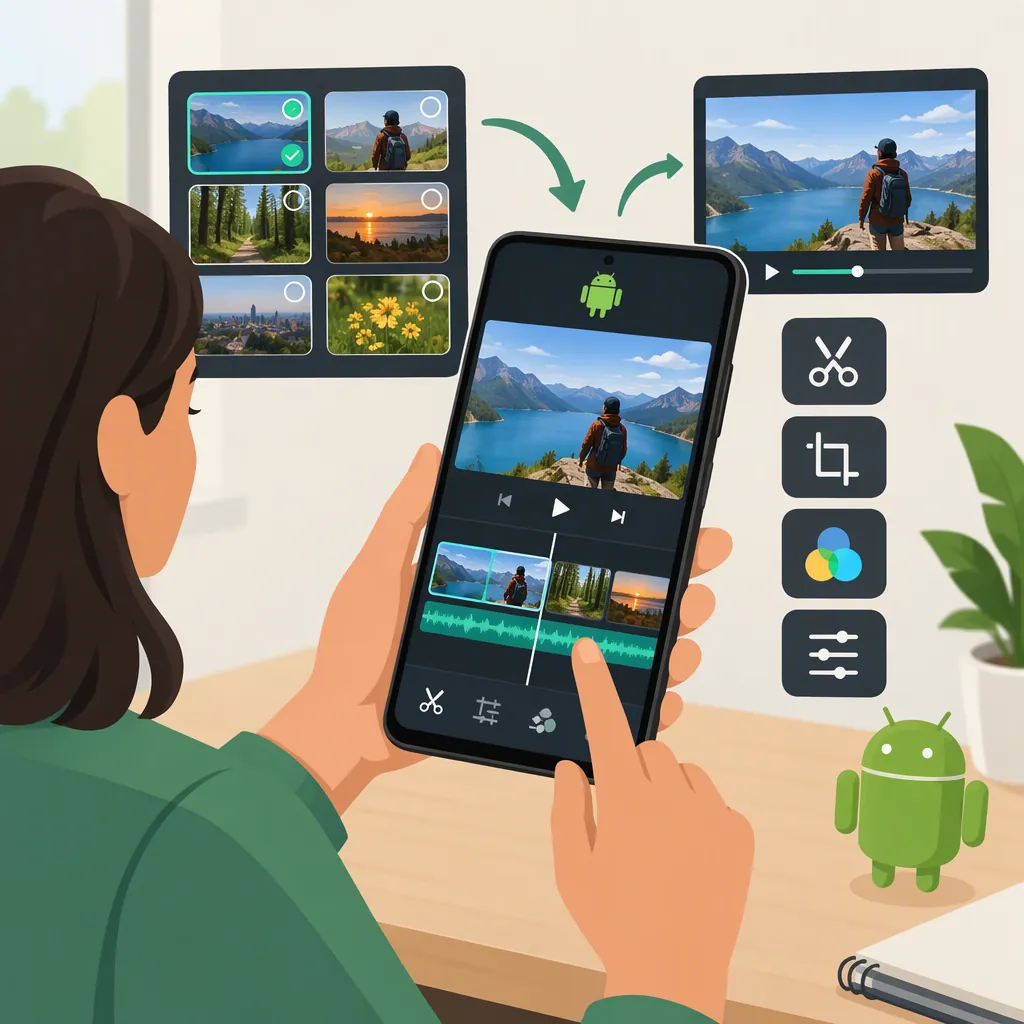
Use this app-independent procedure as a starting point. Button names and available controls will vary; this is not a verified interface tutorial for any particular editor.
- Prepare the footage. Keep the original files and select the clips needed for the story.
- Set the project shape. Choose portrait, landscape, or another shape based on the intended destination. Check the framing of each clip.
- Build a rough cut. Arrange clips in order, remove unwanted starts and endings, and split out unnecessary material.
- Review the audio. Listen to speech and music together. Adjust the mix so the words are understandable.
- Add text deliberately. Keep titles readable and review captions for spelling, names, and timing.
- Use effects selectively. Keep a transition or effect only when it supports the meaning or pacing.
- Export a draft. Use settings appropriate to the destination rather than assuming the highest available setting is necessary.
- Review the exported file. Watch the whole video and check framing, cuts, text, sound, and the final frame before sharing.
FAQ
What Is the Best Android Video Editor?
The supplied evidence does not establish a universal best editor. Primal Video distinguishes VN, CapCut, and LumaFusion by workflow, while Syllaby presents a broader list. Compare candidates using the same short project and your essential editing tasks. [c1] [c2]
Can I Edit Android Videos Without Paying?
The guides describe free options, including VN in Primal Video's guide and YouCut in Syllaby's guide. That does not guarantee every feature is free or that limits remain unchanged. Test your required tools and complete an export before relying on a free plan. [c1] [c2]
Will These Editors Work Well on My Phone?
The supplied guides do not provide device-specific performance tests or a complete compatibility list. Syllaby advises considering storage and processing capability. Check the current app requirements and test footage similar to your planned project on the actual device. [c2]