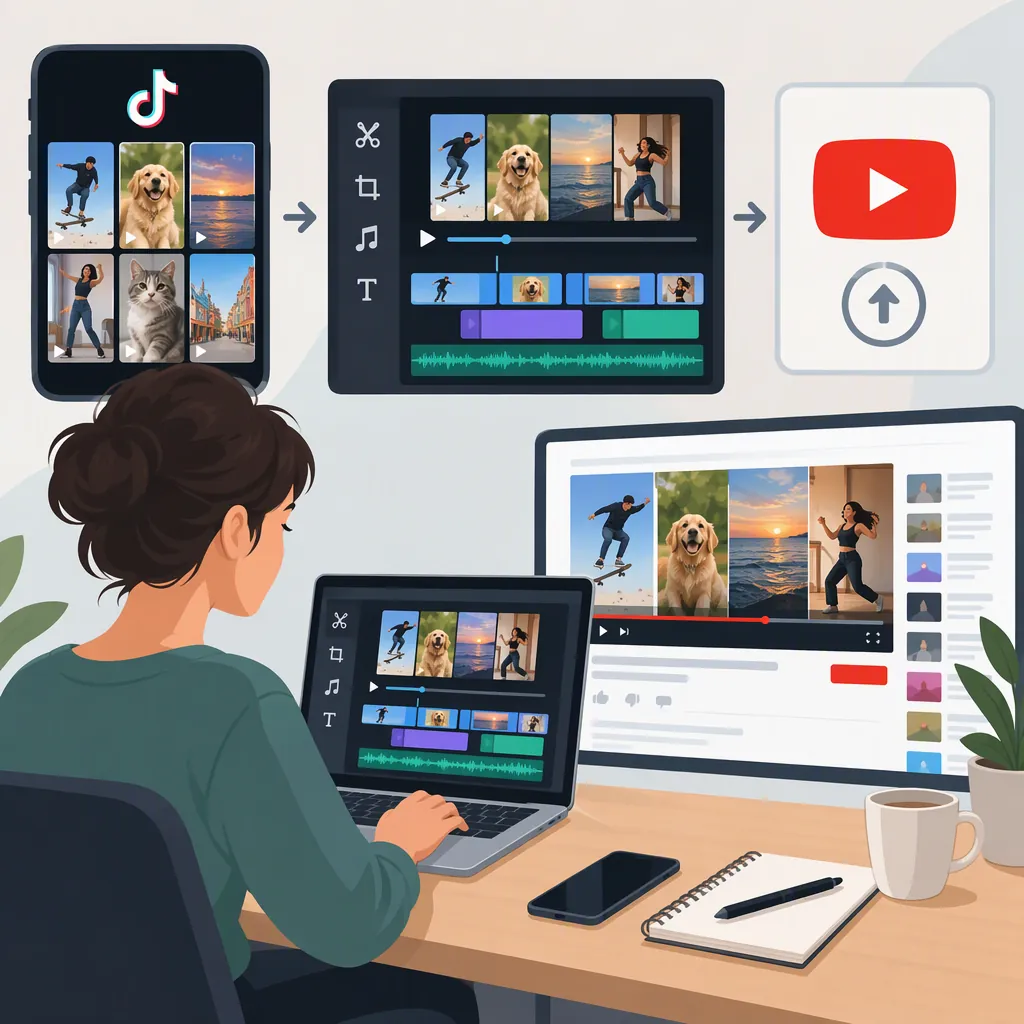
How to Make TikTok Compilation Videos for YouTube
To make a TikTok compilation for YouTube, choose a focused theme, gather clips you have permission to reuse, and arrange them in a video editor. Trim each clip to its relevant action, add context between examples, adapt the framing and sound, then export and review the finished file before uploading. This follows the basic compilation workflow of selecting, organizing, editing, and publishing clips. [compilation-guide]
The walkthrough below uses a hypothetical compilation comparing three ways to organize a small workspace. Its timeline and export settings are editing suggestions, not YouTube requirements.
Scope and Limitations
The supporting compilation tutorial was published in 2019. It supports the general editing workflow, but it does not establish current TikTok download procedures, YouTube upload requirements, Shorts classification, or monetization eligibility. It is not authoritative legal guidance; its statement linking fair use to non-monetization should not be used as a legal test. [compilation-guide]
This article focuses on an editor-independent workflow using your own footage or third-party material with documented permission. It does not determine whether a particular use is lawful or eligible for monetization.
1. Choose a Theme and an Editorial Purpose
Start with a specific subject rather than a miscellaneous collection of TikTok clips. A compilation can group related examples or connect them into a narrative. [compilation-guide]
Write a one-sentence brief before collecting footage:
Compare three ways to organize a small workspace: drawer dividers, vertical storage, and cable management.
Use that brief to decide what belongs. A clip showing a complete organizing technique fits; an unrelated room makeover does not.
Plan your own contribution, too. You might introduce the problem, explain what each example demonstrates, compare the approaches, and summarize the trade-offs. These are editorial choices—not guarantees of copyright clearance or monetization eligibility.
Compilation Planning Template
- Theme: One specific subject.
- Viewer question: What will the compilation help viewers understand?
- Selection rule: Why does each clip belong?
- Sequence: Opening explanation → examples → comparison → conclusion.
- Original contribution: Narration, analysis, or explanatory text.
- Exclusions: Irrelevant, repetitive, or uncleared material.
For the workspace example, select one clip per technique rather than several clips making the same point.
2. Document Permissions Before Editing
The compilation guide advises obtaining the owner’s consent before using another person’s video and clearing rights for copyrighted content. [compilation-guide]
Use your own source footage where possible. For third-party clips, request permission that specifically covers your intended YouTube use. Ask:
- Does the permission cover the footage and its audio?
- Are trimming, cropping, captions, and voice-over allowed?
- Are there restrictions on publication or monetization?
- What credit wording is required?
Keep the response with your project files. If the scope is unclear, leave the clip out until it is clarified. Review music and other included material separately rather than assuming the person who supplied the video can authorize everything in it.
A creator’s account name, a credit line, or an available download option should not serve as your permission record.
Clip Permission Record
Create one record for each clip:
- Clip identifier: Filename used in the editor.
- Original post URL: Source location.
- Creator or rights contact: Name.
- Permission record: Saved message or agreement.
- YouTube use covered: Confirmed scope.
- Audio coverage: Confirmed scope or unresolved.
- Editing restrictions: Any limits on changes.
- Required credit: Exact wording.
- Status: Cleared, unresolved, or excluded.
3. Gather Source Files and Build a Rough Cut
For your own TikTok clips, look for the original recordings or exports in your project archive. For approved third-party clips, ask the creator for a source file and any required credit wording.
Keep source clips, permission records, audio, and exports in separate folders. Give files descriptive names, such as 01-drawer-dividers and 02-vertical-storage, so you can match each timeline item to its permission record.
Import the files into your editor. Place the selected clips in order and trim material that does not contribute relevant action or advance the narrative. [compilation-guide]
Example: A 90-Second Workspace Compilation
The following is a hypothetical editing plan. The source in/out points are illustrative, not references to actual TikTok posts. Replace them with the moments that preserve the meaning of your cleared footage.
| Finished timeline | Material | Suggested source selection | Editorial purpose |
|---|---|---|---|
| 0:00–0:08 | Your opening narration and title | Newly created material | Introduce the workspace problem and the three approaches. |
| 0:08–0:26 | Clip 1: drawer dividers | Source 0:04–0:22 | Start when the drawer is shown; end after the organized result is visible. |
| 0:26–0:32 | Your comparison narration | Newly created material | Explain that this example organizes storage inside the desk. |
| 0:32–0:50 | Clip 2: vertical storage | Source 0:07–0:25 | Include the setup and result without repeating the introduction. |
| 0:50–0:56 | Your comparison narration | Newly created material | Contrast wall storage with the drawer approach. |
| 0:56–1:14 | Clip 3: cable management | Source 0:03–0:21 | Show the cable problem, the relevant action, and the result. |
| 1:14–1:30 | Your summary and agreed credits | Newly created material | Recap what each approach addresses and display required credits. |
To build this sequence:
- Place the opening on the timeline.
- Set each source clip’s in point where the relevant demonstration begins.
- Set its out point after viewers can understand the result.
- Insert your comparison segments between clips.
- Add the closing summary and required credits.
- Watch the sequence before adding decorative effects.
Do not force every excerpt into the example’s 18-second slot. If a demonstration needs longer to remain understandable, adjust the timeline. Remove repetition, not essential context, and avoid cuts that change what the creator appears to say or demonstrate.
4. Adapt the Layout and Sound
Choose one project canvas before fine-tuning the framing. Base the choice on what viewers need to see.
Choose Portrait or Landscape Deliberately
| Layout | When to consider it | Suggested treatment |
|---|---|---|
| Portrait | The vertical demonstration needs most of the frame, with little extra commentary on screen. | Keep portrait clips prominent and place labels away from the action. |
| Landscape | You want room beside a portrait clip for comparisons, labels, or notes. | Place the clip within a consistent background and use the remaining space for concise commentary. |
These are composition choices, not rules for Shorts eligibility.
For the workspace example, a landscape layout could place each portrait clip on the left and a short comparison note on the right. A portrait layout could keep each clip full-height and put brief labels in unused areas.
Handle Mixed Aspect Ratios
Preserve each clip’s proportions rather than stretching it to fill the canvas. Use the same neutral background for clips that leave unused space.
If you crop or enlarge a clip, inspect the entire excerpt—not just its first frame. Check that moving hands, faces, tools, and original on-screen text remain visible. For a wide clip inside a portrait project, try fitting the whole image first; crop only if the important action remains clear.
Keep added text away from the frame edges and away from existing captions. Preview the result at a small size to check whether labels and credits remain readable. This is a practical placement check, not a verified platform-specific safe-area specification.
Make the Audio and Transitions Consistent
Listen across every clip boundary. Adjust levels so viewers do not encounter sudden jumps between quiet narration and loud source audio.
Where your narration overlaps a clip, lower the source audio enough to make the explanation understandable. Check that this treatment is permitted and does not obscure information viewers need.
Review replacement music against your permission records. Check captions for accuracy and timing, especially where names, measurements, or instructions appear.
Use simple cuts, transitions, and graphics to help viewers follow the sequence rather than obscure it. The compilation guide recommends simple effects and graphics for this purpose. [compilation-guide]
5. Export, Review, and Upload
Exporting and uploading are the final steps in the general compilation workflow. [compilation-guide] Export a local file first so you can review the finished result independently of the editing timeline.
Confirm the Export Settings
Check these items in your editor:
| Setting | What to confirm | Illustrative choice |
|---|---|---|
| Canvas dimensions | The project uses the layout you intended. | 1920 × 1080 for landscape or 1080 × 1920 for portrait. |
| Output resolution | The export matches your chosen canvas; inspect lower-resolution clips before enlarging them. | Use the project dimensions as a starting point. |
| Frame rate | Check the source clips and choose a consistent project/output rate. Review mixed-rate footage for motion issues. | If the main clips are 30 fps, try a 30 fps project and export. |
| File format and video codec | Confirm what the editor produces and whether it fits the current upload requirements. | MP4 with H.264 as a starting export option to verify. |
| Audio | The intended audio is included, intelligible, and free of abrupt level changes. | Listen to narration and source sound at each transition. |
| Export range | The file includes the opening, final summary, and complete credits. | Export the entire finished timeline. |
These are example settings, not current YouTube mandates. They also do not guarantee picture quality or upload acceptance. Check current requirements separately if compatibility is uncertain.
Save the export with a clear version name, such as workspace-compilation-v01.mp4. Open it outside the editor and watch it from beginning to end.
Pre-Publication Checklist
- Every included clip has a completed permission record.
- Audio permissions and editing restrictions have been reviewed.
- The sequence answers the planned viewer question.
- Cuts preserve the meaning of each demonstration.
- Cropping preserves important visual information.
- Captions and creator credits are accurate and readable.
- Sound levels are consistent across clips.
- The export has the intended dimensions, frame rate, and duration.
- The exported file has been watched in full.
- The title and description accurately describe the video.
Upload the reviewed file through YouTube’s current interface. For the example, a descriptive title could be “Three Small-Workspace Organization Ideas Compared.”
Include any credits required by your permissions. Review upload notices and unresolved issues before publishing; a successful export or upload is not a determination of rights clearance or monetization eligibility.
FAQ
Is Crediting a TikTok Creator Enough?
Use credit to identify the creator, not as your permission record. The compilation guide advises obtaining the owner’s consent before using someone else’s video. Record the approved use and follow the agreed credit requirements. [compilation-guide]
Do I Need a Specific Video Editor?
No specific editor is required for this workflow. Choose one that lets you arrange clips on a timeline, trim footage, adjust framing and audio, add text, and export a file. The supporting guide describes a basic timeline-based compilation process. [compilation-guide]
Should My Compilation Be Portrait or Landscape?
Choose based on the content: portrait can preserve a vertical demonstration, while landscape can leave room for side-by-side commentary. The general compilation guide supports organizing clips and adding explanatory graphics, but it does not establish platform aspect-ratio requirements or Shorts classification. [compilation-guide]
Can a TikTok Compilation Be Monetized on YouTube?
The supporting reference does not establish current YouTube monetization eligibility. It advises clearing rights, but permission records and added commentary should not be treated as proof of platform eligibility. Check current requirements separately; this article makes no monetization or fair-use determination. [compilation-guide]
Sources
- [compilation-guide] How to Make a Video Compilation for Your YouTube Channel - Movavi