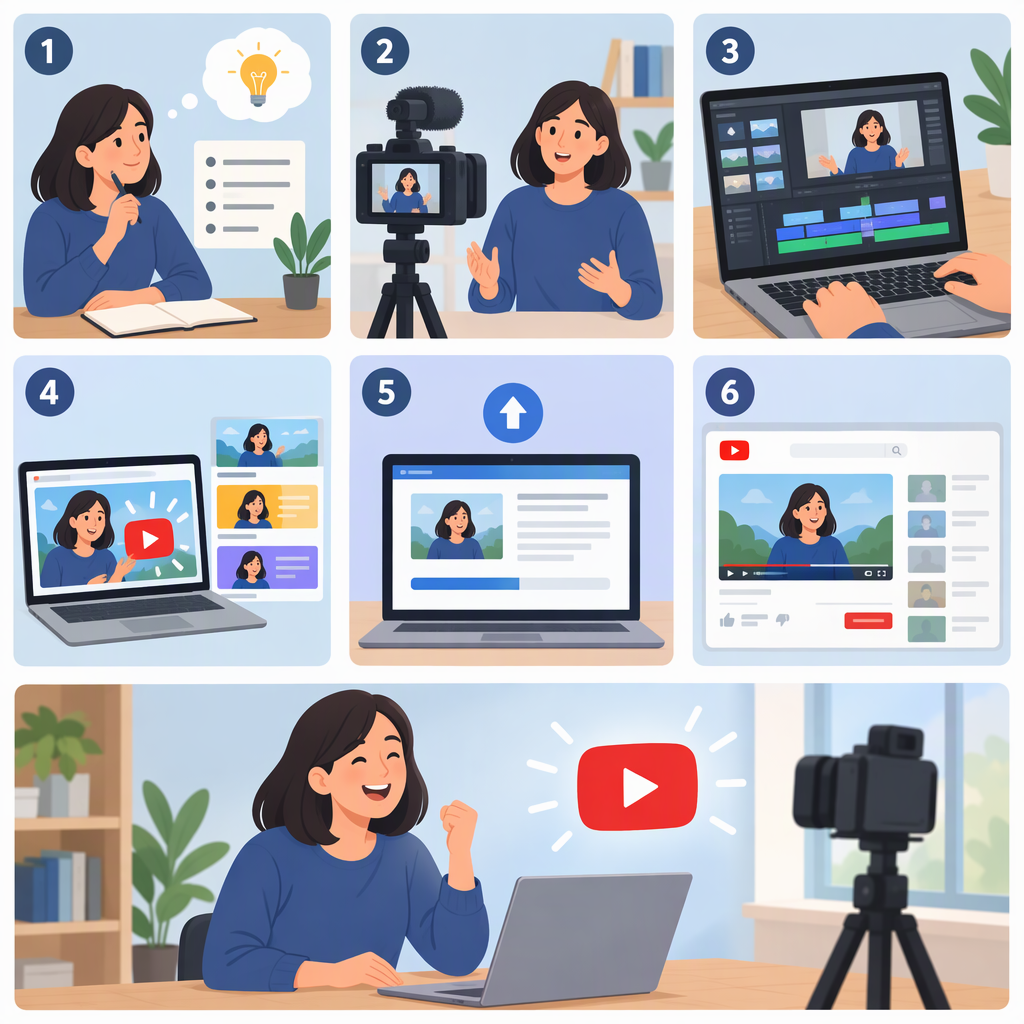
How to Create a YouTube Video: A Beginner’s Step-By-Step Guide
How Do You Create a YouTube Video?
Choose one clear idea, plan what to say or show, record the material, edit it into a focused sequence, then upload it with the right details and settings. Before you finish, confirm the video has the visibility you intended and plays as expected.
You don’t need elaborate equipment to get started: YouTube’s upload tips say you can use what you have at hand. A phone or camera, a simple outline, and a quiet place to record can be enough for a first video. (support.google.com)
1. Choose a Focused Idea and Plan the Video
Start with one question, demonstration, or story. A useful test is whether you can describe the video’s purpose in one sentence. For example: “I’ll show how to repot a small houseplant, from removing it from its pot to watering it afterward.” This is an illustrative example, not a required format.
Next, jot down a short outline:
- Opening: Tell viewers what they’ll learn or see.
- Main steps: Put the explanation or action in a sensible order.
- Ending: Summarize the result or give a final useful detail.
A script can help if you want exact wording; a few bullet points may feel more natural for a demonstration or conversation. Either way, keep only material that serves the main idea.
2. Record and Edit a Clear Sequence
Record the explanation, demonstration, or other original material you planned. If a take is unclear or interrupted, try it again. For a demonstration, capture the details a viewer would need to follow along; for a talking video, pause between ideas so you can remove mistakes or long gaps later.
In editing, arrange the usable clips in order, remove sections that distract from the point, and review the whole video. Check that the explanation makes sense, the important action is visible, and the speech or other key sound is understandable. These are practical creative checks, not YouTube technical requirements. You can use an editing option available to you; the task does not require a particular app or paid tool.
Before upload, make sure you have the rights or necessary permission for material you didn’t create, including music or footage. YouTube lists permission, applicable Creative Commons terms, and certain copyright exceptions among possible ways to use copyrighted material, but says none guarantees that a claim or strike will be avoided. Copyright rules also differ across regions. (support.google.com)
3. Upload the Video and Add Its Details
The steps below describe YouTube’s documented computer workflow. Some labels or options may differ on mobile.
- Sign in to YouTube Studio.
- Select CREATE, then Upload videos, and choose your video file.
- Add the video details. Start with a title that accurately describes the video; you can add a description and thumbnail as useful. YouTube’s current help page says titles can be up to 100 characters and descriptions up to 5,000 characters. (support.google.com)
- Set the video’s audience as Made for Kids or Not Made for Kids. YouTube says creators need to set this audience, including creators whose videos are not made for kids. Consider who the video is directed to; being suitable for all ages by itself does not mean it is made for kids. (support.google.com)
- Choose the video’s visibility and review the remaining settings before proceeding. YouTube’s upload instructions include a Checks step for screening copyright issues; treat any notice as something to review rather than as a substitute for having the rights to your material. (support.google.com)
- Select Publish to make it available, or choose scheduling if you want it to go public later. YouTube documents scheduled publishing as setting a video to scheduled or private on the upload page and selecting a publication time in YouTube Studio. (support.google.com)
If you use the YouTube app on Android instead, YouTube’s documented flow is to tap Create, select a video, add details and privacy settings, choose the audience, then tap Upload video. The mobile workflow and available options may differ from Studio on a computer. (support.google.com)
4. Choose Visibility and Check the Result
Pick the setting that fits how you want people to access the video:
- Public: Anyone on YouTube can view it.
- Unlisted: Anyone with the link can view it; it is not the same as private.
- Private: You and people you choose can view it. (support.google.com)
When the upload is complete, look for the video in YouTube Studio’s Content area and confirm the displayed visibility. Open the video or its link to check that playback works and that the title and other details look right. If it is unlisted, test the link you intend to share; if it is private, check that you selected the people who should have access. YouTube says that if you close the computer upload window before choosing visibility, the video is saved as private in Studio, so don’t assume an unfinished upload was published publicly. (support.google.com)
Quick Pre-Publication Checklist
- The video has one clear purpose and a beginning, middle, and ending.
- You reviewed the finished edit and its sound.
- The title and description accurately describe the content.
- You selected the correct Made for Kids audience setting.
- You chose Public, Unlisted, Private, or a scheduled release intentionally.
- You reviewed any upload notices and checked that you have rights or permission for material you used.
- You confirmed the video’s visibility and playback after upload.
Your first video can be simple. Focus on making the idea understandable, publishing with the intended settings, and checking the result—not on buying gear or trying to predict how many views it will get.