Best YouTube Videos to Make Without Showing Your Face
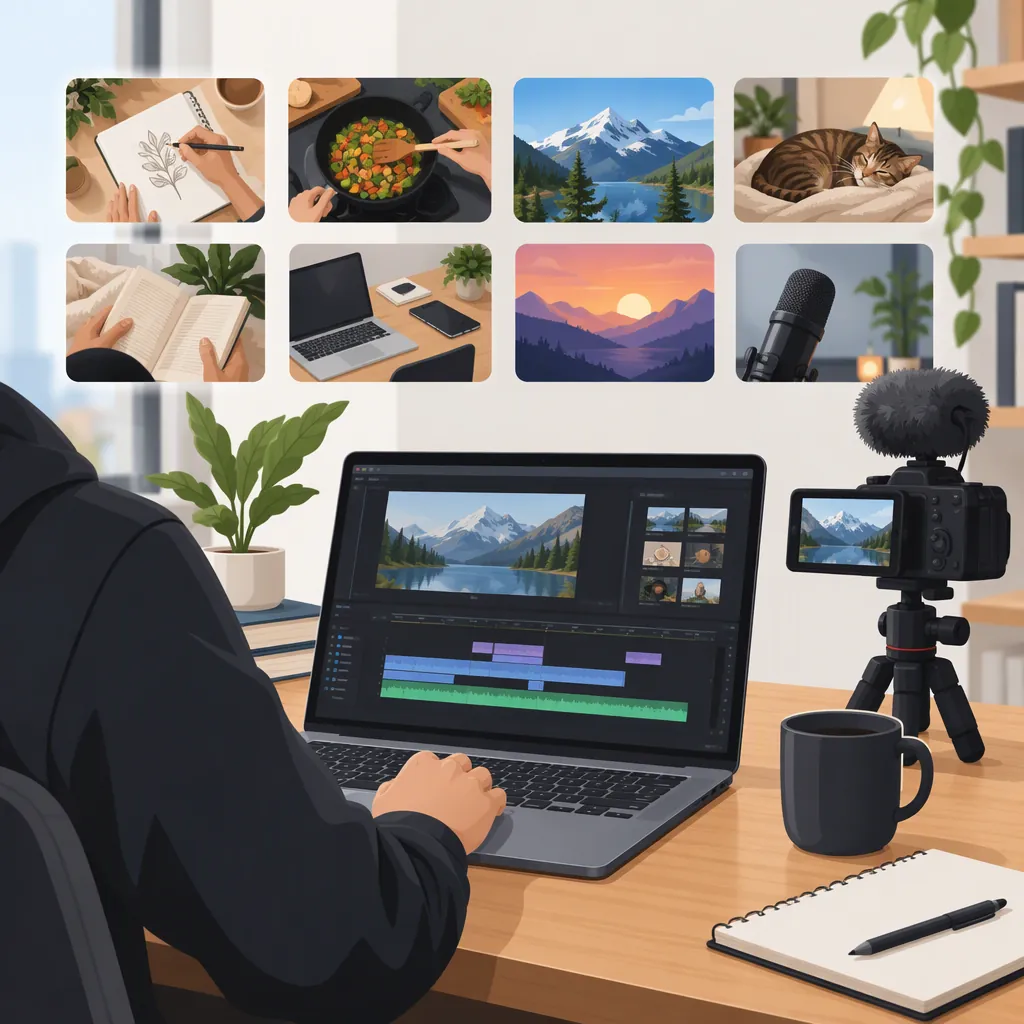
The best YouTube videos to make without showing your face depend on what you can demonstrate: screen-recorded tutorials for software, hands-only videos for practical skills, narrated slides for explanations, and animation for visual stories. Timelapses and POV videos offer other options. These formats appear in the supplied guides, but the sources do not establish a universal winner or guarantee views. For an original first video, choose one question you can answer with your own script and visuals. [c1] [c2]
Choose a Format Around What You Can Show
A faceless format should make the subject easier to understand, not simply conceal the presenter. Creator Fast Track groups its suggestions around screen recordings, animation, stock footage, and filmed demonstrations. Teleprompter.com also lists narrated slides, text overlays, timelapses, and POV footage. [c1] [c2]
Use the following selection guide as an editorial recommendation, not a ranking based on channel performance:
| What You Can Create | Suggested Format | Main Production Challenge |
|---|---|---|
| A clear digital workflow | Screen-recorded tutorial | Making interface details readable |
| A physical process | Hands-only demonstration | Keeping the action in frame |
| A researched explanation | Narrated slides | Connecting evidence to clear visuals |
| A concept or fictional story | Simple animation | Planning and building each scene |
| A visible transformation | Timelapse | Preserving important intermediate steps |
| A sequence of everyday actions | POV video | Giving the sequence a meaningful structure |
For a first project, favor the format for which you already have a specific topic and usable material. A narrow tutorial is a more manageable production brief than an open-ended documentary.
Format Selection Worksheet
Viewer question: ___
Result the viewer should understand or reproduce: ___
Visual evidence I can create myself: ___
Format that displays that evidence clearly: ___
Audio approach: narration / recorded sound / text-led
Hardest production step: ___
Smallest version that still answers the question: ___
Screen Tutorials and Hands-Only Demonstrations
These are useful starting points when the process itself supplies the visuals. Creator Fast Track describes screen recording for step-by-step instruction and camera footage of cooking or art without filming the presenter's face. It also describes recording narration during the screen capture or adding it afterward. [c1]
Screen-recorded ideas:
- Build a simple household expense tracker from a blank spreadsheet.
- Demonstrate how to crop and caption a short video using your own footage.
- Organize a folder of sample files and explain the naming system.
Hands-only ideas:
- Fold a paper organizer and show the measurements.
- Demonstrate three pencil-shading techniques on the same drawing.
- Prepare one recipe, showing ingredient quantities and visual cues at each stage.
For a screen tutorial, prepare a clean example account or document rather than recording personal files. For a physical demonstration, frame the work surface and check whether your hands obscure the important action. Show the finished result, explain the starting conditions, then work through the steps.
If you review an object, separate visible observations from judgments. A close-up can demonstrate a hinge or control layout; it cannot establish long-term durability without appropriate evidence.
Five-Shot Demonstration Plan
1. Result: show the completed task or object.
2. Setup: show required materials, inputs, or settings.
3. Key action: capture the step the viewer most needs to see.
4. Checkpoint: show how to recognize a correct intermediate result.
5. Verification: compare the final result with the stated goal.
For every shot, write one narration sentence or on-screen label.
Narrated Slides and Simple Animation
Narrated slides are an option when your contribution is explanation rather than a live demonstration. Teleprompter.com describes slideshow videos organized around one idea per slide. Both guides discuss animation, including whiteboard-style explainers. [c1] [c2]
Original project ideas include:
- Explain the difference between a file backup and a folder organization system using diagrams you create.
- Show how a fictional character solves a small puzzle through simple animated scenes.
- Compare three ways to structure a study session using a clearly labeled hypothetical example.
Write the explanation before assembling the visuals. Give each scene a purpose: define a term, show a relationship, demonstrate a change, or summarize a finding. Avoid filling slides with paragraphs that merely duplicate the narration.
Animation may involve substantial practice and production time; Creator Fast Track explicitly notes this limitation. [c1] Keep the first project small: a few objects, a limited set of movements, and one concept.
Stock footage can supplement an explanation, but treat it as illustration rather than proof. A generic office clip, for example, should not imply that it depicts a specific organization or documented event.
Scene-By-Scene Explainer Template
Scene 1 — Question: What needs explaining?
Scene 2 — Definition: What term or starting condition matters?
Scene 3 — Example: What original diagram or labeled hypothetical makes it concrete?
Scene 4 — Contrast: What common confusion should be distinguished?
Scene 5 — Summary: What should the viewer now understand?
For factual statements, record the supporting source and the limits of what it establishes.
Timelapse and Pov Videos with a Clear Payoff
Teleprompter.com lists timelapse videos for processes such as art, builds, and organizing, along with POV videos showing routines from the creator's perspective. [c2]
Possible original topics include a desk reorganization, a drawing from sketch to finish, or the preparation of a small craft project. Give the sequence a question to answer: What changed? Which decision mattered? What would help someone repeat the process?
For a timelapse, retain normal-speed footage of any step that needs explanation. For POV footage, use labels or narration to connect the clips instead of relying on a sequence of unrelated shots.
Neither format requires a face shot, but plan a privacy review. Look for reflections, addresses, identifying documents, device notifications, and other people in the background. Keeping your face out of frame should not be treated as a complete anonymity strategy.
Transformation Video Outline
Before: show the starting state.
Goal: state the intended change.
Progress: select three meaningful stages.
Key decision: explain one choice at normal speed.
After: show the result from a comparable angle.
Reflection: state what changed and what remains unfinished.
Build an Original Video and Check Its Limits
The supplied guides describe combining narration with screen recordings, slides, demonstrations, or supporting footage. [c1] [c2] Use those formats as production options rather than templates to copy verbatim.
A practical workflow is:
- Define one viewer question. State the answer your video will deliver.
- Write your own outline. Separate sourced facts, your interpretation, and hypothetical examples.
- Create the central material. Record your demonstration, draw your diagrams, or capture your own process.
- Record and edit for clarity. Remove repeated steps, make labels readable, and keep visuals aligned with the explanation.
- Review outside assets. Check the stated license and intended use for each clip, image, sound, or music track; retain a record of the terms.
- Watch the finished export. Check audio, captions, framing, accidental disclosures, and whether the promised answer is actually present.
Do not assume that adding narration or rearranging someone else's clips settles permission questions. The supplied references are idea guides, not authoritative copyright or YouTube monetization policy sources. They also do not provide reliable comparative evidence for which format earns the most or performs best.
Final Review Checklist
- The video answers the question stated at the beginning.
- The script and central demonstration are original.
- Factual statements have supporting sources.
- Hypothetical examples are labeled.
- Outside assets have documented usage terms.
- Captions and on-screen labels have been checked.
- Private information and unintended faces are absent.
- The title describes the actual video without unsupported promises.
FAQ
What Is the Best Faceless YouTube Format for a Beginner?
A screen tutorial is a practical starting point if you can explain a digital task; a hands-only demonstration is an alternative if you can teach a physical skill. Both appear in the supplied guides. Choose based on the material you can create clearly, not an assumed performance advantage. [c1] [c2]
Can I Make Videos Without Showing My Face or Using My Voice?
Yes. Text-overlay videos are one option described by Teleprompter.com. For a text-led demonstration, make each action and its corresponding instruction clear, and leave enough time to read the labels. Test whether the video remains understandable without narration. [c2]
Do I Need a Camera for Faceless YouTube Videos?
Not for every format. Creator Fast Track describes screen recordings that do not use camera footage and animation produced with software. Hands-only demonstrations, by contrast, involve filming the process. Choose the format before deciding what recording equipment is necessary. [c1]
Is Stock Footage a Good Basis for an Original Video?
It can support an original explanation or story; Creator Fast Track describes educational and inspirational videos built around narration and stock footage. Prefer a distinct script and purposeful visual choices over a generic clip sequence, and check each asset's usage terms. The supplied guide is not a legal permission assessment. [c1]