How to Make an Original Educational Video for YouTube
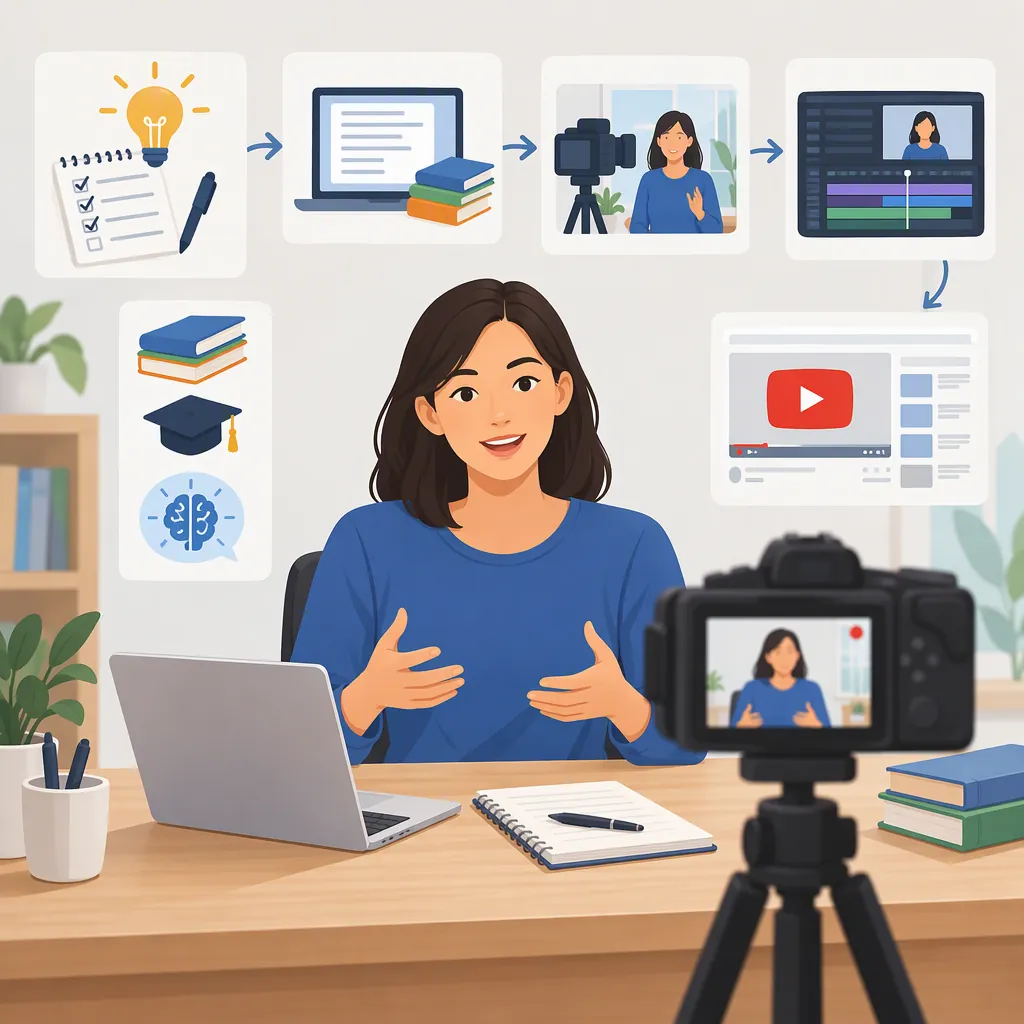
To make an educational YouTube video, choose one learning objective, write a short explanation with a worked example, and select visuals that show the idea clearly. Record in manageable segments, edit out distractions, add a practice question, and review the finished video before publishing. EdTechReview recommends focused lessons, simple visuals, and guided questions; there is no need to treat expensive equipment as a starting requirement. [c1]
1. Define One Learning Outcome
Start with what the viewer should be able to do after watching—not just the subject you want to discuss. EdTechReview recommends dividing instruction into parts so that each video covers a single learning objective or task. [c1]
For example, “geometry” is a topic. “Calculate the area of a rectangle and explain why the answer uses square units” is a workable lesson outcome.
Before writing, decide:
- Audience: Who is the lesson for?
- Starting knowledge: What do viewers already need to understand?
- Outcome: What will they calculate, explain, identify, or demonstrate?
- Evidence of learning: What question or task will let them check their understanding?
For an original video, develop your own explanation, examples, and visual sequence. Use references to check subject-matter facts rather than reproducing another creator’s script. If an explanation depends on a source, record that source while drafting so you can acknowledge it accurately.
One-Video Lesson Brief
Audience: [Who is this for?]
Prior knowledge: [What should viewers already know?]
After watching, viewers can: [One observable action]
Core explanation: [The idea in one sentence]
Worked example: [An example you created and checked]
Practice question: [A similar task with a different answer]
Out of scope: [What belongs in another lesson]
Sources to verify: [References for factual statements]
2. Match the Format to the Lesson
Choose the format according to what viewers need to see. Moonb’s overview distinguishes screen recording, animation, edited footage, presenter video, and course authoring rather than treating them as interchangeable tools. Its commercial comparisons are not independent product testing, so use that distinction as a planning aid—not as a verified ranking. [c2]
A practical selection guide:
| Lesson task | Suggested format | What to make visible |
|---|---|---|
| Demonstrate a software procedure | Screen recording with narration | Each action and its result |
| Explain a relationship or process | Simple diagrams or slides | How the parts connect |
| Show a physical technique | Camera footage | The relevant movement or object |
| Work through a calculation | Written steps with narration | Each transformation and its reason |
You can combine formats, but give each change a teaching purpose. For the rectangle lesson, a labeled drawing and a grid may be enough; an on-camera introduction is optional.
Before committing to software, test whether you can record the needed view, trim a mistake, and export a playable file. This is a workflow check, not a recommendation for a particular product.
3. Write a Script Around an Example
Use a script or speaking outline that connects the explanation to something visible. EdTechReview recommends clear, focused slides with limited text and visual cues that highlight important information. It also recommends questions that invite learners to participate. [c1]
A useful sequence is:
- State the goal: Say what the viewer will learn.
- Explain the idea: Introduce the concept and any necessary terms.
- Demonstrate: Work through one example, explaining why each step matters.
- Offer practice: Ask viewers to pause and try a related task.
- Explain the answer: Show the reasoning, not just the result.
- Recap: Restate the method and one likely mistake.
Keep narration and visuals aligned. If you say “multiply the length by the width,” show those two measurements at that moment. Avoid placing your entire spoken script on a slide.
The sample below is an original planning example, not a fixed timing formula.
Sample Script and Visual Plan
Goal
Narration: “By the end, you’ll be able to find a rectangle’s area and label the answer in square units.”
Visual: A rectangle labeled length and width.

Explanation
Narration: “Area measures the surface inside the rectangle. A grid lets us count equal-sized squares.”
Visual: A rectangle divided into 4 rows and 6 columns of unit squares.

Worked example
Narration: “There are 4 rows with 6 squares in each row. That makes 4 × 6 = 24 square units.”
Visual: Highlight one row, then all four rows; display the calculation.

Practice
Narration: “Pause and find the area of a rectangle that is 3 centimeters wide and 5 centimeters long.”
Visual: The new rectangle with labeled measurements.

Answer and recap
Narration: “The area is 3 × 5 = 15 square centimeters. Multiply length by width, and use square units for the area.”
Visual: Calculation and final unit label.
4. Record in Manageable Segments
Begin with the equipment available to you. EdTechReview advises against making equipment or a perfect take the main focus, and describes recording workflows that allow individual segments to be re-recorded. [c1]
Make a short test recording before the lesson:
- Listen for unclear speech, background noise, and distorted audio.
- Check whether labels, handwriting, and interface details are readable.
- For camera footage, check lighting and whether the important action stays in frame.
- For screen recording, close unrelated windows and remove personal information from view.
Record one explanation or demonstration at a time. If you make a mistake, pause and repeat the sentence or step from a clean starting point. Leave enough space around the correction to make editing straightforward.
Speak naturally, but distinguish an informal delivery from an inaccurate explanation. Re-record errors that change the meaning; do not spend the whole session eliminating every harmless pause.
5. Edit for Clarity and Check Understanding
Treat editing as a review of the lesson, not just a cleanup of the footage. EdTechReview emphasizes clear pacing, focused instruction, and getting to the point without a long delay. [c1]
Use three review passes:
- Accuracy: Check calculations, definitions, labels, and the order of steps. Confirm that the narration matches the visuals.
- Clarity: Remove setup chatter, failed takes, and repetition that adds no explanation. Preserve pauses that allow viewers to inspect a diagram or attempt a task.
- Accessibility: Add and review captions where your workflow supports them. Check technical terms and numbers carefully. Explain essential visual information aloud rather than relying only on color or pointing.
Watch the export, not only the editing timeline. Check that the beginning and ending are intact, the audio is understandable, and the practice answer is correct.
Do not shorten a lesson merely to hit an arbitrary duration. If it contains several separate objectives, consider splitting it. If it covers one objective, remove unnecessary material without cutting the explanation viewers need.
6. Prepare the Video for Publication
Before publishing on YouTube, prepare a title, description, and thumbnail that accurately represent the lesson. For the sample lesson, “Rectangle Area Explained With a Worked Example” is more specific than “Learn Geometry.”
Use this final checklist:
- The title names the actual learning task.
- The thumbnail is readable and does not promise material absent from the video.
- The description states the audience and any prerequisites.
- Sources and asset credits are accurate, and permissions have been checked.
- Captions, audio, and on-screen text have been reviewed.
- No unintended personal information is visible.
- Relevant audience, visibility, and disclosure settings have been reviewed in the current upload interface.
Keep your script, source notes, and editable project so that later corrections are easier to manage.
Source limitations: The references supplied here are educational-production guidance and a commercial tools overview, not official YouTube documentation. This article therefore does not verify current upload controls, policy requirements, export specifications, or tool pricing. The workflow is guidance, not a guarantee of learning outcomes or channel performance.
FAQ
How Long Should an Educational YouTube Video Be?
Plan around one learning objective rather than a universal time limit. EdTechReview recommends dividing instruction into focused parts. Keep the explanation, example, and practice needed for that objective, and cut unrelated material. The supplied references do not establish an ideal duration for every topic or audience. [c1]
Do I Need Expensive Equipment?
No expensive setup is a starting requirement in the guidance supplied here. EdTechReview recommends beginning with available tools. Make a test recording and address specific problems, such as unclear audio or unreadable visuals, before deciding whether you need different equipment. [c1]
Do I Have to Show My Face?
Choose according to the lesson. A screen demonstration, narrated diagram, or worked calculation can be planned without an on-camera presenter. Moonb’s overview describes several distinct video formats, including screen recording and animation. The format should make the subject visible, not add a camera view without a teaching purpose. [c2]
How Can I Make the Lesson More than a Lecture?
Include a question viewers can answer before you explain the solution. For example, demonstrate one calculation, ask them to pause and try a similar one, then show the reasoning. EdTechReview recommends guided questions and note-taking rather than only passive viewing. [c1]