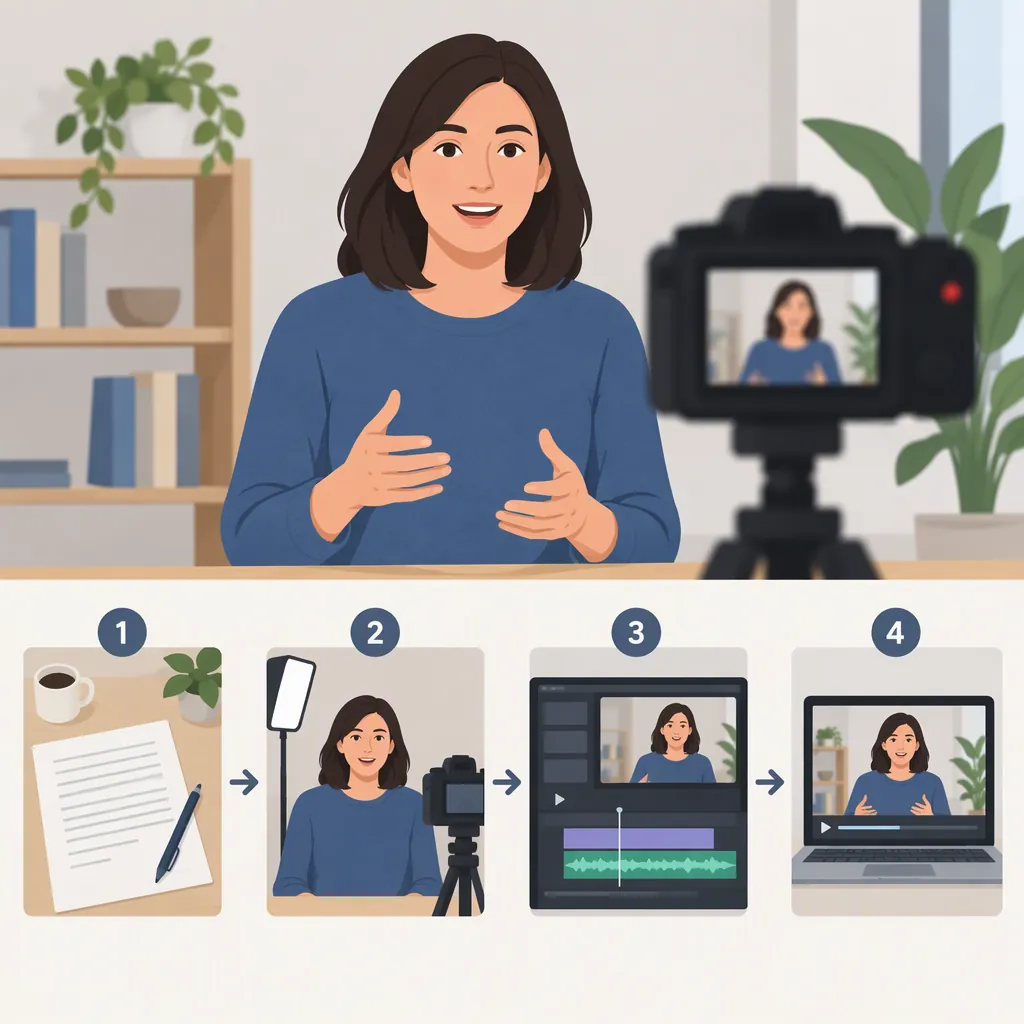
How to Create a Talking Head Video from Script to Export
To create a talking head video, plan one clear message, position a stable camera in front of the speaker, arrange lighting and a simple background, and record a short audio test. Film the explanation, trim mistakes, add relevant supporting visuals and checked captions, then review the exported file. Clear audio, good lighting, steady framing, and natural delivery are core considerations in the supplied guide. [src_1]
Start with the Format and Purpose
A talking head video centers on a person speaking directly to the camera. Supporting visuals or animations can accompany the speaker to highlight key points. The supplied guide describes this format and identifies tutorials and interviews among its uses. [src_1]
For this workflow, the starting point is recorded footage of a real speaker—not an AI-generated presenter. Before filming, write down who the explanation is for and what they should understand by the end. Keep the first version focused on one question rather than several loosely connected topics.
One-Sentence Video Brief
Complete this before writing:

This video explains [one topic] to [intended audience], so they can understand [specific takeaway].

Supporting points:
1. [First necessary point]
2. [Second necessary point]
3. [Example or clarification]
Write a Script You Can Say Naturally
Use the brief to build a short, spoken explanation. A practical structure is an opening answer, a few supporting points, one example, and a closing summary. This is a suggested template, not a required formula.
Read the draft aloud. Replace phrases that feel awkward to say, explain unfamiliar terms, and separate long sentences. If reading a full script makes the delivery sound rigid, try recording from a bullet-point outline instead. The reference emphasizes natural delivery and cautions against speech that is too fast or robotic. [src_1]
Reusable Talking Head Script
Opening: “Here is how [topic] works.”

Main answer: “[State the central explanation in plain language.]”

Point one: “[Explain the first step or idea.]”

Point two: “[Explain the next step or idea.]”

Example: “For example, [give a concrete illustration].”

Closing: “The main thing to remember is [repeat the key takeaway].”

Read aloud once, then revise anything that sounds unlike normal speech.
Set up Audio, Lighting, and Framing
The reference recommends clear audio, reduced background noise, lighting that avoids harsh shadows, an uncluttered background, and a stable camera. [src_1]
Use these recommendations as a starting checklist:
- Audio: Choose a quiet location and record a sample at your normal speaking volume. Listen for distracting noise, distortion, or words that are difficult to understand.
- Lighting: Arrange the light so your face is easy to see. Check the actual camera image rather than judging only by how the room looks.
- Background: Remove distractions and check for private information in view.
- Framing: Secure the camera on a stable support. As a starting composition, try a head-and-shoulders view with the camera near eye level.
Make a short test recording before the full take. The framing suggestion is an editorial starting point; the supplied source does not establish exact camera heights, distances, or lighting measurements.
Pre-Recording Test Checklist
- Record a few sentences at normal speaking volume.
- Play the recording back and confirm every word is understandable.
- Check that the face is visible without distracting shadows.
- Check the background for clutter and private information.
- Confirm the camera remains steady.
- Adjust the setup and repeat the test if needed.
Record in Manageable Takes
The guide recommends a relaxed, natural delivery. [src_1] A practical way to work toward that is to rehearse once and record the explanation in sections when a continuous take feels difficult.
Look toward the camera lens when addressing the viewer. Leave a brief pause before and after each section so you have room to edit. If you make a mistake, pause and repeat the sentence rather than restarting the entire explanation. Keep your position and speaking volume reasonably consistent between takes.
These recording techniques are workflow suggestions, not requirements or guarantees of a particular result. Choose the approach that lets you explain the subject accurately and comfortably.
Edit for Clarity and Review the Export
Start with the spoken explanation: select usable takes, remove mistakes and unnecessary repetition, and check that the sequence still makes sense. Preserve pauses that help the explanation rather than cutting every moment of silence.
Add a screenshot, diagram, or other supporting visual only where it clarifies the point. The reference describes using visuals and animations to highlight information in talking head videos. [src_1]
If you include captions, compare them with the recording and correct names, specialist terms, punctuation, and timing. Choose export settings based on the destination's current requirements; the supplied reference does not establish a universal resolution, aspect ratio, or bitrate.
Finally, watch the exported file—not just the editing preview. Check the opening, audio, captions, supporting visuals, and ending.
Final Review Checklist
- The opening identifies the topic clearly.
- The explanation remains accurate after cuts.
- Speech is understandable throughout.
- Supporting visuals match the spoken point.
- Captions match the recording and remain readable.
- No private information appears in the frame.
- Export settings match the intended destination.
- The exported file plays correctly from beginning to end.
Source and Practical Limitations
This article uses one supplied reference: a commercial CapCut guide that covers the talking head format, production considerations, and software workflows. [src_1] Its product rankings, promotional language, and engagement claims are not treated here as independently verified evidence.
The script template, checklists, and recording sequence above are suggested working methods. They do not establish minimum equipment requirements or guarantee audience results. No particular editor, paid subscription, AI avatar, or multi-camera setup is required by this workflow.
FAQ
What Is a Talking Head Video?
It is a video centered on a person speaking directly to the camera. It may also include supporting visuals or animations to highlight parts of the explanation. [src_1]
What Should I Check Before Recording?
Start with a test recording to assess speech clarity, lighting, background distractions, and camera stability. These checks reflect the main production considerations in the supplied guide; the test checklist is a suggested way to apply them. [src_1]
Should I Add Supporting Visuals?
Add them when they clarify the explanation—for example, when the viewer needs to see a diagram or the item being discussed. The reference describes visuals and animations as ways to highlight key points, but it does not establish a required frequency or amount. [src_1]