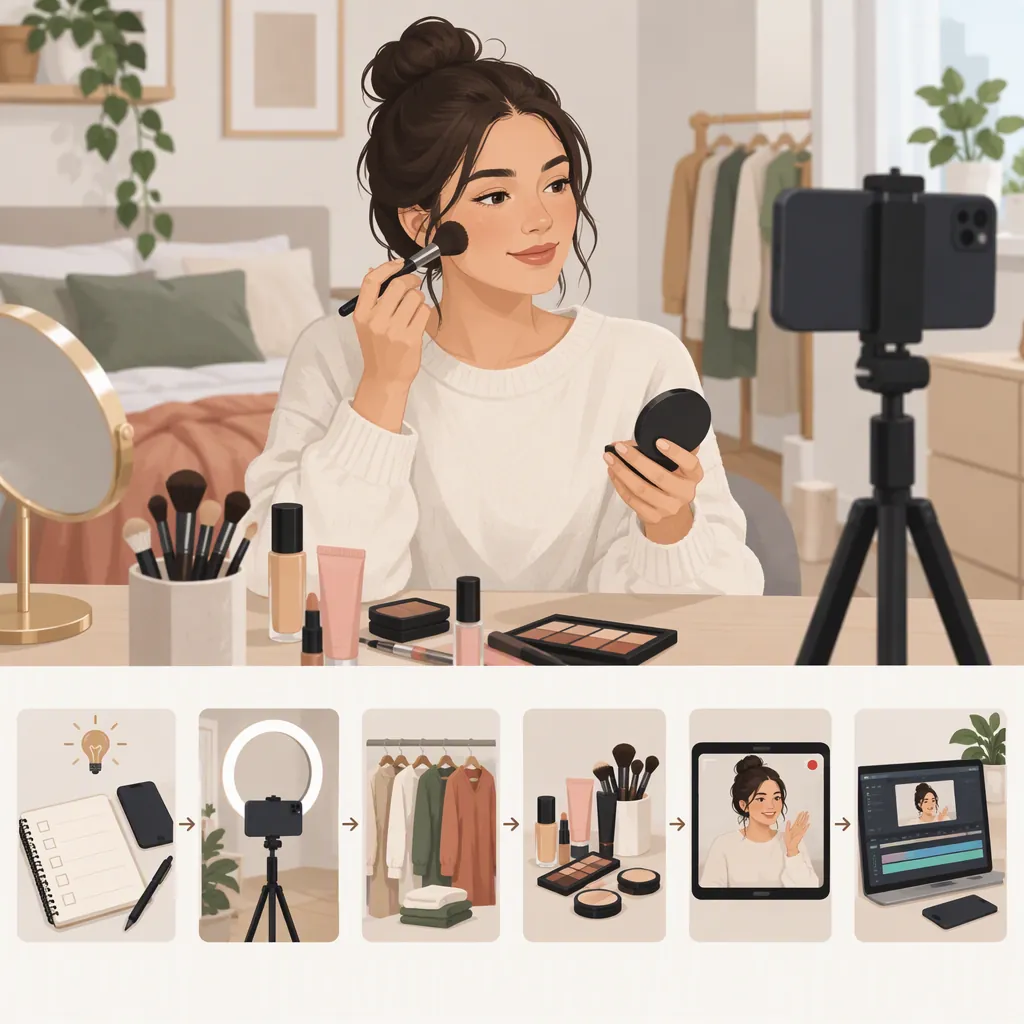
How to Make Grwm Videos from Planning to Editing
To make a GRWM (get ready with me) video, choose an occasion, outline your getting-ready steps, and decide whether to talk on camera or record a voiceover. Film an introduction, the main steps, a few detail shots, and the finished look. Edit out pauses and repetition, add readable captions where useful, and review the video for private information before posting.
Plan One Clear Getting-Ready Story
Start with an occasion or theme: getting ready for work, a casual outing, or a quiet day at home. Decide what you want to show and what you want to keep off camera. Your video can focus on clothing, hair, makeup, or another part of your routine; you do not need to include every step.
Write a short outline rather than a word-for-word script. Give the video a beginning, a sequence of steps, and an ending that shows the result. If you want to tell a story while getting ready, choose one topic so the conversation has a clear direction.
Set a rough length before filming. Treat it as an editing target, not a rule: leave enough room for the steps viewers need to follow.
Fill-In Video Outline
Occasion: ______
Main focus: ______
Opening: “I’m getting ready for ______, and today I’m focusing on ______.”
Step 1: ______
Step 2: ______
Step 3: ______
Optional conversation topic: ______
Ending: Show the finished look and briefly explain one choice.
Keep off camera: ______
Choose Your Framing and Test the Setup
Choose vertical or horizontal framing based on where you intend to publish and how much of the scene you want to include. Check the destination’s current upload specifications rather than assuming one format works everywhere.
The supplied reference is titled as a tutorial about filming “2016 style” GRWM videos with an aesthetic horizontal vlog approach. That identifies one stylistic example, not a required GRWM format. The available reference text does not include the tutorial’s actual filming instructions, so this guide does not attribute specific techniques to it. [source_1]
For your own setup, place the camera on a stable support and frame the area where you will work. Record a short test with your face, hands, and any items you plan to show. Check the lighting, focus, and sound before recording the full routine. If the camera struggles to show small details, plan separate close-ups instead of forcing everything into one shot.
Pre-Filming Test
1. Set your intended camera orientation.
2. Record a short clip while speaking at your normal volume.
3. Move your hands through the space you will use.
4. Hold up one item you expect to show.
5. Play the clip back and check framing, focus, brightness, and audibility.
6. Adjust the setup and repeat if needed.
Film the Routine in Manageable Parts
Choose a recording approach before you begin. For a talk-through video, speak while completing the routine and pause when you need to concentrate. For a voiceover video, film the steps first and record your explanation after reviewing the footage. You can also combine the two: an on-camera introduction, quiet process shots, and a spoken ending.
Record the main steps in their actual order. Pause between steps when you need to reposition the camera, rather than trying to capture the entire routine in one uninterrupted take.
Add detail shots only when they explain something: a clothing texture, a hairstyle adjustment, or the difference between two outfit choices. Finish with a clear view of the result. Avoid staging unsafe actions or exposing private spaces just to create another shot.
Simple Grwm Shot List
- Opening: State the occasion and focus.
- Starting point: Show only what you are comfortable sharing.
- Main steps: Record each meaningful part of the routine.
- Details: Capture close-ups that clarify a choice or action.
- Finished look: Film a steady view of the result.
- Closing: Summarize one decision or observation without repeating the whole video.
Edit for Clarity Before Adding Effects
Build a rough cut in the order viewers need to understand the routine. Remove accidental recordings, long setup pauses, and repeated explanations. Keep enough of each action to make the sequence understandable.
If you recorded voiceover, write it against the selected footage rather than describing steps that are no longer visible. If you spoke on camera, check that cuts do not change the meaning of what you said.
Use text for useful context, such as the occasion or a step label. Review captions for spelling and timing, especially names or unfamiliar terms. Keep text away from important visual details, and preview it on a small screen.
Music and transitions are optional. If you use music, choose audio you have permission to use for the intended publication and keep speech easy to hear. Watch the entire export to catch missing clips, abrupt audio changes, and unreadable text.
Three-Pass Editing Checklist
Pass 1 — Story: Arrange the opening, steps, and ending. Remove repetition.
Pass 2 — Sound and text: Check speech, voiceover timing, captions, and any music permissions.
Pass 3 — Final playback: Watch the exported file from start to finish. Check framing, text readability, audio, and unintended background details.
Check Privacy and Describe the Video Accurately
Before posting, inspect the frame for addresses, documents, work badges, messages, and reflections. Listen for background conversations you did not intend to include. Ask permission before featuring another person, and remove material you are not comfortable making public.
Write a title that describes the actual occasion or routine. Choose a cover image that represents the video rather than promising a result it does not show. If you discuss products, distinguish personal preferences from factual claims and avoid presenting unverified claims as established facts.
Keep the final check simple: does the video show what the title promises, can viewers follow the sequence, and have you removed anything private?
Publication Review
- The title accurately describes the video.
- The cover image matches its content.
- No private documents, addresses, messages, or unintended reflections remain visible.
- Other people shown or heard have agreed to be included.
- Captions and spoken explanations match the footage.
- Any third-party audio or other material has been checked for permitted use.
- The exported video plays correctly.
FAQ
What Equipment Should I Start With?
Start by testing a camera or phone you already have, a stable support, and the available lighting. Review a short recording before deciding whether you need additional equipment. Address the specific issue you hear or see rather than buying equipment without a clear purpose.
Should I Talk While Filming or Add a Voiceover?
Choose talk-through recording if conversation is central to your video. Choose voiceover if you prefer to concentrate on the routine and explain it afterward. A mixed approach is also an option: talk during the introduction and ending, then narrate selected process shots.
How Long Should a Grwm Video Be?
Use the length needed to explain your chosen routine without unnecessary repetition, and check the intended platform’s current limits. This guide does not establish an ideal runtime. Make a rough cut, then remove anything that does not clarify a step or contribute to the story.
Can I Make a Horizontal Grwm Video?
Yes, horizontal framing is an option to consider. The supplied reference title explicitly describes an aesthetic horizontal GRWM vlog tutorial, but the available text does not establish detailed techniques or platform suitability. Check your intended publishing destination before choosing the format.