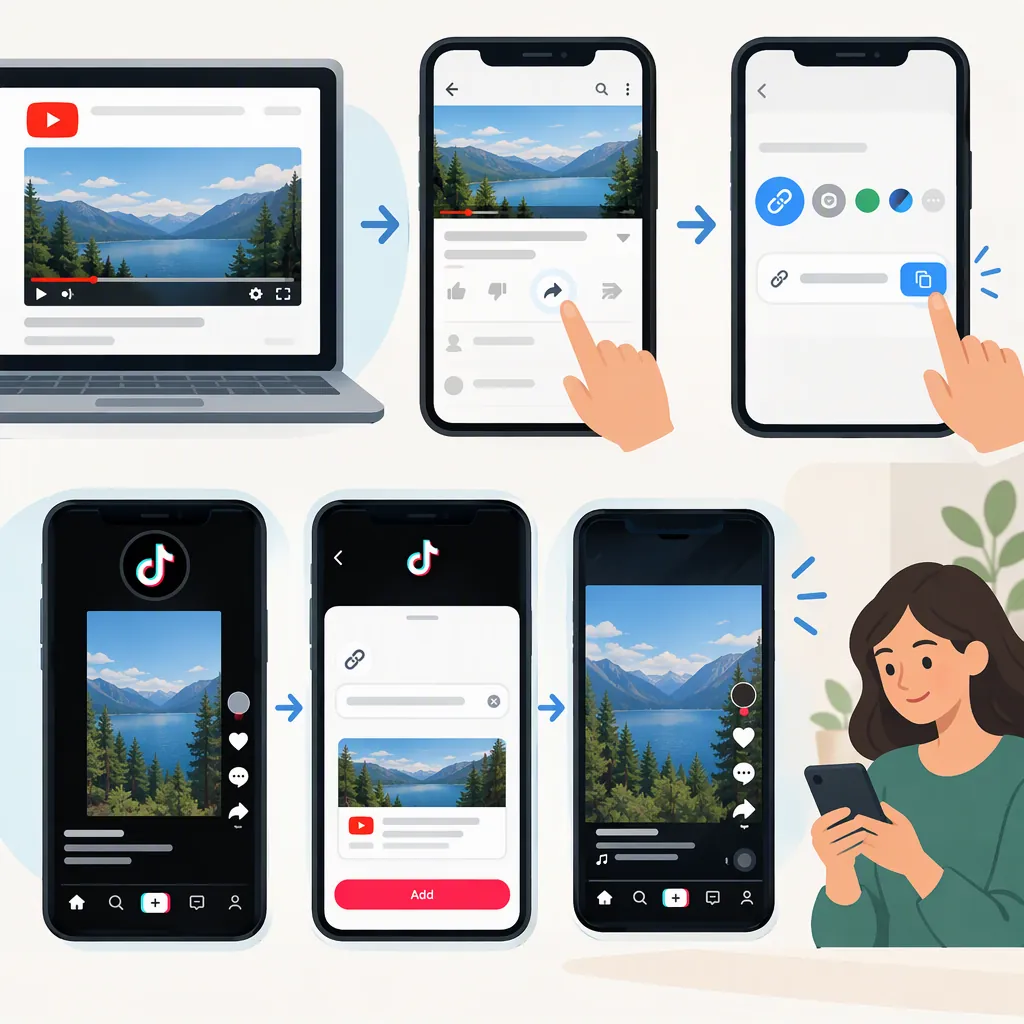
How to Put a YouTube Video on TikTok
To put a YouTube video on TikTok, start with a video file you own or have permission to reuse. Choose a self-contained excerpt, adapt it for a vertical screen, add captions where needed, and export it. Then select the prepared file through TikTok’s upload option and review it before publishing. The editing guidance below covers clip selection, framing, and captions. [c1]
Scope note: This is a video-preparation workflow, not a verified YouTube-link-to-TikTok conversion method. The supporting source is a third-party editing guide; it does not verify TikTok’s current upload menus, duration limits, or export requirements. Check the requirements available in your TikTok interface before your final export. [c1]
1. Choose Your Source and Excerpt
Use your original video file or a copy you are authorized to edit and republish. A publicly viewable YouTube video is not, by itself, proof that you have permission to reuse the footage or audio.
Choose one moment that makes sense without the full YouTube video: a complete explanation, demonstration, or highlight. Focus on the most important content and make the subject clear near the beginning. [c1] Trim unnecessary setup while retaining enough context to avoid changing the meaning.
Choose the clip’s length around that complete idea, rather than an arbitrary number of seconds.
Clip Selection Worksheet
- Source file: Identify the file you will edit.
- Permission check: Confirm that you may reuse the footage and included audio.
- Main point: Describe the excerpt in one sentence.
- Start point: Choose where the necessary context begins.
- End point: Choose where the explanation or action is complete.
- Context check: Watch the excerpt alone and check that it does not misrepresent the original.
2. Adapt the Framing for a Vertical Screen
Prepare a portrait version of the excerpt in your editor. Adapting the framing and keeping important content clear of interface controls are key preparation steps. [c1]
Preview the whole clip, not just its first frame. If cropping removes an important person, demonstration, or label, adjust the crop or use a layout that preserves the information.
For example:
- A person explaining something: Adjust the crop to keep their face and relevant hand gestures visible.
- A wide demonstration or labeled diagram: Consider retaining the complete image within a portrait canvas, with background fill around it, rather than cutting off essential details.
Choose the layout based on what viewers need to see. If your editor offers a safe-zone preview, use it to check whether interface controls might cover faces, captions, or labels. [c1] Treat that preview as a visual aid, not a guarantee that every screen will display the clip identically.
3. Add Captions and Review the Audio
Add captions if speech carries the main point. Captions, subtitles, and brief text overlays can provide context and help viewers follow the clip without sound. [c1]
Review captions against the audio before exporting:
- Correct misheard words, names, and punctuation.
- Keep text readable and concise.
- Position captions so they do not obscure the subject, labels, or other essential information.
- Watch the excerpt muted to check whether its main point is still understandable.
Listen to the clip as well. Check that speech is understandable and that the beginning or ending does not cut off a necessary word or sentence.
Treat additional music as optional. Before keeping existing music or adding a new track, check that you have permission for the intended use. The guide’s music suggestions do not establish licensing rights for any particular recording or account. [c1]
4. Check Requirements, Export, and Upload
Complete the handoff in this order to reduce the chance of having to export again:
- Check the current upload requirements. Review the file and duration requirements available in the TikTok interface you plan to use before choosing your final export settings.
- Export the edited clip. Save the prepared excerpt as a video file using settings that meet those requirements.
- Watch the exported file from beginning to end. Check the crop, captions, audio, and ending—not just the editor’s preview.
- Make the file available on your publishing device. If you edited elsewhere, transfer the exported file to the device you will use for TikTok.
- Select the existing video in TikTok. Look for the option to upload a video and select your prepared file. Exact button names and menu locations are not verified here.
- Review the publishing preview. Check that essential content remains visible and that the clip communicates the intended meaning before publishing.
Final Pre-Publish Checklist
- You are authorized to reuse the footage and audio.
- The excerpt communicates one complete idea.
- The crop preserves important visual information.
- Captions are accurate, readable, and unobstructed.
- The exported file plays correctly from start to finish.
- The selected file meets the requirements shown in your current upload interface.
- The TikTok preview shows the version you intend to publish.
FAQ
Can I Paste a YouTube Link Directly into TikTok?
Do not assume that pasting a YouTube link will create a TikTok video post. The supporting guide’s link-import instructions refer to a separate editing tool, not TikTok. This workflow uses a video file you are authorized to reuse. [c1]
How Long Should the Clip Be?
Use enough time to communicate one complete idea without unnecessary setup. The guide recommends concise excerpts, but its suggested duration is not a verified current TikTok maximum. Check the duration requirements available to your account before exporting. [c1]
What If a Vertical Crop Cuts Off Important Content?
Adjust the crop or choose a layout that preserves the full demonstration, person, or label. For a wide scene, retaining the full image within a portrait canvas may be clearer than filling the screen with a tight crop. Preview the entire clip and check that interface controls will not cover essential information. [c1]
Do I Need Music, Filters, or Effects?
They are not required for this workflow. Prioritize clear framing, understandable audio, and readable captions. The guide describes filters and effects as optional; its music suggestions do not establish permission to use any particular recording. [c1]