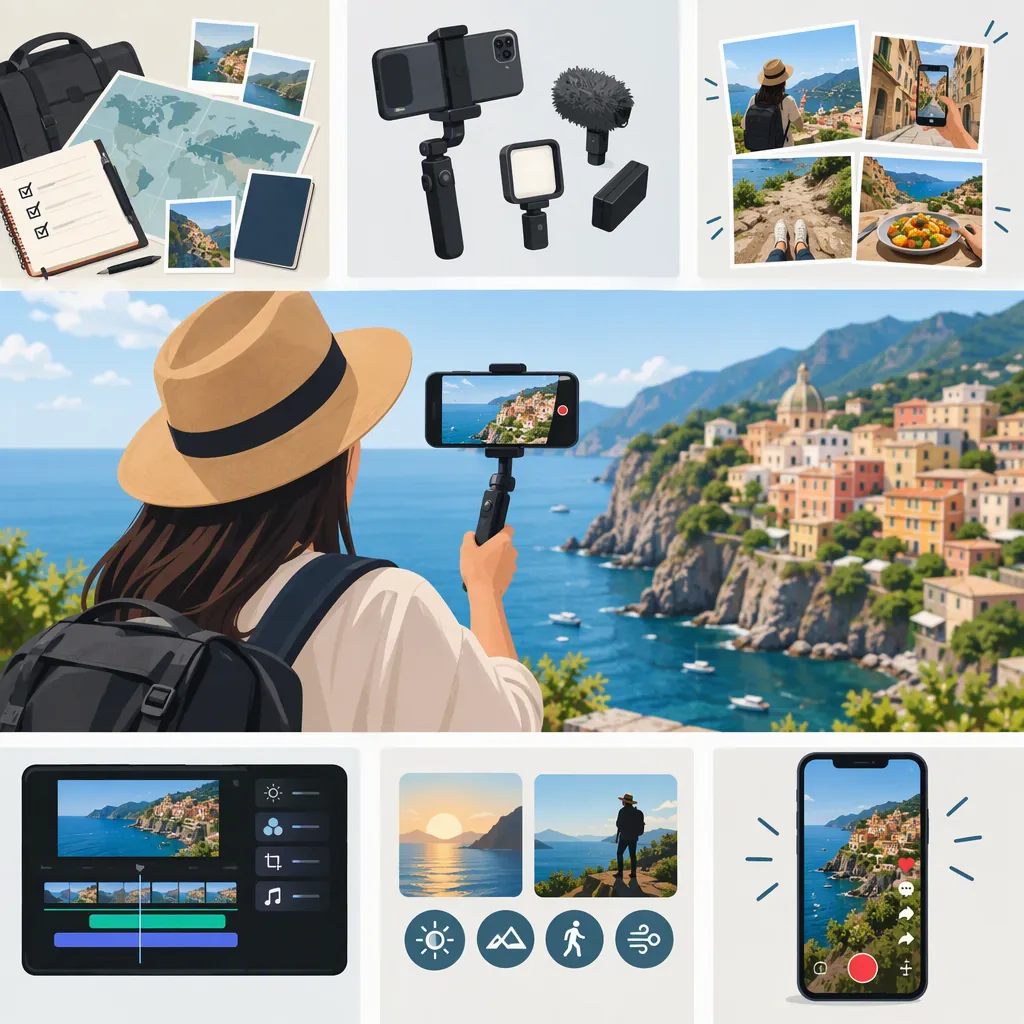
How to Make TikTok Travel Videos with an Original Story
To make a TikTok travel video, choose one story, film vertical footage with wide shots and close-ups, and open with a moment that introduces the subject immediately. Edit the clips into a clear sequence, add narration and checked captions, and finish with the story’s payoff. The supplied guides recommend shot planning, early hooks, and concise storytelling; these are creative starting points, not guarantees of reach. [source_1] [source_3]
Choose One Story Before You Film
Give each video a specific subject rather than trying to summarize an entire trip. A walk from a station to a viewpoint, a food preparation sequence, or a packing demonstration can each become a complete short story.
Write one sentence describing what the viewer will learn or see. Then choose a format that fits: a visual list, a narrated diary, a demonstration, or a reveal. Bulkly suggests listicles, tutorials, travel tips, and voice-over diaries as travel content formats. Treat these as options rather than a ranking of what will perform best. [source_2]
For originality, use your own footage and observations. If another creator inspires the format, develop a different subject, sequence, and narration rather than reproducing their script. Avoid presenting a single visit as proof of what a destination is always like.
One-Story Planning Template
Subject: [one place, activity, or practical question]
Viewer takeaway: [what the video will explain or reveal]
Opening image: [a shot that introduces the subject]
Supporting footage: [three details needed to understand it]
Ending: [the answer, result, or final view]
Facts to verify: [names, dates, prices, or access details]
Film a Small, Varied Shot List
Plan a vertical 9:16 composition from the beginning. The Hollyland guide recommends filming vertically and collecting a main attraction shot, establishing footage, detail shots, and an on-camera segment. [source_1]
Start with a phone if that is what you have. Prioritize a usable sequence over buying equipment: show where you are, what happens, and which details matter. Hold each composition steady briefly before moving to the next shot, and review important clips before leaving the location.
An on-camera segment is optional for this workflow. You can explain the sequence through voice-over or text instead. Film from safe, permitted positions; do not obstruct paths or stage risky actions for a reveal. Ask permission before making someone a featured subject, and avoid exposing private travel documents or personal information.
Five-Shot Travel Sequence
1. Opening: Capture the activity or view that defines the story.
2. Context: Record a wide shot showing the surroundings.
3. Action: Film the main process or movement.
4. Detail: Capture a close-up that adds useful information.
5. Resolution: Show the finished result or final destination.
Optional: Record a short explanation on camera or save it for voice-over.
Make the Narration Understandable
Record a short test before a spoken segment and listen to it. If wind or traffic overwhelms your voice, change position or explain the footage afterward in a quieter place. The Hollyland guide recommends post-production voice-over as an alternative to recording speech in noisy surroundings. [source_1]
Write narration that explains what the images cannot: the purpose of a stop, the steps in a process, or the context behind a detail. Avoid narrating every visible action.
Keep music below speech and retain selected ambient sounds when they help tell the story. Before adding music, check the permissions that apply to the track, your account, and your intended use. The supplied references are not a complete licensing authority, so do not treat their music advice as blanket permission to reuse a song elsewhere.
Audio Review Checklist
- Listen to the recording rather than judging it from the waveform.
- Re-record any essential words obscured by noise.
- Remove unnecessary repetition from the narration.
- Lower music wherever speech becomes difficult to understand.
- Confirm that you have permission for the audio you plan to use.
Edit for Clarity, Not Just Speed
Open with the subject, a useful question, or a compelling image. Matador recommends introducing a strong moment immediately or building anticipation before a reveal. Bulkly also emphasizes delivering what the opening promises. [source_3] [source_2]
Arrange the remaining clips so the sequence makes sense. Remove repeated views, accidental camera movement, and pauses that add no information. Leave enough time to understand a process or read an important label; rapid cuts are not a substitute for a clear story.
Use an editor that lets you trim, reorder, add text, and adjust audio. Hollyland discusses both CapCut and TikTok’s in-app editor, but its preference does not establish that other editors are unsuitable. [source_1]
The example below is an original planning exercise, not an ideal runtime or a platform requirement. Finish with the answer or visual payoff rather than an unrelated engagement prompt.
Illustrative 40-Second Edit
0–3 seconds: Introduce the subject with a clear image and short title.
3–10 seconds: Establish the location and explain the purpose.
10–27 seconds: Show the action through a wide shot and selected details.
27–35 seconds: Add the essential explanation or practical observation.
35–40 seconds: Deliver the result and end cleanly.
Adjust every interval to fit the footage; do not pad or rush the story to match this example.
Check Captions, Context, and the Final Preview
Add captions for spoken content, then check names, punctuation, and timing manually. Use separate text labels only where they add context, such as a location or a step in a demonstration. Hollyland recommends captions and restrained text overlays. [source_1]
Preview the finished video on a phone. Check that important text remains readable and does not overlap interface controls. Watch once without sound to assess the visual explanation, then listen to the audio to check speech clarity.
Write a descriptive post caption that accurately identifies the subject. If you include a price or schedule, label when it applied and avoid implying it is permanent. Choose a cover frame that represents the video, not a more dramatic scene the viewer will never see.
Evidence limits: The supplied sources are creator-advice articles, including a retailer’s guide, rather than controlled studies or official TikTok documentation. Their claims about algorithms, trending sounds, posting times, and growth should not be treated as guaranteed outcomes. This workflow focuses on production choices that you can inspect in the finished video.
Final Export Review
- The opening accurately represents the story.
- The ending delivers the promised answer or view.
- Speech is understandable and captions are corrected.
- Text is readable in the posting preview.
- Place names and practical details have been checked.
- Footage and audio permissions have been reviewed.
- Private information is not visible.
- The cover and post caption match the finished video.
FAQ
How Long Should a TikTok Travel Video Be?
Use the shortest duration that tells the story clearly. Hollyland suggests 30–90 seconds as a starting range, but that is editorial advice, not a verified platform optimum. A simple reveal may need less time than a useful walkthrough. [source_1]
Do I Need a Dedicated Camera or Gimbal?
A phone is a reasonable starting point. Hollyland recommends smartphones for this workflow and describes stabilization equipment as optional. Review your footage and audio before deciding whether extra equipment addresses a specific problem. [source_1]
Can I Make Travel Videos Without Showing My Face?
Yes. Build the video around location footage, details, and narration or text. Bulkly suggests voice-over travel diaries, and Matador recommends POV footage as a storytelling approach. An on-camera appearance is not necessary for the workflow described here. [source_2] [source_3]