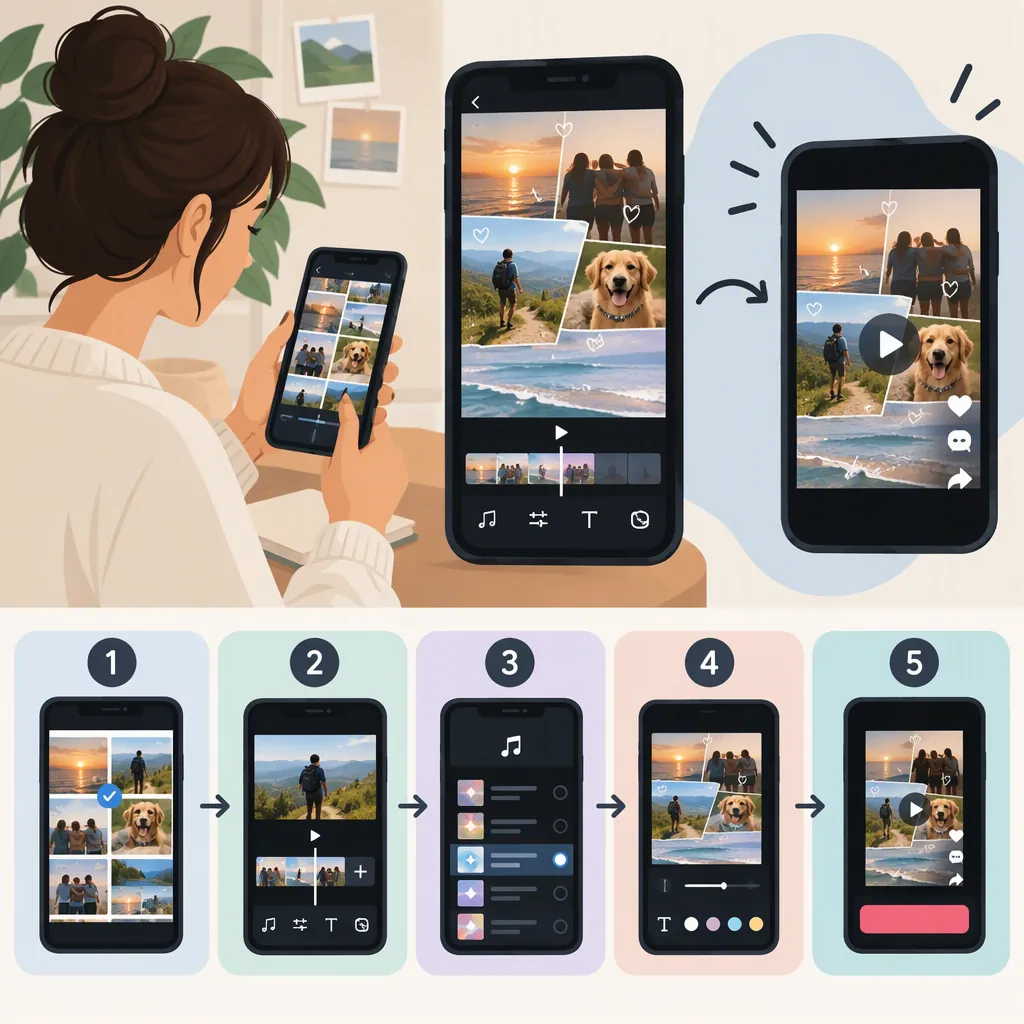
How to Make a Memory Video on TikTok
To make a memory video on TikTok, choose one event or period, gather photos and short clips, arrange them into a story, and add brief text and suitable audio. Either edit with the options available in your version of TikTok or finish the video in an external editor before uploading it. Preview the finished post for pacing, readability, sound, and privacy before publishing.
This guide focuses on an original nostalgic video, not a specific template or trend. The CapCut memories page offers templates and broad suggestions about photos, music, and effects; it does not document TikTok’s current interface or establish a required photo count, song, or engagement benefit. [c1] The steps below describe an editing workflow without assuming particular TikTok button names or feature availability.
1. Choose One Memory and a Clear Story
Start with a specific subject: a weekend trip, a school year, a family celebration, or a friendship over time. Write one sentence explaining what you want the viewer to remember.
For example: “An ordinary afternoon became our favorite part of the trip.”
Use that sentence to decide which images belong. A photo can be attractive without helping this particular story.
Try a simple structure:
- Beginning: Introduce the place, people, or occasion.
- Details: Show a few moments that make the memory distinctive.
- Closing: Finish with an image that gives the story a sense of closure.
These are creative suggestions, not requirements for a TikTok trend.
Memory Video Planning Worksheet
Complete these lines before editing:
- Memory or occasion: ____
- Feeling to convey: ____
- One-sentence story: ____
- Opening image: ____
- Three meaningful details: ____, ____, ____
- Closing image: ____
- People or information to keep private: ____
2. Select and Prepare Your Photos and Clips
Gather material you created or have permission to use. Favor images that contribute something different: a wide view of the setting, someone’s expression, a small detail, and a final shared moment.
Remove near-duplicates unless the repetition tells a story. Keep a less-polished image if it captures something meaningful; visual perfection does not need to be your selection rule.
Before importing your media:
- Put the selected files together. Use a folder or album so you can find them while editing.
- Sketch the order. Start chronologically for a recap, or group images by feeling for a reflective story.
- Identify useful clip segments. Note the moment you want from each video rather than planning to include the whole recording.
- Check privacy. Look for addresses, school names, tickets, private messages, and other details you do not want to publish.
- Check with people pictured. Ask whether they are comfortable appearing in the post.
If a private detail cannot be cropped or obscured with the tools available to you, choose another image.
3. Choose Your Editing Route
Both routes follow the same sequence: import media → arrange and trim → add text and audio → preview → prepare the TikTok post.
Route A: Edit Within TikTok, Where the Needed Tools Are Available
Use this route if your version of TikTok provides the media and editing controls you need.
- Start a new post and select your saved media. Check that you are creating the intended video presentation rather than a different photo-based format.
- Inspect the sequence. If reordering is available, arrange the photos and clips to match your story.
- Adjust timing where supported. Trim clips to the meaningful action and adjust photo display times if your editing mode allows it.
- Check framing. For a vertical composition, keep important faces and details visible rather than applying the same crop blindly to every image.
- Add brief text and suitable audio using the available controls. Preview when each text overlay appears and whether it remains readable.
- Review the full edit before preparing the post. Confirm that the sequence, timing, and sound match your intention.
If the available mode does not let you control the order or timing you need, use an external editor instead. This avoids depending on an unverified in-app feature.
Route B: Finish the Video in an External Editor, Then Upload It
Use this route when you want to assemble a finished video before opening TikTok.
- Create a project and import the selected files. Choose a vertical composition if that suits your intended presentation.
- Place the media in sequence. Arrange it as beginning, details, and closing moment.
- Trim clips and set photo durations. Remove footage before and after the meaningful action.
- Adjust each image’s framing. Check faces, text within photos, and small details individually.
- Add captions, audio, and any transitions. Start with simple cuts; add transitions only when they help mark a change in time, place, or mood.
- Export a finished video file. Play the saved file to check that the images, text, and audio survived the export as intended.
- Select that video when creating your TikTok post. Review the posting preview before publishing, including any changes you make there.
Keep the editable project until you have checked the uploaded preview, so you can revise the original if necessary.
4. Set the Pacing and Add Meaningful Text
Give viewers enough time to understand each image and read its text. A busy photograph or longer caption may need more time than a simple image with no words.
Use text to add context the image cannot supply:
- A date or place: “Lakeside, summer 2024”
- A specific observation: “We stopped here because it started raining.”
- A closing reflection: “The afternoon I remember most.”
Use details that accurately describe your memory and are appropriate to share. Avoid covering important faces or placing essential text at the edges; check its visibility in the posting preview.
Example: A Five-Shot Weekend-Trip Video
The following is an illustrative 16-second edit, not a platform requirement or recommended formula for reach.
| Shot | Material | Example text | Starting duration | Audio treatment |
|---|---|---|---|---|
| Opening | Photo of the destination | “Our weekend by the lake” | 3 seconds | Begin quiet background music |
| Context | Clip of arriving or walking together | “No big plans” | 3 seconds | Keep music underneath |
| Detail | Photo of a picnic or another small moment | “Just lunch and a long afternoon” | 3 seconds | Continue the same music |
| Meaningful moment | Clip of shared laughter | No text, or a short accurate observation | 4 seconds | Lower music if keeping the original sound |
| Closing | Photo taken near the end of the day | “The part I still remember” | 3 seconds | Let the ending feel deliberate |
After previewing, adjust the example rather than preserving its timing mechanically. Lengthen a shot if the text is hard to read, shorten a clip if nothing meaningful happens, or remove an image that repeats the previous one.
5. Choose Audio That Fits the Memory
Decide whether the story needs music, narration, original sound, or silence. A nostalgic video does not need a particular song.
Choose audio you have permission to use in the intended post. Do not assume that access to a track in one editor establishes permission for every use.
For your first preview:
- Use one consistent music track if several changes would distract from the memory.
- Lower background music when keeping meaningful speech or original sound.
- Add readable text for essential spoken information.
- Watch without sound to check whether the story still makes sense.
If narration adds context, write a short line before recording it. Describe what mattered rather than narrating everything already visible.
6. Review and Prepare the TikTok Post
Watch the finished video once with sound and once without it. Then check it again in the posting preview.
Look for three things: a clear opening, an understandable sequence, and an intentional ending. Fix unreadable captions, awkward crops, abrupt audio changes, or shots that linger without adding meaning.
Write a caption that accurately describes the memory without exposing details you meant to keep private. Review the audience settings available for the post and choose the sharing scope you intend. If you make additional edits during posting, preview again before publishing.
No template, song, or editing choice in this guide guarantees reach or engagement.
Pre-Posting Checklist
- The video tells one clear story.
- Every photo or clip has a purpose.
- Faces and important details are framed intentionally.
- Text stays visible long enough to read.
- Audio does not overpower essential speech.
- Media and audio permissions have been considered.
- Private details have been removed or obscured.
- People pictured are comfortable with the post.
- The exported file and posting preview have both been checked, if applicable.
- The caption and audience settings match the intended sharing.
FAQ
Do I Need CapCut to Make a Memory Video on TikTok?
No particular editor is required for this workflow. Use TikTok’s available editing options if they meet your needs, or assemble a finished video in an editor you can use. CapCut’s memories page offers templates, but it does not establish that CapCut is necessary. [c1]
How Many Photos Should I Use?
Choose enough photos to tell the story without unnecessary repetition. Start with an opening, a few distinct details, and a closing image, then adjust after previewing. The reference does not establish a universal photo count for memory videos. [c1]
How Long Should Each Photo Stay on Screen?
Use readability and story flow as your guide. In the example above, three seconds is a starting point, not a rule. Give a detailed photo or longer caption more time, and shorten or remove repetitive shots.
What If TikTok Does Not Offer the Timing Controls I Need?
Assemble the sequence in an external editor, set the photo durations and clip lengths there, and export it as a finished video. Then select that file when preparing your TikTok post and review the posting preview.
Are These Instructions for a Specific TikTok Memories Trend?
No. They are general recommendations for creating an original memory video. The cited memories page provides broad suggestions and template listings, not verified instructions for one trend’s timing, audio, or current TikTok button sequence. [c1]