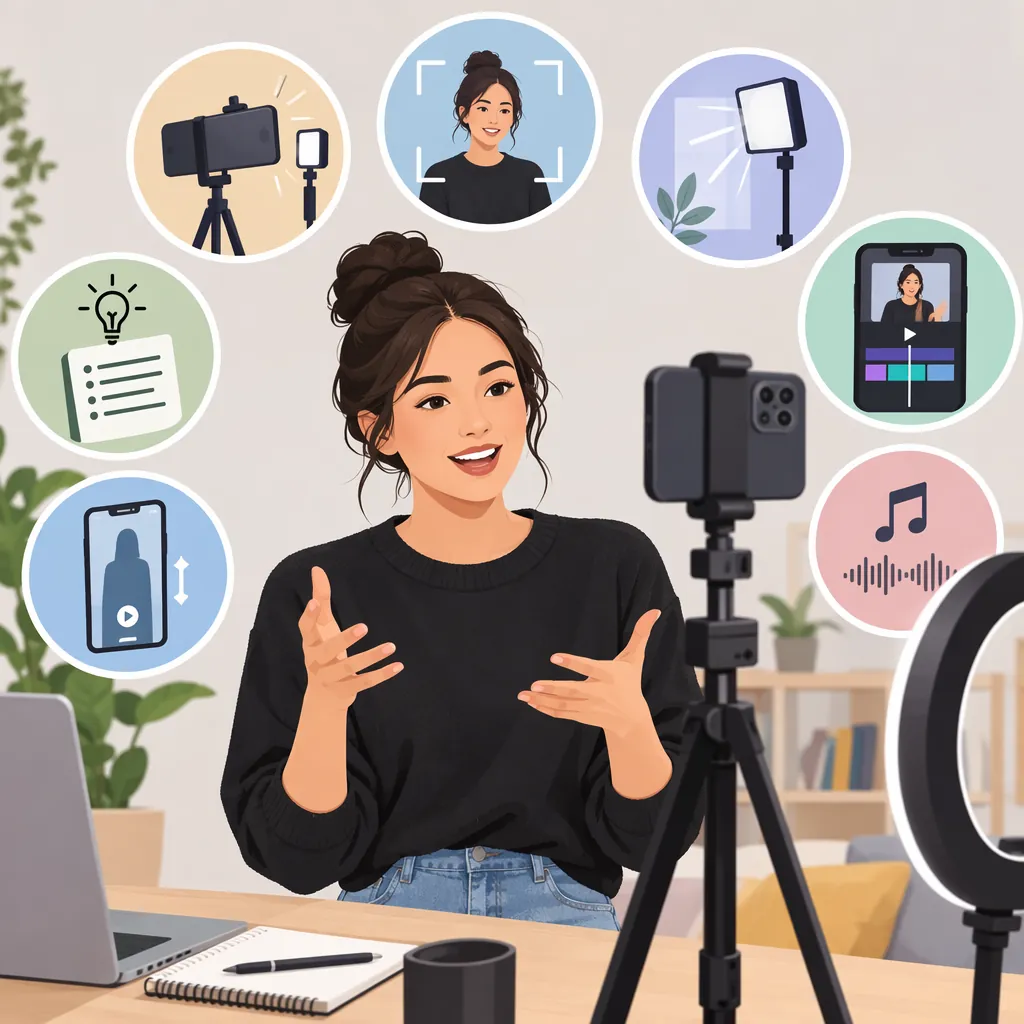
How to Make Professional TikTok Videos
To make professional TikTok videos, plan one clear idea, record your own footage, and edit it into a focused sequence. Use a vertical layout, trim unnecessary moments, add accurate captions, and review the exported video on a phone. The supplied guides support planning, smartphone recording, trimming, text, and vertical formatting; these practices do not guarantee reach or engagement. [c1] [c2]
Plan One Clear Story
Treat “professional” as a production goal: a clear message, deliberate visuals, understandable speech, and a finished edit. It does not need to mean elaborate effects or expensive equipment.
Before recording, write one sentence describing what the viewer should understand by the end. Then outline three parts:
- Opening: Show the subject or result and explain what the video covers.
- Development: Demonstrate the process or explain the idea in a logical order.
- Ending: Deliver the promised result or summarize the main point.
The Pinnacle Studio guide emphasizes planning and a clear vision for the story before shooting. [c1] For an original video, build that outline around your own explanation, demonstration, or observations rather than copying another creator’s script or footage.
For example, a desk-organization video could start with the finished arrangement, show how the objects were grouped, and end with a comparison. This is an illustrative structure, not a claim about performance.
Fill-In Production Brief
- Topic: ____
- What the viewer should understand: ____
- Opening visual and line: ____
- Main demonstration or explanation: ____
- Supporting shots needed: ____
- Final result or takeaway: ____
- Footage, images, and audio to create yourself: ____
- Any third-party material requiring a permission check: ____
Prepare Your Frame, Light, and Sound
Start with the camera you already have. The Pinnacle Studio guide identifies a modern smartphone as a workable camera for making TikTok videos. [c1] The Riverside guide recommends a 9:16 aspect ratio for TikTok editing. [c2]
As a practical setup routine:
- Frame vertically when that matches your planned output.
- Keep the subject visible and leave space for captions.
- Support the phone on a stable surface or mount for stationary shots.
- Try a position facing a window or another soft light source, then inspect the result.
- Choose a quiet recording location and make a short speech test.
- Listen to that test before recording the full explanation.
These are production suggestions, not platform requirements. Change the setup if the test shows distracting shadows, an unclear subject, or speech that is difficult to understand.
Record Original Footage with Editing Options
Record the main explanation and the supporting visuals as separate shots when practical. For a demonstration, capture the action clearly rather than relying on narration to explain something the viewer cannot see.
The Pinnacle Studio guide recommends shooting multiple versions so there are options during editing. [c1] Apply that advice selectively: repeat a line that was unclear, capture a closer view of an important action, or record an alternative opening.
Keep your own voice and examples. Borrowing a broad format, such as a step-by-step demonstration, does not require reproducing someone else’s wording or shot sequence. For this workflow, use self-created material where possible and check permissions before incorporating third-party footage, images, or audio.
Organize the recordings into simple groups—opening, explanation, detail shots, and ending—so the edit follows your outline.
Original Demonstration Shot List
1. Record a clear view of the finished result.
2. Record your opening explanation in your own words.
3. Capture each essential action in sequence.
4. Add close views where a detail would otherwise be hard to see.
5. Record the final takeaway.
6. Repeat any shot with unclear speech, framing, or action.
Edit for Clarity Before Adding Effects
Build a rough cut first: place the opening, explanation, supporting shots, and ending in order. Watch that sequence before adding decorative elements.
Both supplied guides discuss trimming footage and adding text; Riverside also describes splitting clips and using effects and filters. [c1] [c2]
Use those editing operations with a clear purpose:
- Remove mistakes, repeated statements, and pauses that do not help the explanation.
- Keep enough time for viewers to understand an action or read a label.
- Place supporting footage beside the point it illustrates.
- Add a transition only when it helps distinguish moments or sections.
- Adjust the look conservatively if neighboring shots appear inconsistent.
For speech-led videos, keep optional music secondary to the voice and check the mix by listening. Avoid adding effects simply to make every moment busy. A straightforward cut may be the better choice when the subject already provides visual interest.
Add Captions and Check the Finished Video
Use captions for spoken content and separate text labels for short emphasis or identification. Riverside describes generating and editing captions, and recommends captions for viewers watching without sound and for accessibility. [c2]
Review every caption against the recording. Correct names, specialized terms, punctuation, and timing. Preview text on a phone rather than judging readability only in a large editing window. Check that labels do not cover the action or compete with captions.
Export a test version and inspect the actual file. Then check the upload preview for cropping and interface overlap. Do not assume the editing preview and the uploaded presentation will be identical.
The supplied references are third-party guides, not current official TikTok specifications. Verify current upload options in the app rather than treating a guide’s duration or resolution statements as permanent limits.
Final Quality-Control Checklist
- [ ] The opening clearly identifies the subject.
- [ ] The sequence delivers the promised explanation or result.
- [ ] Speech is understandable throughout.
- [ ] Captions match the recording and appear at the right time.
- [ ] Text is readable on a phone and does not obscure key action.
- [ ] No accidental gaps, unwanted frames, or abrupt audio cuts remain.
- [ ] Third-party material has been checked for permission.
- [ ] The exported file and upload preview have both been reviewed.
FAQ
Do I Need a Professional Camera for TikTok Videos?
No dedicated professional camera is necessary to begin this workflow. The Pinnacle Studio guide identifies a modern smartphone as suitable for recording TikTok footage. Start by testing your framing, lighting, and speech recording before considering additional equipment. [c1]
How Long Should a Professional TikTok Video Be?
Use the time needed to deliver the idea clearly, then remove repetition and unnecessary pauses. Riverside recommends concise editing and an opening that quickly communicates what to expect. Its suggested duration is not a universal rule or a guarantee of performance; check current app limits separately. [c2]
Should I Edit in TikTok or a Separate Editor?
Choose a workflow that lets you trim accurately, arrange footage, add readable text, and review captions. Riverside describes an in-app editing workflow, while the Pinnacle Studio guide describes editing recorded footage on a computer. Neither workflow alone establishes professional quality; review the finished sequence, sound, and text. [c1] [c2]