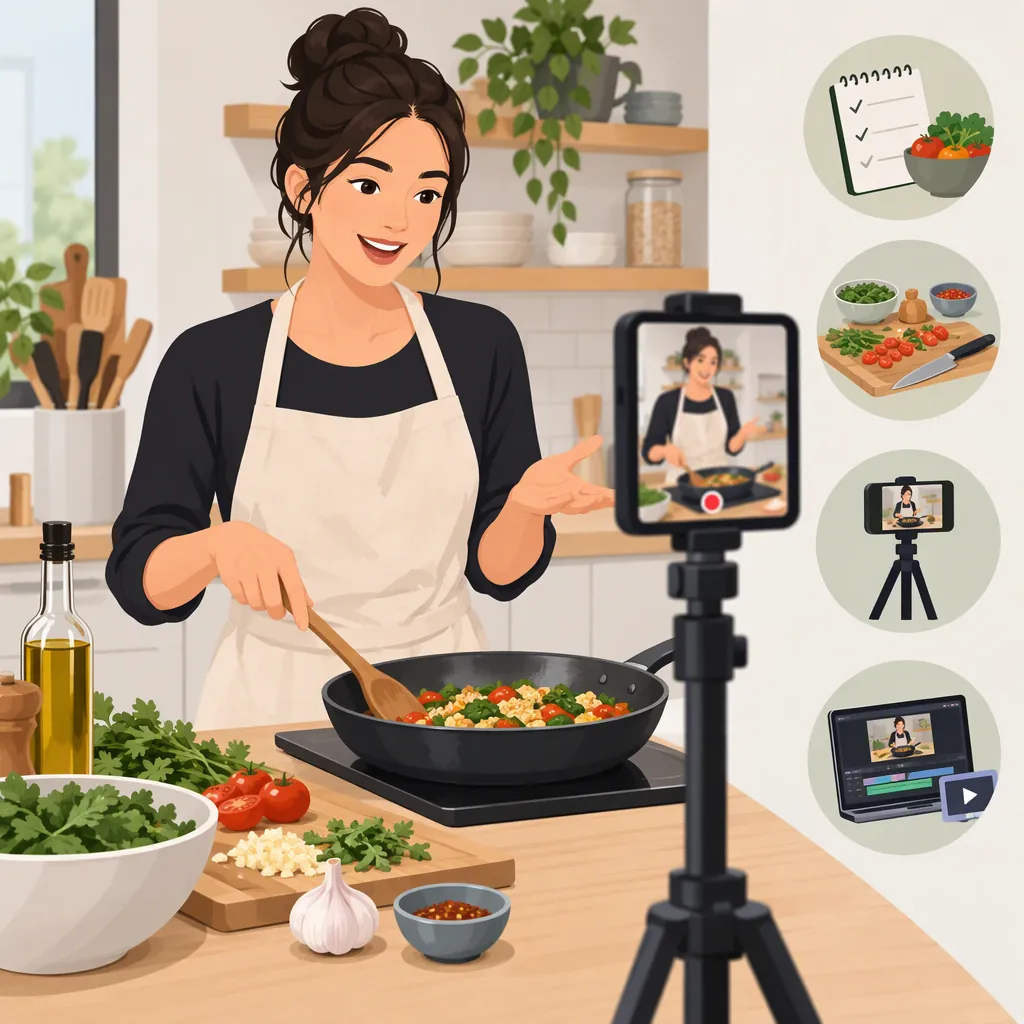
How to Make TikTok Cooking Videos from Plan to Final Edit
To make a TikTok cooking video, choose one recipe or technique, plan its essential shots, and film vertically with a steady phone in good light. Capture the preparation, key changes in the food, and finished dish. Trim repeated actions, add clear narration or text, and review the result for recipe accuracy and readability. The provided guides support phone-based filming, varied angles, and simple editing; they do not establish a formula for guaranteed reach. [food-video-kit] [recipe-video-guide]
Plan One Clear Cooking Lesson
Start with a specific purpose: demonstrate a recipe, explain a technique, or show how an ingredient changes during cooking. For a first video, choose something you already know how to prepare so you can focus on filming without improvising the cooking instructions.
Write down what the viewer needs to understand: ingredients and amounts, the order of operations, important heat settings, and signs that a step is complete. Decide which details belong on screen and which need a fuller written recipe.
Blue Bear Creative recommends planning recipe ideas, introducing the subject with a strong opening, and using storytelling. Treat those as creative options, not promises of engagement. [recipe-video-guide]
For originality, use your own footage and explanations. A useful starting point is one specific observation you can demonstrate, such as how the texture changes during mixing, rather than recreating another creator’s entire sequence.
Fill-In Video Brief
Dish or technique: ___
What the viewer should learn: ___
Opening visual: ___
Essential ingredients and amounts: ___
Three actions that must be shown: ___
Important timing or doneness information: ___
Finished-dish shot: ___
Details that need a written recipe: ___
Set up Your Phone and Light
Begin with the phone you have access to rather than making equipment purchases a prerequisite. Clare Langan’s guide describes a phone as sufficient for getting started and discusses supports for hands-free filming. [food-video-kit]
Clean the lens, frame vertically, and place the phone on a stable support. Keep the setup clear of heat, splashes, and your working area. Before cooking, record a short test with a bowl or ingredient in position.
Try a spot near a window and compare it with your kitchen lighting. Look for visible food detail without harsh glare or distracting shadows. Both references discuss lighting placement, including natural window light. [food-video-kit] [recipe-video-guide]
Check the entire action area: will your hands obscure the food, and can you stir or plate without hitting the support? Keep the dish prominent in the frame and leave room for any text you plan to add.
Film the Steps That Explain the Recipe
Capture the cooking process in its actual order, even if you later move the finished-dish shot to the opening. Use your shot list to avoid discovering that an irreversible step was missed.
Choose angles for information, not just variety. An overhead view can show ingredients entering a bowl; an angled close-up can show thickness or texture. The recipe-video guide recommends close-ups, overhead views, and varied shot sequences. [recipe-video-guide]
Record a little before and after each action to give yourself trimming room. Show important changes, such as a mixture becoming smooth, rather than filming every repeated stir.
Do not shorten the actual cooking process for the camera. If the edit skips waiting or cooking time, label that gap and retain the timing or doneness guidance needed to follow the recipe.
Adaptable Cooking Video Shot List
1. Finished dish: capture a clear view of the result.
2. Ingredients: show the ingredients needed for the next step.
3. Preparation: record the essential cutting, measuring, or mixing action.
4. Cooking: show the food entering the pan, oven, or other cooking vessel.
5. Change: capture the texture, color, or consistency that explains progress.
6. Completion: show the recipe’s relevant doneness check.
7. Serving: plate the food and capture a final detail shot.
Review: confirm that any omitted time or step is explained.
Edit for Clarity Before Speed
Build a rough cut in recipe order first. Remove setup footage, long pauses, and repeated movements. Langan recommends learning basic trimming before progressing to slicing clips and jump cuts. [food-video-kit]
Then decide whether a brief finished-dish preview belongs at the beginning. Keep the opening honest about what the video demonstrates.
Blue Bear Creative suggests 15–60 seconds as a creative target, but that is not an official platform limit or a requirement for every recipe. Use enough time to make the instruction understandable. If the process cannot fit clearly, narrow the lesson or provide the missing recipe detail in writing. [recipe-video-guide]
Use transitions sparingly. A simple cut is a reasonable default when the next shot already explains what happens next. Preserve moments that reveal texture, technique, or doneness instead of cutting solely to make the video faster.
Add Useful Narration and Readable Text
Use narration to explain what the picture alone does not: ingredient amounts, the reason for a technique, or the next thing to watch for. Langan discusses voiceover and aligning spoken words with the action on screen. [food-video-kit]
For each clip, ask whether the viewer needs an instruction, an explanation, or neither. Avoid reading a long introduction over a fast-moving preparation sequence.
Add text for essential measurements and timing. If you use generated captions, check ingredient names, numbers, and cooking terms manually. Review text in the posting preview so interface elements do not obscure it; Langan also advises considering platform safe zones. [food-video-kit]
Keep speech easy to hear if you include music. The references discuss music creatively, but they do not establish permission to use a particular track. Do not assume an audio choice is permitted merely because another video uses it.
Review the Video and Save Your Files
Watch the final edit once with sound and once without it. Check that ingredient amounts agree across narration, text, and any written recipe. Look for missing steps, unexplained time jumps, unreadable labels, and distracting audio.
Save the final export and keep the project and source clips until you have checked your backups. Langan cautions that deleting source clips can affect saved projects in some editing apps. [food-video-kit]
For the next video, choose one production improvement: steadier framing, clearer narration, or a more complete shot list. This makes the practice manageable without treating view counts as proof of instructional quality.
Evidence limits: These references are a creator’s production guide and an agency’s recipe-video guide, not official TikTok documentation. Their advice supports this workflow, but it does not verify current upload specifications, music permissions, or algorithm behavior.
FAQ
Do I Need a Dedicated Camera for TikTok Cooking Videos?
Not to begin. Langan’s guide says a phone with video functionality is enough to get started. Focus first on stable framing, visible food detail, and a usable filming position rather than buying a dedicated camera. [food-video-kit]
How Long Should a Cooking Video Be?
Use the shortest edit that still explains the lesson accurately. Blue Bear Creative suggests 15–60 seconds, but that is creative guidance rather than an official TikTok requirement. A complex recipe may need a narrower focus or accompanying written instructions. [recipe-video-guide]
Do I Have to Show My Face?
No. A hands-only approach is an option: Langan discusses overhead mounts specifically for this style. You can explain the process through action shots, voiceover, and readable text without appearing on camera. [food-video-kit]
Sources
-
[food-video-kit] What You Need to Shoot Food Videos, According to a Video Creator
-
[recipe-video-guide] A Guide to Creating Viral TikTok Food Recipe Videos for 2025