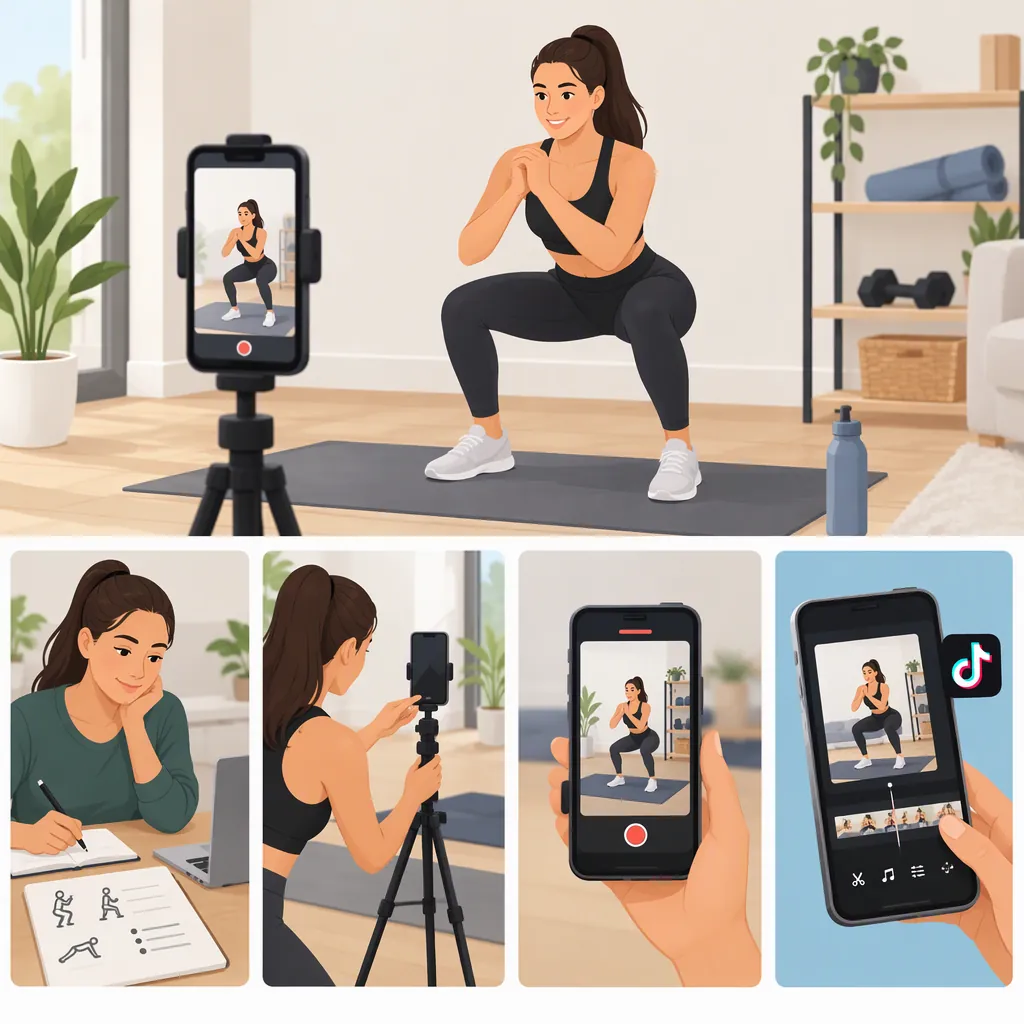
How to Make a Workout Video on TikTok
To make a workout video on TikTok, choose one movement or teaching point, film an original demonstration with a stable phone and clear lighting, then trim the footage and add readable captions. Review the movement at normal speed, check your audio permissions, and upload the finished edit. The supplied guides recommend focused, short-form content, but their duration advice differs; prioritize a complete explanation rather than a supposedly ideal length. [src_1] [src_2]
1. Choose One Clear Video Concept
Start with a sentence describing what the viewer will see or learn. For example: “A side-view demonstration of one exercise, followed by a close-up of the setup.” Keep the concept narrow enough to explain without rushing.
AudiencePlayer recommends focusing on one drill, technique, or tip. Miracamp lists short routines, technique explanations, and progress videos among possible fitness formats. These are editorial suggestions, not evidence that a particular format will go viral. [src_1] [src_2]
For an original video, create your own script, record your own demonstration, and choose framing that serves your explanation. You can study a format without copying another creator’s footage or wording.
Keep the scope honest: a demonstration is not a personalized training plan. Avoid promising weight loss, injury prevention, or results within a fixed period.
One-Video Planning Template
- Topic: [one movement or filming-focused teaching point]
- Intended viewer: [who the explanation is for]
- Opening text: [a specific description of the demonstration]
- Main footage: [one complete demonstration]
- Supporting footage: [setup detail or second angle]
- Closing text: [a concise recap]
- Scope note: [what this video does not explain]
2. Set up Your Phone and Filming Space
A phone-based setup is a reasonable starting point: Miracamp suggests a smartphone, natural lighting, and a tripod rather than requiring professional equipment. [src_2]
For this workflow, film vertically and stabilize the phone. Before recording the full demonstration, capture a test clip and check it on the phone screen:
- Keep the relevant body parts and equipment inside the frame throughout the movement.
- Choose an angle that makes the action understandable, not merely dramatic.
- Use lighting that lets viewers distinguish your position from the background.
- Leave space for captions without covering important movement details.
- Clear the movement area and follow the filming rules of your location.
- Avoid recording identifiable bystanders without permission.
If explaining a movement while performing it makes either task difficult, record the demonstration first and add a separate voiceover. Do not perform unfamiliar or risky movements just to create a striking opening.
3. Record a Small, Purposeful Shot List
Record a complete, controlled demonstration before capturing close-ups. That gives you a main shot to return to when editing.
Both supplied guides recommend introducing the action early rather than using a long introduction. Apply that idea with an informative opening: show the movement and identify the topic immediately. There is no need for an exaggerated promise. [src_1] [src_2]
Use the example below as an editing plan, not as an exercise prescription or a proven performance formula. Extend it if the demonstration needs more context.
Example 30-Second Shot List
| Approximate Time | Footage | Text or Audio |
| --- | --- | --- |
| 0–3 seconds | Main angle showing the movement | Name the exercise and the video's focus. |
| 3–15 seconds | Uninterrupted demonstration at normal speed | Explain one relevant point without prescribing intensity. |
| 15–23 seconds | Setup close-up or second angle | Identify the detail visible in this shot. |
| 23–30 seconds | Return to the main angle | Recap the point and state any important limitation. |

Record extra footage before and after each action so cuts do not remove the setup or finish.
4. Edit for Clarity Before Adding Effects
Build the edit around the complete demonstration. Remove empty lead-in footage, repeated explanations, and unnecessary pauses, but retain enough context to understand the movement.
Miracamp recommends on-screen text, captions, and slow motion for key details; AudiencePlayer recommends clean, mobile-first editing. [src_1] [src_2]
Use those techniques selectively:
- Keep a normal-speed demonstration. If you add slow motion, label it so viewers do not mistake it for the intended pace.
- Add concise text. Name the movement and explain the detail shown in each shot.
- Check captions manually. Correct exercise names and make sure captions match the narration.
- Keep speech understandable. Lower background music when it competes with the explanation.
- Avoid misleading cuts. Do not splice partial movements into what appears to be one continuous repetition.
There is no single established ideal length in the provided sources. AudiencePlayer suggests 15–30 seconds, while Miracamp suggests 7–15 seconds for brief clips and allows longer tutorials. Treat those ranges as suggestions, not guarantees. [src_1] [src_2]
5. Review and Upload the Finished Video
Watch the exported file once with sound and once without it. Confirm that the video still makes sense when the viewer relies on captions alone.
Then start a new post in TikTok, select your finished video, review the preview, and check the available caption, cover, and visibility settings before publishing. Exact controls can vary; the provided sources do not verify TikTok’s current interface or upload requirements.
Write a descriptive post caption that matches the footage. Avoid presenting an illustrative demonstration as a complete workout if it omits preparation, progression, or other necessary context.
If you use music, confirm that you have permission for the intended use, including any commercial use or reposting elsewhere. A sound’s popularity is not proof of permission. The supplied guides recommend music but do not establish licensing rights for individual tracks. [src_1] [src_2]
Pre-Publish Checklist
- [ ] The footage and script are original or used with permission.
- [ ] The complete movement remains visible where needed.
- [ ] Cuts do not misrepresent the demonstration.
- [ ] Captions are accurate, readable, and clear of important details.
- [ ] Speech is understandable above any music.
- [ ] Audio permissions cover the intended use.
- [ ] Bystanders and private information are not exposed.
- [ ] The caption describes what the video actually contains.
- [ ] The post avoids unsupported health or performance promises.
- [ ] The final preview and visibility settings have been checked.
What These Sources Can and Cannot Establish
The references are third-party content-creation guides, not official TikTok documentation or clinical exercise guidance. They support general production suggestions such as focused topics, clear lighting, captions, and concise editing. [src_1] [src_2]
They do not establish a guaranteed route to virality, a universal best posting time, current platform controls, or the suitability of an exercise for an individual viewer. Use this article as a production workflow, not as medical advice or a prediction of reach.
FAQ
Do I Need Professional Equipment?
No professional setup is necessary for the suggested workflow. Miracamp recommends starting with a smartphone, natural lighting, and a tripod. First check that your framing, lighting, and recorded speech are clear before considering extra equipment. [src_2]
How Long Should a TikTok Workout Video Be?
Make it long enough to communicate the point without hiding essential context. AudiencePlayer suggests 15–30 seconds; Miracamp suggests 7–15 seconds for brief clips and 30–60 seconds for tutorials. Those are differing editorial recommendations, not a verified optimal duration. [src_1] [src_2]
Do I Have to Use Trending Music?
No. Although both guides recommend music, you can build this workflow around narration, captions, or original recorded sound. Choose audio that supports the explanation and confirm permission for your intended use; the guides do not verify rights to particular songs. [src_1] [src_2]