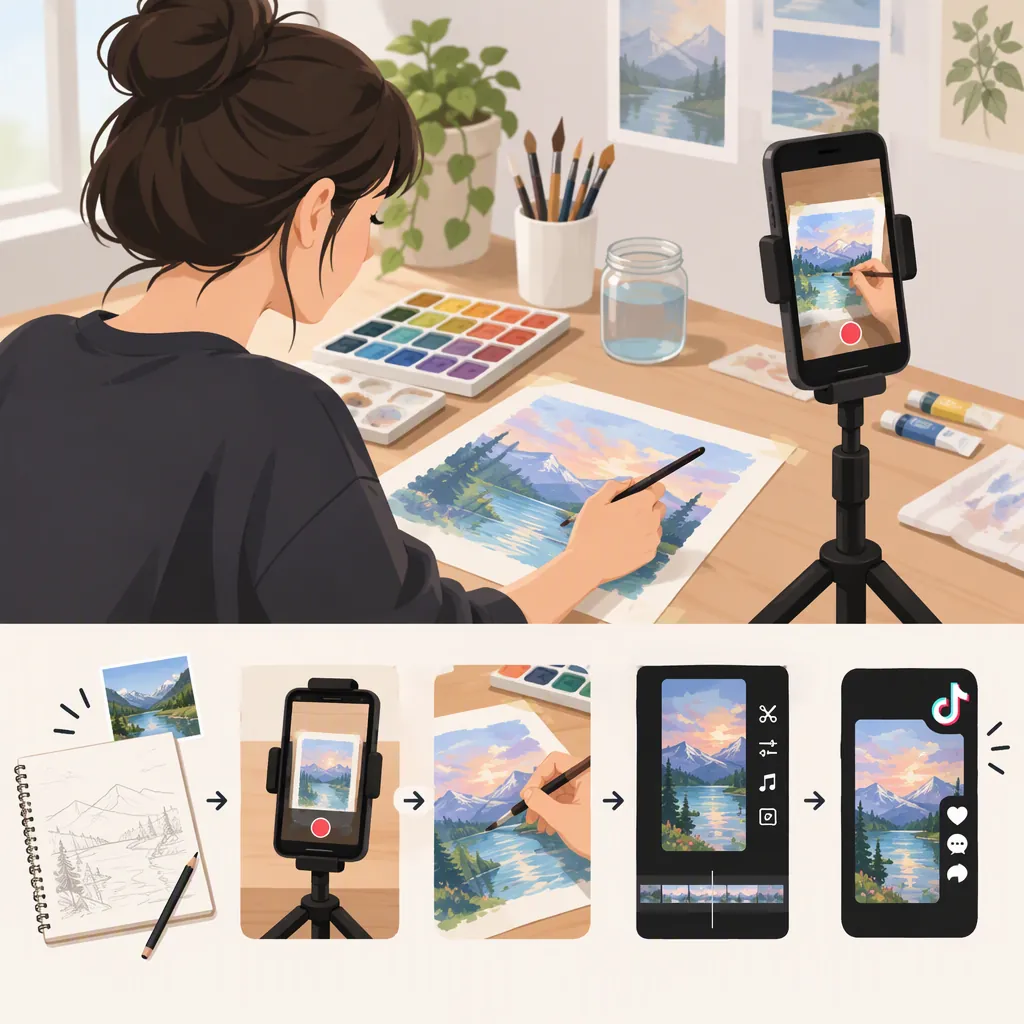
How to Make TikTok Art Videos from Your Own Process
To make a TikTok art video, choose one part of your creative process, secure your phone where your hands will not block the artwork, test the lighting, and record the key stages plus a finished-art reveal. Edit those clips into a clear sequence, using faster playback for repetition and normal speed for important details. Brian Sloan’s filming guide supports phone recording, overhead or easel setups, and lighting from multiple directions; the planning and editing steps here are suggested workflows, not verified TikTok requirements. [c1]
Choose One Art Video Format
Start with a small, specific subject rather than trying to document every decision in a large artwork. For example, film how you blend one color transition, develop a sketch into a painting, or add the final texture to a clay piece.
Choose a structure that fits what you want to show:
- Process montage: Record selected stages and arrange them from start to finish.
- Time-lapse: Compress a longer session into a shorter view of the artwork developing.
- Mini tutorial: Explain one technique and show the action clearly.
- Reveal sequence: Introduce the starting point, show a few changes, and finish with the completed work.
Sloan’s guide discusses tutorials and time-lapse as ways to present an artist’s process. The other structures above are planning suggestions, not claims about which format performs best on TikTok. [c1]
For originality, build the video around your own artwork, footage, and explanation. If you discuss an influence, distinguish it from the choices you made yourself.
One-Sentence Video Brief
Fill in before filming:
This video shows how I turn [starting material or sketch] into [finished result], focusing on [one technique or decision].
The viewer should be able to see [specific visual change].
Set up a Stable, Unblocked View
Use the camera you already have for a test recording before considering additional equipment. Sloan describes recording art videos with phones and using a tripod or camera boom arm to hold the device. His guide also distinguishes between an overhead tabletop view and an angled easel view. [c1]
For work on paper or a small surface, try an overhead view that includes the active area and enough space for your hands. Use a secure support intended to hold your device; do not balance a phone loosely above the artwork.
For an easel or larger piece, try an angled view from the side that leaves the artwork visible while you work. Make several normal movements during a test clip, then check whether your body or dominant hand hides the action.
For a vertical video, compose vertically from the start and leave some breathing room around important details. This is a framing suggestion, not a statement of current TikTok upload specifications.
Check for camera shake while drawing or painting. Sloan notes that mounting a camera to the working desk can transmit movement when the desk is bumped. If your test shows vibration, try a separate stable support. [c1]
Camera Test Checklist
- Record a short test while making normal working movements.
- Check that the device is securely supported.
- Confirm that hands and tools do not hide the key action.
- Look for vibration when touching the work surface.
- Keep the finished piece within the intended frame.
- Move personal documents and unrelated identifying details out of view.
Test the Light and Record Key Stages
Inspect a test clip for hand shadows, glare, and areas where the artwork is difficult to see. Adjust the light or camera position before recording the full session. Sloan recommends light from multiple directions to reduce shadows caused by hands and tools. Treat that as setup guidance, not a guarantee for every surface or workspace. [c1]
Record the changes that explain the piece: the starting surface, the first meaningful mark, an intermediate stage, a distinctive technique, and the finished result. You do not need to record every pause for a montage.
If you want a continuous time-lapse, first check your device’s available storage, power, and recording behavior. Avoid relying on an untested setup for an entire session.
For a tutorial, capture the important action at a pace that lets someone follow it. Record a brief narration test if you plan to explain the process aloud. Sloan distinguishes time-lapse videos, which may not need a microphone, from tutorials where voice recording matters. [c1]
Original Art Shot List
1. Starting point: show the blank surface, materials, or initial sketch.
2. First change: capture the first visible step toward the result.
3. Development: record a stage that clearly differs from the beginning.
4. Detail: show one deliberate technique or adjustment.
5. Reveal: hold a steady view of the completed artwork.
6. Optional explanation: record one sentence explaining a decision.
Edit for a Clear Process and Reveal
The following is an editorial workflow rather than a documented TikTok feature guide:
- Select the clearest clips. Remove footage where the action is hidden, the camera shakes, or nothing relevant changes.
- Establish the subject. Open with either the starting point or a brief view of the finished piece, followed by the process.
- Keep the progression understandable. Arrange clips so the viewer can connect the main changes.
- Vary the pace deliberately. Speed up repetitive work and keep a defining technique at normal speed.
- Add specific explanations. Use short text or narration such as “adding a second layer after drying,” rather than labels that do not explain the action.
- Give the reveal room. End with a steady view long enough for you to inspect the finished artwork during playback.
If narration matters, review the video with sound. Also review it muted and consider adding readable captions for essential explanations. Use your own audio, audio you have permission to use, or another option whose terms you have checked. Creating the artwork yourself does not establish permission to use someone else’s music.
Simple Edit Outline
Opening: identify the artwork or show a preview.
Process: include the first change, development, and one key detail.
Explanation: add a short note about the decision being shown.
Ending: show the completed piece without covering its important details.
Review: remove any clip that does not help explain the transformation.
Review the Video and Check Current Requirements
Before posting, watch the full export rather than only the editing preview. Check that the artwork remains visible, explanations match the footage, captions are readable, and the audio does not obscure narration. Remove personal information visible in the workspace.
Describe what the video actually shows. If a technique is demonstrated only in part, avoid presenting the clip as a complete tutorial.
Source limitation: The provided reference is an artist’s equipment and filming guide, not official TikTok documentation. It does not establish current upload limits, export requirements, music permissions, interface controls, or recommendation-system behavior. Check the current app requirements and applicable audio terms separately. Nothing in this workflow guarantees views or engagement. [c1]
FAQ
Can I Make TikTok Art Videos with a Phone?
Yes. Sloan’s guide describes using phones to record artwork and securing them with a holder on a tripod or boom arm. Start with a test clip to assess your own framing, stability, and lighting rather than assuming you need a dedicated camera. [c1]
What Camera Angle Should I Use for an Art Video?
Try an overhead view for tabletop work or an angled side view for an easel. Sloan describes both setups. Choose the angle that keeps the important action visible when your hands and body move. [c1]
Do I Need a Microphone for a Time-Lapse Art Video?
Not necessarily. Sloan says a microphone may be unnecessary for time-lapse videos, while tutorials with spoken explanations may benefit from one. If you plan to narrate, test your existing recording setup before deciding whether additional equipment is needed. [c1]
How Long Should My TikTok Art Video Be?
For this suggested workflow, use enough time to show the key transformation without unnecessary repetition. The provided source does not verify current TikTok duration limits or an ideal length for performance, so check current app requirements separately. [c1]