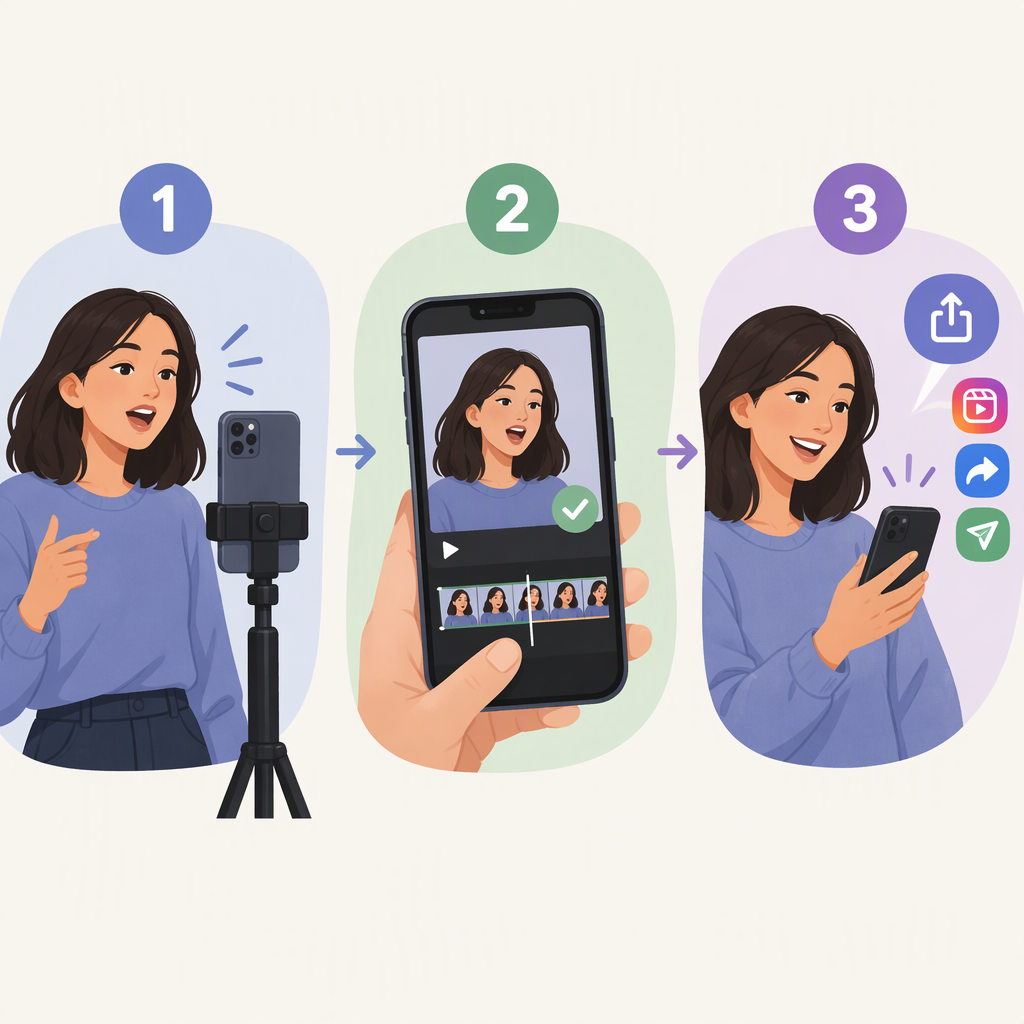
How to Make a Lip-Sync Reel: Record, Check, and Share
A reliable lip-sync Reel starts with a clear audio cue, a steady recording, and a preview that lets you compare the visible mouth movements with the sound. You can record and assemble the video in one app if its current tools allow it, or prepare the video in an editor and upload it to Reels. The exact controls and audio rules can vary; confirm what is available for your account and intended use before posting.
Make a Lip-Sync Reel
- Choose and check the audio. Pick the sound you want to perform to and listen through it before recording. Note where the words or beat you plan to mouth begin and end. Before sharing, confirm that you are allowed to use that audio for your account and intended purpose. Audio being available in an app does not, by itself, establish that it is cleared for every use.
- Set up the shot. Put the camera at a steady angle, make sure your face is visible, and record somewhere you can hear the reference sound. Do a short test if you need to check framing or lighting.
- Record or assemble the performance. If the Reels creation flow offers the recording and audio options you need, you can work there. Otherwise, record or edit the video in a separate editor, then upload it through the available Reels flow. The precise options and labels can change, so follow the controls currently shown in your app rather than relying on a particular button name.
- Preview before sharing. Play the video with sound from the beginning, then watch the section with the clearest words or beat. Check whether your mouth starts each phrase with the voice and whether the visible syllables continue to match what you hear.
- Adjust if the timing is off. First identify whether the mismatch is at the beginning or grows as the clip continues. If the whole performance is early or late, use an editor that lets you shift the video relative to the audio, or trim the start if that removes the offset without cutting off the performance. If the mismatch grows, record another take while listening closely to the reference. Preview again after any change; no adjustment guarantees a perfect match.
- Review and share. Watch the finished clip once more with sound. Check the opening and ending, confirm the chosen audio is the one you intended, and make sure the audio-use conditions fit your planned post before sharing.
A Quick Timing Example
Suppose the first mouthed word appears just before the corresponding word in the audio, but the rest of the clip stays similarly early. That suggests an overall offset: if your editor supports it, try shifting the video slightly later relative to the audio, then preview again. This is an illustrative editing approach, not a test of a particular app or control.
Current-interface and audio-policy note: No usable public Instagram documentation was retrieved for this draft. As a result, it does not name current Instagram controls or assert specific music permissions, account rules, or regional restrictions. Check the guidance and notices shown for your account and intended use before publishing.