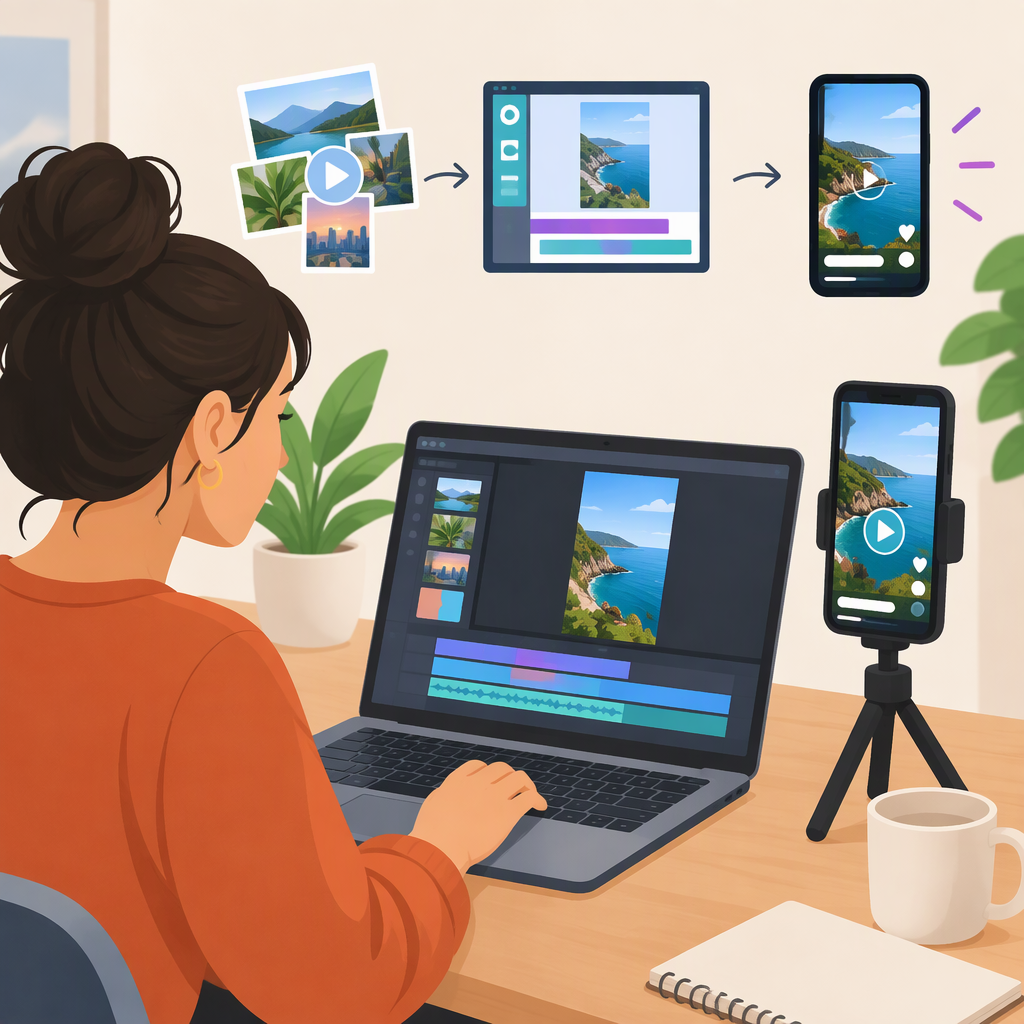
Canva Reels: How to Make an Original Instagram Reel Video
To make an original Instagram Reel in Canva, start with a brief for one clear message, assemble and edit your own or properly licensed visuals in a vertical video design, preview the full sequence, and export it as an MP4. A 9:16 canvas is a practical full-screen vertical format; Meta’s Reels publishing documentation recommends that ratio to avoid cropping or blank space. Before uploading through Instagram’s app, check the current options shown for your account—the technical requirements documented for API publishing are not automatically the rules for every in-app upload. (canva.com)
This guide focuses on creating an original video with Canva and preparing it for Instagram Reels. Canva’s editor and available workflows can differ by device or roll out gradually, so use the controls available in your version. This guidance was checked against public documentation on November 13, 2026.
1. Plan the Reel Before Editing
Write a short brief before opening the editor. Include:
- Viewer: Who is the video for?
- One main message: What should that person understand or remember?
- Sequence: What will they see at the beginning, middle, and end?
- Assets: List the footage, images, graphics, text, and narration you will create or have permission to use.
For example, a creator explaining how to repot a small plant might plan: beginning—show the plant and its crowded roots; middle—show removing it and adding fresh soil; ending—show the repotted plant and one care reminder. This is an illustrative outline, not a tested Canva template or a promise about performance.
A template can give you a starting layout, but choosing one does not by itself make the finished video original or grant permission to use its contents. Change the structure and visuals to fit your own message, and check the applicable terms for any template or other Canva content you keep.
2. Create and Edit the Video in Canva
Canva’s public help describes a video editor with a timeline for arranging clips and separate tracks for video, audio, and graphics. It also notes that some mobile template-first features are limited to particular app versions and are rolling out gradually. If your screen differs from these descriptions, use the video-design workflow available in your Canva version rather than assuming every control is present. (canva.com)
- Start a video design. Choose a vertical 9:16 layout if your aim is a full-screen Reel. For a 1080 × 1920-pixel canvas, keep in mind that this is a practical production target—not a guarantee that every Instagram upload route has identical requirements.
- Add your footage or visuals. Use clips you made, or material whose terms allow your intended use. Put the shots in the order of your brief. Canva describes adding video, photos, or backgrounds to the main timeline and arranging clips there. (canva.com)
- Set the timing. Trim or rearrange clips so each shot supports the message. Add transitions or audio only where they help the sequence; simple cuts can be easier to review and keep clear.
- Add text or narration. Keep on-screen wording brief. Make sure it remains legible on a phone and is not crowded against the frame edges, where app controls or other placements may obscure it.
- Preview the entire video. Watch from start to finish, checking the sequence, timing, text, audio, and any visual changes that happen between clips.
- Export as MP4. In Canva’s documented download flow, open the design, optionally preview it, then choose Share → Download, select MP4 Video, set the available quality, and select Download. Canva says quality choices vary by device and access: its help lists 480p, 720p, 1080p, and 4K on desktop, and notes that changing from the default quality may trigger an upgrade prompt for Canva Free users. Use the options actually available to you. (canva.com)
Expected result: an MP4 draft you can play on your device and inspect before uploading. Canva’s download documentation lists limits that depend on access level, including a 30-minute maximum for Canva Free MP4 downloads and up to two hours for the listed paid, nonprofit, and education plans. Those are Canva download limits—not Instagram Reel duration rules. (canva.com)
3. Check the Export and Upload to Instagram
Use this pre-upload check:
- Shape: Confirm that the video is vertical 9:16 if you want a full-screen design. Meta’s Reels publishing documentation recommends 9:16 to avoid cropping or blank space; other shapes may display differently. (developers.facebook.com)
- File: Confirm that the downloaded file is an MP4 and plays correctly, including its audio. Canva documents MP4 export; Meta’s Reels API specifications also list MP4 or MOV, but those API specifications should not be treated as a complete guide to uploads in Instagram’s app. (canva.com)
- Length and upload conditions: Check the duration and any limits shown in the Instagram app at the time you upload. Meta’s API documentation specifies a 3-second minimum and 15-minute maximum for that publishing route; those figures are API conditions, not a universal statement about every account or in-app workflow. (postman.com)
- Framing: Check that titles, subtitles, faces, and important details are not tight to the edges. Preview the Reel in Instagram’s upload flow before sharing, and adjust the crop or return to Canva if important content is obscured.
- Final playback: Play the exported file once more. Watch for missing clips, cut-off text, unexpected blank frames, or audio that starts or ends abruptly.
When the file looks right, open Instagram’s Reel creation or upload flow, choose the exported video, preview its framing, and follow the app’s current prompts to finish publishing. Canva documents downloading a video file; the Instagram upload and publication happen separately in Instagram.
4. Review Rights, Readability, and Accessibility
Before publishing, ask:
- Footage and images: Did you make them, or do you have permission for this use? If you used Canva content, check the license category and terms that apply to each item. Canva’s Content License Agreement says that designs can contain different content categories and that the most restrictive category can govern the design. (canva.com)
- Music: Check the specific track’s classification and license rather than assuming all audio in an editor has the same permissions. Canva distinguishes Stock Music, Free Music (Non-Commercial), and Popular Music; its current Popular Music agreement says Free Music marked “only personal use allowed” is for personal use and that Popular Music has a separate agreement. Canva’s download help also advises verifying the license for paid audio before posting to social media or video-sharing sites. These terms are not a blanket guarantee of rights for every platform, use, or location. (canva.com)
- Text: Can someone read titles and subtitles on a phone without pausing? Keep key information away from the edges and maintain clear contrast.
- Spoken content: Where appropriate, add captions or another way to follow important spoken information without sound.
- Whole-video review: Watch the exported file from beginning to end, not only the editor preview. Confirm that the intended message is clear and that no borrowed asset, music, or visual appears without the required permission.
In short: plan one message, build a clear sequence, edit and preview it in Canva, export an MP4, and inspect the file before uploading through Instagram. Treat format guidance, account-specific upload limits, and asset licenses as separate checks—not as guarantees that a video will display identically or be cleared for every use.