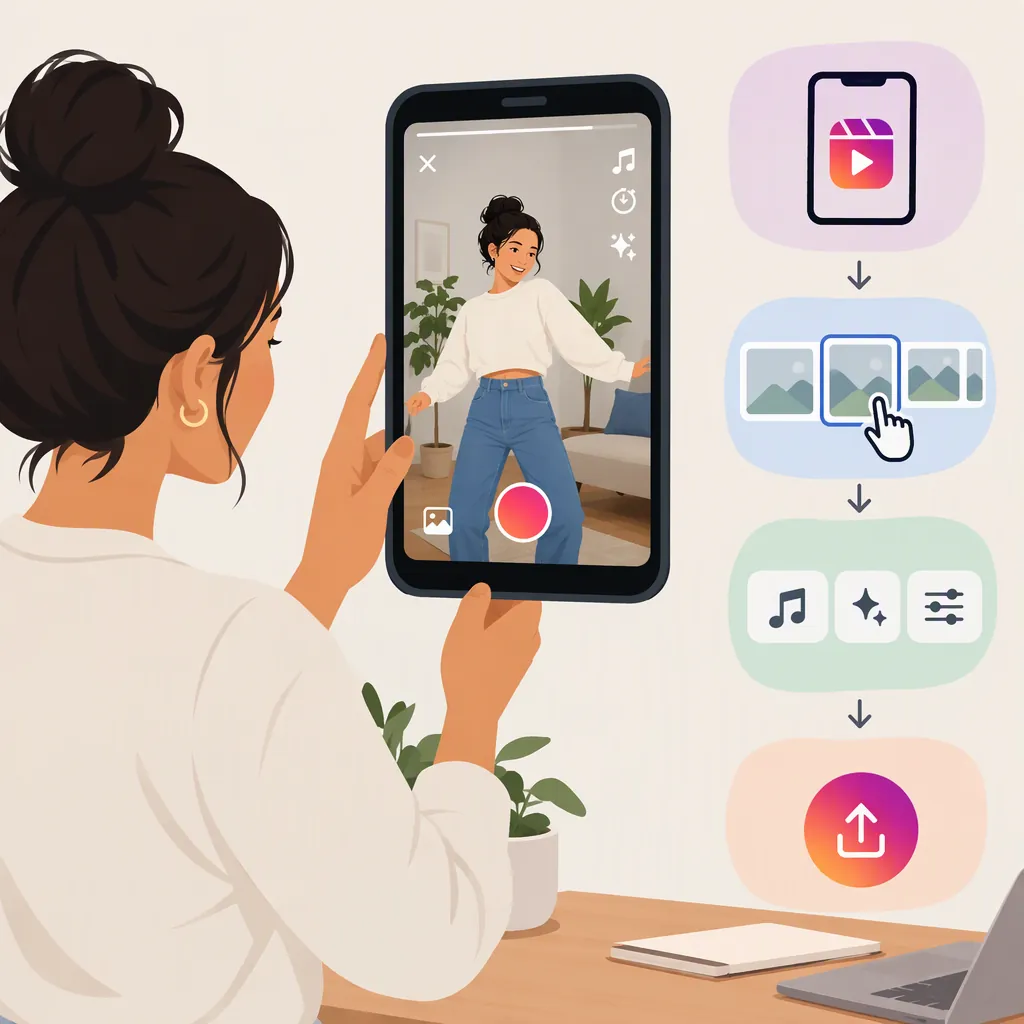
How to Make Shorts on Instagram with Original Video
To make a short-form video on Instagram, create a Reel; “Shorts” is YouTube’s term. The two are separate publishing destinations. [c2] Start with one clear idea, record your own footage, edit it into a complete sequence, then prepare and review the Reel in Instagram before publishing.
This guide walks through an original-video workflow without relying on fixed button names or unverified upload limits.
1. Plan One Clear Idea
Choose a small subject you can show rather than a broad topic you need to explain. For example, demonstrate how to fold a paper bookmark instead of trying to cover every paper craft.
Write a one-sentence brief: “This video shows someone how to ___.” Then plan three moments:
- Opening: Show the finished result or the problem.
- Middle: Demonstrate the essential action.
- Ending: Show the result clearly enough to inspect.
Use these moments as an editing plan, not a formula for earning views. Keep the footage needed to fulfill the brief; a tutorial does not need a promotional ending.
Fill-In Video Brief
- Subject: ___
- This video shows someone how to: ___
- Opening image: ___
- Essential action: ___
- Final result: ___
- Footage or audio permissions to check: ___
2. Record a Simple Shot Sequence
As a practical starting point, hold your phone upright and keep the main action near the center of the frame. This is a composition recommendation, not an Instagram upload requirement.
Record separate clips for the opening, the action, and the result. Use a stable surface or support when possible. Choose lighting that makes the subject easy to see, and record speech in a quiet space.
For an original tutorial, use your own demonstration and wording. Check the background for private information, visible screens, and other people’s identifiable faces. Consider permission and privacy before including them. If you use outside footage or music, confirm permission for the intended use.
Example Shot List: Paper Bookmark
- Record the finished bookmark on a page.
- Record the paper and any tools you will use.
- Record each necessary fold in a separate clip.
- Capture a close-up of the fold that needs the most explanation.
- Record the finished bookmark being placed on the page.
- Record narration if the visual steps need context.
Before putting everything away, review the clips. If your hands hide an important fold or the final result is out of focus, record that shot again.
3. Edit the Clips into a Complete Demonstration
Arrange your clips in the order promised by your brief. Trim setup time, accidental camera movement, and repeated actions. Keep a difficult step on screen long enough for someone to understand it.
Use short on-screen labels where they add information. For speech, include captions when your editing workflow supports them and check each line against the audio. Preview with sound off to see whether the essential action still makes sense.
Music is optional. Original recorded sound or your own narration may be enough for a demonstration. If you add music, check that it does not obscure the explanation.
Example Edit: Paper Bookmark
| Sequence | Footage to use | Text or narration to consider |
|---|---|---|
| Opening | Finished bookmark on a page | “How to fold a paper bookmark” |
| Preparation | Paper and tools | Identify any material needed to follow along. |
| Main steps | Necessary folds in order | Label a step only when its direction is unclear. |
| Difficult step | Close-up of the tricky fold | For a matching shot: “Bring this corner to the center crease.” |
| Ending | Finished bookmark placed on the page | Show how it fits and let the result remain visible. |
Treat the wording as an example, not a complete folding pattern. Match every label and narration line to the action actually shown.
You can remove a preparation shot if it adds nothing, but keep any material information viewers need. Cut repeated attempts rather than skipping a necessary fold. If a close-up repeats the same action, use it to replace the less clear view.
Editing Pass Checklist
- Does the opening establish the subject?
- Are all necessary steps shown in a logical order?
- Can repeated or empty footage be removed?
- Are labels readable in a phone-sized preview?
- Do captions match the speech?
- Is the explanation audible?
- Does the final shot show the result clearly?
Keep a separate copy of your original footage and finished edit as a backup.
4. Prepare and Publish the Reel in Instagram
Choose one of two workflows:
- Edit first, then upload: Finish the sequence in your chosen editor, save a copy, and select that video during Reel creation.
- Assemble in Instagram: Bring your original clips into the Reel creation workflow and arrange them there, if the controls available to your account support the edits you need.
A creator tutorial describes Instagram templates as a way to assemble camera-roll photos and videos into a Reel. It is a creator post, not official documentation of the current interface. [c1] Consider a template only if its pacing fits your demonstration; otherwise, preserve your own sequence.
Reel Preparation Workflow
The following is a review sequence, not a verified current click-by-click walkthrough:
- Open the Reel creation workflow. In your installed Instagram app, locate the option to create a Reel.
- Choose your material. Select your finished video, or import the original clips you want to assemble if that option is available.
- Confirm the sequence and framing. For separate clips, check their order and trim them using the available controls. For a finished video, check that the displayed crop keeps the essential action visible. Return to your editor if the app cannot make a needed correction.
- Check text and sound. Review any existing labels, speech captions, narration, and music. If you add anything in Instagram, preview it to check placement, timing, and audibility.
- Watch the full preview. Look for missing steps, cut-off hands, obscured text, or audio that starts or ends abruptly.
- Add a descriptive caption. Explain what the video demonstrates and include any useful detail that is difficult to show visually. For example: “A paper bookmark folding demonstration, with a close-up of the final tuck.”
- Review the publishing choices. Check any cover options, audience settings, and other choices shown in your app.
- Publish only after the review is complete. Use the final publishing control when the video and selected settings are ready. If something needs fixing, return to editing before proceeding.
Interface limitations: The available references do not verify Instagram’s current button sequence, upload specifications, maximum duration, or feature availability for your account. Follow the requirements and controls displayed in your app. If a file is rejected, use the displayed message to identify what needs changing rather than guessing at a fixed limit.
Pre-Publish Review
- Watch the entire preview once with sound and once without it.
- Check for cropped action or obscured text.
- Correct speech-caption, label, and post-caption errors.
- Remove unintended personal information.
- Confirm permissions for outside footage or audio.
- Review the audience settings shown in the app.
- Keep a separate copy of the finished video.
Optional reuse: If you later publish the same original video elsewhere, work from your saved master copy and check that destination’s upload requirements and audio permissions separately. Cross-posting is not required to make an Instagram Reel.
FAQ
Are Instagram Shorts the Same as Reels?
For short-form Instagram video, Reels is the relevant term. Instagram Reels and YouTube Shorts are distinct publishing destinations. [c2] Follow the Reel workflow for this tutorial.
Can I Make a Reel from Photos?
A creator tutorial describes using Instagram templates with camera-roll photos and videos. [c1] If those controls are available to you, choose your own images and arrange them into a clear beginning, middle, and ending. Use pacing that gives viewers time to understand each image.
How Long Should My First Reel Be?
Use enough time to communicate one complete idea, then remove material that does not help explain it. Do not cut an essential step just to make the video shorter. Check the current limit in your app; the duration figures in the cross-posting reference are not verified current requirements here. [c2]
Do I Need a Template?
No template is necessary for the production workflow in this guide: you can plan and edit your own sequence. The creator tutorial presents templates as one way to assemble camera-roll material, not the only approach. [c1] Choose one only when its timing suits your footage.
Should I Edit Before Uploading or Assemble Clips in Instagram?
Edit first if you want to complete and review the sequence before opening Instagram. Assemble clips in the app if the controls available to your account can handle the changes you need. In either workflow, review the Reel preview before publishing and keep a separate copy of your footage and finished video.