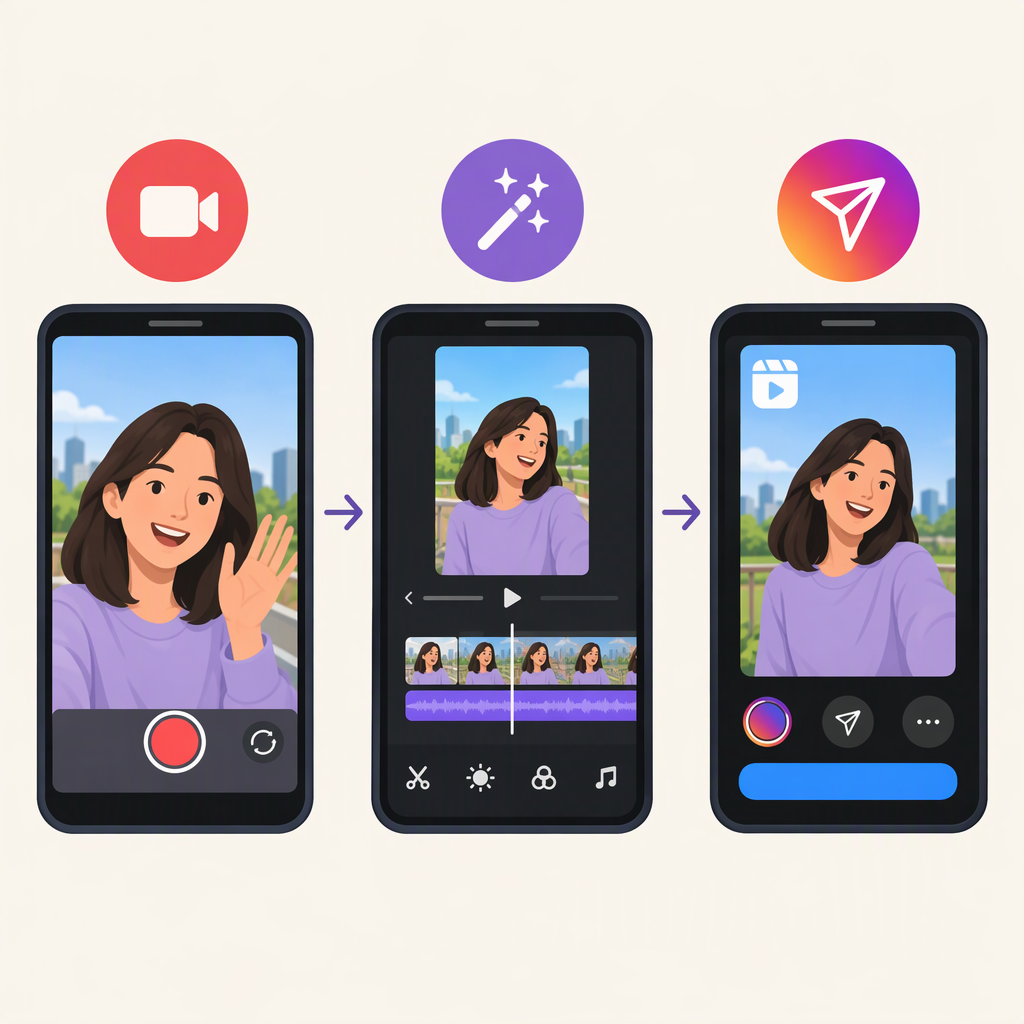
How to Create Reels on Instagram: Record, Edit, and Share
An Instagram Reel starts with a simple idea: choose what you want to show, record a new video or select footage from your device, make a clear edit, review the post, and share it. In the Instagram app, the creation flow commonly starts from the + button and Reel; you can then record or select media, make optional edits, and continue to the sharing screen. Button names and available tools can vary, so follow the options shown in your app. (wikihow.com)
1. Choose an Idea and Capture Your Footage
Before opening the camera, finish this sentence: “I want the viewer to see or learn ___.” Keep the first Reel focused on one small idea—a quick demonstration, a before-and-after, or a short explanation.
Then open Instagram, tap +, and choose Reel if that option appears. Record in the app or select existing video or photos from your device. A simple video can be one continuous shot; for a sequence, capture a few short moments that support the same idea. These are practical creative suggestions, not Instagram requirements. (wikihow.com)
Example: To show how a plant cutting is potted, capture three moments: the cutting and pot, the planting, and the finished result. That gives the Reel a beginning, middle, and end without needing extra effects.
2. Edit for a Clear Beginning, Middle, and End
Review the footage and remove pauses or parts that do not help communicate the idea. If the editor offers a timeline or clip controls, arrange and trim the clips so the sequence makes sense. Preview the edit before moving on.
Audio, text, captions, effects, and stickers are optional creative additions—not prerequisites for sharing. Add only what helps the viewer follow the video. For example, on-screen text can name a step, while captions can make spoken words easier to follow. If a tool or option is missing, skip it rather than assuming every account has the same controls. Instagram’s editing and sharing options may be presented differently across app versions. (wikihow.com)
3. Review the Post and Share It
Continue to the sharing screen when the edit is ready. If the app offers these options, choose a cover and write accompanying text; neither needs to be elaborate. A cover can be a useful frame that clearly represents the video. Instagram’s sharing flow may offer a frame from the Reel or an image from your device, though the exact controls can vary. (later.com)
Before sharing, check:
- Message: Can someone understand the main idea from the video?
- Edit: Are the clips in the intended order, with distracting pauses removed?
- Added elements: Is any text readable, and does audio support rather than obscure the video?
- Post details: If available, does the cover represent the Reel, and does the accompanying text say what you intend?
- Audience: Review your account privacy and any audience options shown before sharing. Meta’s publishing documentation says account privacy settings are respected when content is published; do not assume a Reel will be visible to people beyond the audience allowed by those settings. (developers.facebook.com)
When the post looks right, use the sharing option shown in the app to publish it. A checklist can help catch mistakes, but no edit, cover, or setting guarantees a particular number of views or other performance outcome.
Quick Workflow
Pick one idea → record or select footage → trim and arrange → optionally add helpful creative elements → review the post and audience → share.
If a control named here does not appear, the app’s current screen is the best guide: continue with the available options, and leave optional additions out. Avoid relying on older instructions for exact button placement, since Instagram’s interface and feature availability can change.