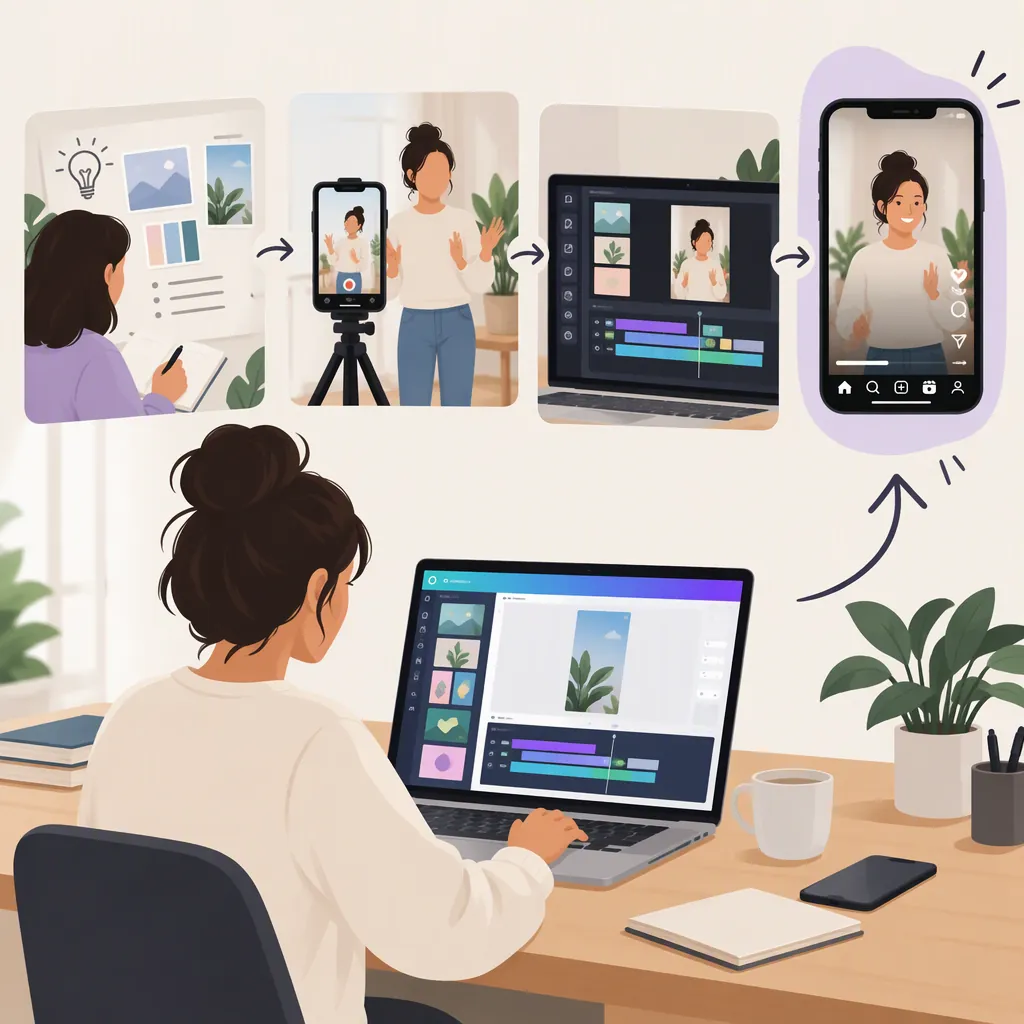
How to Make Original Instagram Reels with Canva
To make an original Instagram Reel with Canva, plan one clear idea, capture your own footage, and arrange it into a vertical video. Use a template as a starting layout, replace its sample content, then adjust framing, clip timing, text, and audio before exporting and reviewing the finished file.
Scott Social’s third-party tutorial recommends a 1080 × 1920-pixel, 9:16 layout and describes finding templates by searching Canva’s Templates area for “Instagram Reel.” [c1] Its instructions are not current official Canva or Instagram documentation. Interface labels may vary, and the tutorial does not verify current upload requirements, export options, or asset licenses. The workflow below therefore distinguishes documented controls from general editing tasks.
1. Plan the Story Before Choosing a Template
Start with a subject you can show rather than a template you want to fill. Write one sentence describing what the viewer should understand by the end, then list the shots needed to communicate it.
For example, a paper-bookmark demonstration could show the finished bookmark, explain the folding process, and end with the bookmark in use. The original contribution is your demonstration, footage, explanation, or interpretation—not simply the template’s appearance.
If you use someone else’s material, record its source and check whether your intended use is permitted.
Fill-In Storyboard
- Main idea: [One thing the viewer should understand]
- Opening: [Show the result or introduce the question]
- Shot 1: [Show the starting point]
- Shot 2: [Demonstrate the key action]
- Shot 3: [Show the result or explain the takeaway]
- On-screen wording: [One short statement per shot]
- Footage to capture: [List your required clips]
- Outside assets: [Record sources and permission checks]
- Remove from the draft: [Anything unrelated to the main idea]
Example: A Paper Bookmark Demonstration
Main idea: Show how a folded paper bookmark fits over a page corner.
| Part | Footage to capture | On-screen wording | Editing decision |
|---|---|---|---|
| Opening | The finished bookmark on a book | “Make a paper corner bookmark” | Keep the result clearly visible before moving to the instructions. |
| Starting point | The unfolded paper on the work surface | “Start with a paper square” | Frame both the paper and your hands. |
| Key actions | Each fold in order, including tucking the corners | A short instruction matching each visible action | Keep necessary folds; remove pauses between them. |
| Ending | The completed bookmark placed on a page | “Slide it onto a page corner” | Show how the finished object is used. |
This is a suggested storyboard, not a required Reel format or a promise of engagement. If a fold is hard to follow, capture a closer view rather than relying on extra text to explain an unclear shot.
2. Set up a Vertical Design in Canva
Scott Social’s tutorial describes opening Canva, selecting Templates, and searching for “Instagram Reel.” It recommends a 1080 × 1920-pixel design with a 9:16 aspect ratio. [c1]
Choose a layout that suits your planned shots. Do not reshape the entire idea merely to preserve a template’s sample structure.
Before editing:
- Check the design dimensions available in your editor.
- Identify the sample footage, text, and decorative elements you will replace.
- Remove elements that do not help explain your subject.
- Decide which parts of the template, if any, are useful for your sequence.
Treat the dimensions as tutorial guidance rather than verified current Instagram upload specifications.
3. Add Your Footage and Build the Sequence
Work through these editing tasks in order. Exact control names and placement may differ in your version of Canva; these steps describe the intended result rather than an unverified menu path.
- Import your recorded clips. Locate the editor’s available media-import controls and add the files from your device. Check that you have every shot on your storyboard before assembling the sequence.
- Replace the sample content. Place your footage into the intended video areas. Preview each replacement to confirm that the correct clip appears and that no sample footage remains.
- Put the shots in story order. Arrange the clips or scenes to match your storyboard: opening, starting point, key actions, and result. Remove unused template scenes.
- Adjust the vertical crop. Keep the important action visible. For the bookmark example, check that both hands and the relevant paper edges remain in frame. If a crop hides a necessary step, use another shot.
- Trim unnecessary material. Use the available clip-timing controls to remove setup movements, repeated actions, and pauses. Preserve the complete action when the viewer needs to see how it works.
- Preview the joins. Watch each transition between clips. If a cut skips an essential step or makes the sequence confusing, restore footage or insert a clearer shot.
Avoid making every clip equally short just to maintain a fast pace. An introductory result shot and a detailed folding step may need different amounts of screen time.
4. Add Readable Text and Set Its Timing
The tutorial points to Canva’s Text tab for adding text and recommends testing text size on a phone. It also describes selecting text or an element and using Animate in the top toolbar. [c1]
Use short phrases that support the footage. Replace template wording with instructions specific to your demonstration.
For each text overlay:
- Write one label or instruction relevant to that shot.
- Position it where it does not cover the action.
- Use the available timing or duration controls to align its appearance with the relevant footage.
- Play the sequence at normal speed and check that the wording stays visible long enough to read.
- Shorten the phrase or extend its display time if it disappears too quickly.
If your editor only allows text to remain visible for an entire scene, plan the scene boundaries around the instruction rather than assuming finer timing controls are available.
Keep essential wording away from the edges and check it in Instagram’s upload preview; do not assume a fixed safe area. Where spoken instructions are essential, include their meaning in readable text so the explanation does not depend entirely on audio.
Add animation only when it helps, such as introducing a label. Scott Social suggests using one or two animations per video; that is an editorial preference, not an Instagram rule. [c1]
Text and Motion Review
- Watch once with the sound off.
- Check whether the main idea is still understandable.
- Read every overlay on a phone-sized preview.
- Confirm that each label appears during the action it describes.
- Remove motion that distracts from the demonstration.
- Proofread names, numbers, and instruction steps.
5. Review Audio and Asset Permissions
Decide whether the video needs narration, natural sound, background music, or no audio. For an instructional Reel, prioritize an understandable explanation over decorative sound.
Scott Social’s tutorial describes an Audio area in Canva, but it does not establish license terms for individual tracks or permission for every Instagram use. [c1]
Before including music, stock footage, images, or other outside assets:
- Identify the asset and its source.
- Check the applicable terms for your intended publication.
- Keep a record of the terms you checked.
- Replace or omit material if permission remains unclear.
Availability inside an editor is not sufficient information to determine permission.
Listen through the full sequence. Check for abrupt audio cuts, distracting background noise, and music that competes with speech. Adjust the audio using the controls available in your editor, then listen again.
6. Export and Check the Finished Video
Exporting should produce a video file you can inspect independently of the editing preview. The cited tutorial does not verify current Canva export menus, file options, or Instagram upload limits, so avoid relying on a fixed button sequence.
Use this completion workflow:
- Review the entire design. Confirm that all intended scenes are included and that no template content remains.
- Locate the available export controls. Choose an option that produces a video file, if offered, rather than a still image.
- Check the export selection. If the editor offers a choice of scenes or pages, include the complete intended sequence.
- Save the file and open it outside Canva. Watch from beginning to end on a phone.
- Return to the edit if needed. Correct missing scenes, poor crops, unreadable text, or audio problems, then export and check again.
- Inspect Instagram’s upload preview. Check how its interface interacts with the composition before publishing.
If the necessary export option is unavailable or Instagram rejects the file, consult current official help for the relevant settings rather than inferring requirements from the third-party tutorial.
Final Review Checklist
- The opening introduces the subject clearly.
- Every shot contributes to the same idea.
- Essential actions remain visible in the vertical crop.
- Text is readable and timed to the relevant footage.
- The explanation remains understandable without audio where practical.
- Audio supports rather than obscures speech.
- Outside asset permissions have been checked.
- The exported file contains the complete sequence.
- The exported file has been watched in full.
- Instagram’s upload preview has been inspected.
- The ending delivers the planned takeaway.
FAQ
What Size Should I Use for a Canva Instagram Reel?
Scott Social’s tutorial recommends 1080 × 1920 pixels, a 9:16 vertical layout. This is third-party guidance, not verification of current official Instagram upload specifications. [c1]
How Can I Keep a Template-Based Reel Original?
Use the template for layout, then build the content around your own subject, footage, explanation, and shot sequence. Replace sample wording and remove elements that do not support your idea. This is a creative workflow recommendation, not a legal assessment of originality.
How Do I Time Text to Match a Clip?
Use the text-timing or duration controls available in your editor to keep each instruction visible during the action it describes. Preview at normal speed and adjust until it is readable. The tutorial supports adding text through the Text tab and testing readability on a phone, but it does not document a specific text-timing workflow. [c1]
Does Music Available in Canva Automatically Have Permission for Instagram?
Do not assume so. The tutorial describes Canva’s Audio area but does not establish permissions for individual tracks or uses. Check the applicable license and platform terms before publishing. [c1]
Which Export Settings Should I Use?
Choose an available video export option and inspect the resulting file. The cited tutorial does not verify current export settings or Instagram file requirements. If you need an exact format, duration limit, or troubleshooting procedure, check current official help rather than treating this tutorial as authoritative.