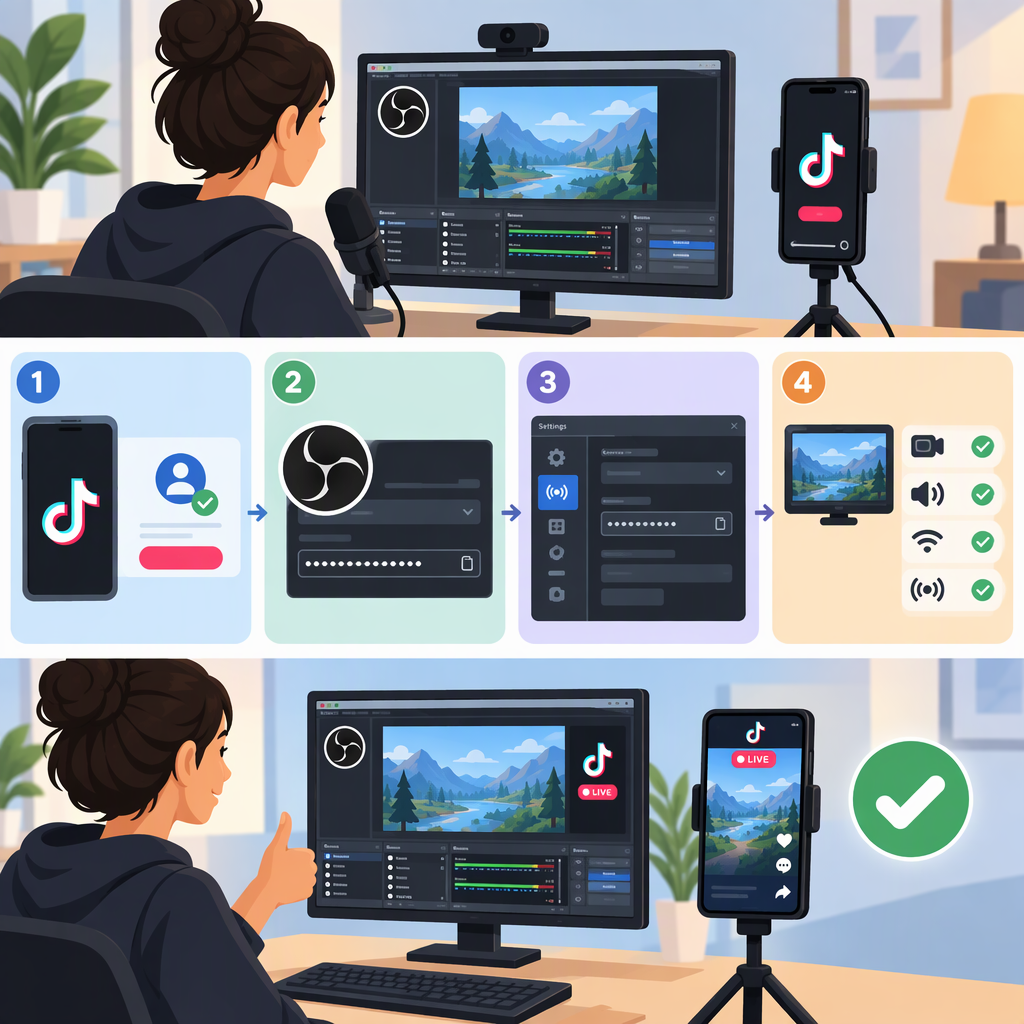
How to Stream to TikTok from Obs
You can stream to TikTok from OBS if TikTok provides your account with the connection details for an external encoder. TikTok’s computer-streaming instructions say to copy the server URL and stream key from the LIVE broadcast settings and enter them in streaming software such as OBS. TikTok also says those details are new for each LIVE broadcast. If you don’t see them, don’t try a guessed key or server address: check your account’s available LIVE options or apply for access through TikTok’s relevant LIVE access flow. (webcast.tiktokv.com)
1. Check Your TikTok Access
TikTok says only eligible creators can go LIVE. Access requirements can vary by country or region; TikTok’s LIVE Studio help page says eligible creators can check LIVE access status in LIVE Studio, where it appears in the top-right area. That page describes access to LIVE Studio, so treat it as an access check—not a guarantee that OBS stream-key access is enabled for your account. (tiktok.com)
Before setting up OBS:
- Confirm that your account can go LIVE using TikTok’s available LIVE features.
- On a computer, open TikTok’s LIVE broadcast setup and check whether TikTok provides a Server URL and Stream key for that broadcast.
- If you don’t see them, follow the access or application options TikTok presents. TikTok says some LIVE Studio access applications may take days to review; its published requirements vary by region and can change. (webcast.tiktokv.com)
TikTok’s public guidance cited here does not establish a universal follower threshold or guarantee that every account or region can use OBS. The practical check is whether TikTok makes the external-encoder connection details available for your account and broadcast.
2. Connect Obs to TikTok
You need OBS installed and the server URL and stream key supplied by TikTok for the broadcast. Do not use connection details from another creator or an earlier LIVE; TikTok says each new broadcast needs a new URL and key. (webcast.tiktokv.com)
- In TikTok’s computer LIVE setup, create or open the broadcast setup and locate its server URL and stream key.
- In OBS, open Settings → Stream. OBS documents entering a server and stream key there; for a server not listed as a preset service, its guide describes choosing a custom streaming server. (obsproject.com)
- Enter the TikTok-provided details in the corresponding OBS fields and save the settings. Don’t share or publish the stream key: treat it like a password that authorizes your broadcast.
- Keep TikTok’s LIVE setup page open while you prepare the stream. Start streaming from OBS only when you’re ready to send video to that broadcast.
TikTok’s instructions confirm the URL-and-key method, but the precise screen flow can vary. Follow the labels shown for your account rather than assuming every account sees identical controls. (webcast.tiktokv.com)
3. Check Your Scene, Picture, and Audio
Before connecting to viewers, review the basics in OBS:
- Scene and sources: Make sure the intended camera, capture, or other video source is visible in the OBS preview. Check that overlays do not cover important content.
- Framing and orientation: Confirm that the composition suits the way you intend to present the stream on TikTok. TikTok’s cited connection instructions do not specify a required canvas orientation or resolution, so don’t treat a particular format as a universal platform requirement.
- Audio: Speak or play the relevant sound and watch the OBS audio mixer for movement on the intended microphone and desktop or application audio sources. Listen for clipping, echo, muted sources, or audio that is missing from the mix.
- Output: TikTok’s computer-streaming page recommends a video bitrate of 1.8 Mbps and notes that it may automatically transcode when the bitrate is too high. This is a recommendation from that page, not a complete set of universal output requirements; the source does not specify a required resolution, frame rate, encoder, or audio bitrate. (webcast.tiktokv.com)
OBS notes that output choices depend on the streaming service and upload speed, and recommends leaving defaults alone unless you know why you need to change them. If you adjust output, use TikTok’s available guidance and your connection’s capacity rather than copying settings presented as universal elsewhere. (obsproject.com)
4. Verify, Go Live, and End the Broadcast
TikTok’s instructions say to enter the broadcast’s server URL and stream key in streaming software to start broadcasting. They also say to end the LIVE in both the streaming software and the TikTok app. (webcast.tiktokv.com)
A cautious sequence is:
- Check the OBS preview and audio mixer before sending the stream.
- Start the stream from OBS using the current TikTok-provided details.
- Check TikTok’s broadcast screen for signs that it is receiving the feed. If the account’s screen offers a preview or status indicator, use it to verify the correct video and audio before addressing viewers. The cited TikTok instructions do not promise that every account has a separate test mode or identical preview controls.
- When finished, end the broadcast in OBS and in TikTok, as TikTok instructs. (webcast.tiktokv.com)
5. If Something Doesn’t Work
Use this short diagnostic path; these are practical checks, not a claim that TikTok documents a fix for each particular error:
- No URL or key: Recheck the LIVE access and broadcast options available to your account. If access is missing, use TikTok’s displayed application or support route rather than trying third-party or guessed credentials. TikTok says eligible creators who still cannot go LIVE can report an issue. (tiktok.com)
- OBS cannot connect: Confirm that you copied the server URL and key from the current broadcast, entered each in its matching OBS field, and did not reuse an older broadcast’s details. TikTok says the details change for each new LIVE. (webcast.tiktokv.com)
- TikTok does not show the expected feed: Check that OBS is streaming to the current broadcast and that the intended scene and video source are visible in OBS. Then look for a receiving status or preview in TikTok’s broadcast screen if one is offered.
- Video appears but sound does not: Check that the correct microphone or application audio source is active and that its mixer level moves when sound is produced. Listen again for muted, clipped, or duplicated audio before continuing.
If you suspect the stream key has been exposed, stop using it and obtain fresh connection details through TikTok’s broadcast setup. TikTok’s instructions say a new URL and key are needed for every new LIVE; they do not describe a separate credential-recovery process in the cited guidance. (webcast.tiktokv.com)
Quick Checklist
- TikTok allows your account to go LIVE and provides connection details for this broadcast.
- OBS has the current TikTok server URL and stream key.
- The correct scene, picture, and audio are visible and audible in OBS.
- You check TikTok’s receiving status or preview if your broadcast screen offers one.
- You end the LIVE in both OBS and TikTok.