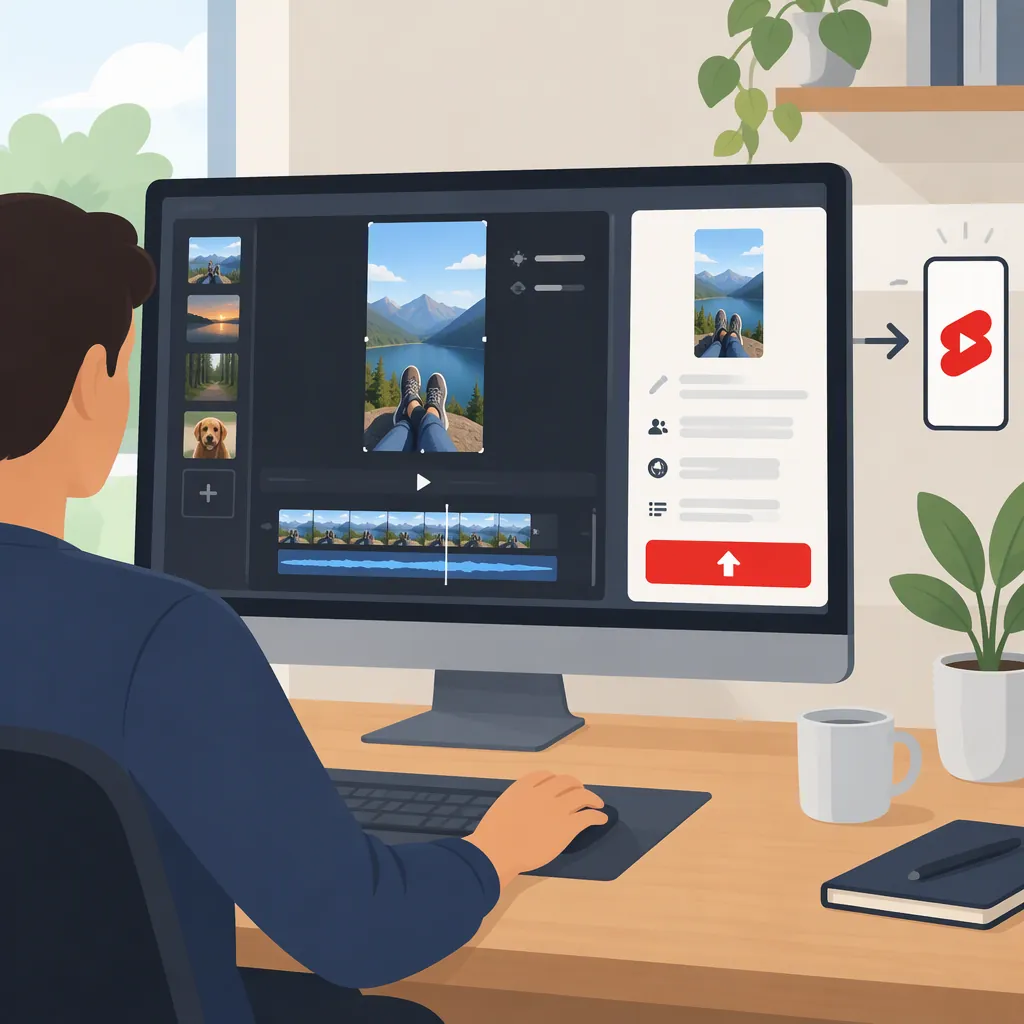
How to Create and Upload YouTube Shorts from Desktop
You can upload YouTube Shorts from a desktop computer through YouTube Studio after signing in to your channel. YouTube’s upload tips describe Shorts as vertical videos up to three minutes long. [src_1]
The desktop workflow has three parts: prepare your video in an editor, export and review the finished file, then upload it through Studio and choose its visibility.
Prepare Your Short in a Desktop Editor
Use your desktop editor to assemble the video before uploading. The steps below are tool-neutral production suggestions, not additional YouTube requirements.
1. Import and Organize Your Material
Gather the footage, images, audio, and text you intend to use, then import them into your editor. Choose one main subject and keep the material that helps explain it.
For example, a short demonstration could include an opening shot of the task, the essential steps, and a closing shot of the result.
2. Arrange the Video Vertically
Start with a vertical project or canvas, consistent with YouTube’s description of Shorts. [src_1]
If your footage is horizontal, review each shot individually:
- Reposition the image so the subject remains visible.
- Check whether cropping removes an important action or detail.
- Consider placing the full image inside the vertical composition when cropping would lose necessary context.
These are editing choices. They are not a complete set of Shorts classification rules.
3. Build and Trim the Sequence
Arrange clips in the order viewers need to understand them. Remove repeated explanations, unnecessary pauses, and material that does not support the subject.
Play the sequence at normal speed after trimming. Check that each cut preserves enough context to follow the action or explanation.
4. Check Text, Captions, and Audio
Review any titles or captions during playback:
- Is the text readable against the footage?
- Does it stay on screen long enough to read?
- Are captions accurate and timed to the speech?
- Does background sound or music make the voice difficult to hear?
Check the entire video, not just individual clips.
5. Export and Review the Actual File
Export the finished video, then open the saved file outside the editor and watch it from beginning to end. This helps you review the file you will upload rather than relying only on the project preview.
Use this pre-upload checklist:
| Check | What to confirm |
|---|---|
| Orientation | The exported video has the intended vertical composition. |
| Duration | It is no longer than three minutes, matching the description in YouTube’s upload tips. [src_1] |
| Framing | The subject and essential details remain visible throughout. |
| Text and captions | Text is readable; captions are accurate and correctly timed. |
| Audio | Speech is understandable, without unintended silence or distortion. |
| File selection | You can clearly distinguish the final export from source clips and earlier drafts. |
Format boundary: The vertical orientation and duration checks match the cited Shorts description; they do not establish every condition for classification as a Short. The available reference does not specify exact export resolution, codec, bitrate, or file-size limits.
Upload Through YouTube Studio
YouTube’s computer-specific guidance identifies YouTube Studio as the desktop upload route after signing in to your channel. [src_1]
The following steps organize the upload around decisions and checks. The cited page does not document exact button labels or the full screen sequence, so this is not a button-by-button interface walkthrough.
1. Confirm the Channel and Finished File
Sign in to the channel where the video belongs. Before starting the upload, locate the final export and confirm its filename and folder.
A simple upload note can prevent confusion:
- Channel: __________
- Final video file: __________
- Title to use: __________
- Purpose: test upload / intended release
- Planned visibility: public / private / unlisted
2. Start the Upload in Studio
Use YouTube Studio’s video upload workflow and select the exported file from your computer. The desktop upload route is supported by YouTube’s guidance. [src_1]
Check the selected filename against your upload note so you do not accidentally use a source clip or previous version.
3. Review the Information Presented
Work through the upload screens and review the information requested. Check that the title describes the selected video and complete any required fields shown before proceeding.
Keep your upload note available so the channel, file, title, and release plan remain consistent.
4. Choose Visibility Deliberately
YouTube lists public, private, and unlisted as available privacy settings and recommends trying a test Short to become comfortable with the process. [src_1]
For a test, choose private or unlisted rather than public. For an intended release, select the setting that matches your sharing plan. Do not make the video public merely because the file is ready to upload.
5. Confirm the Upload and Selected Visibility
Follow the on-screen prompts to finish the process. Before treating the upload as complete, check the status shown in Studio, confirm that the intended video is present, and review its selected visibility.
As a practical final check, play the uploaded video when playback is available. Selecting a file alone should not be your completion checkpoint.
Test and Review the Uploaded Video
A test upload gives you a chance to practice the process before a public release, as YouTube recommends. [src_1]
Compare the uploaded video with your local export:
| Check | Question to ask |
|---|---|
| Correct version | Is this the final export rather than an earlier draft? |
| Framing | Are the subject and important details visible? |
| Text and captions | Are they readable, accurate, and correctly timed? |
| Audio | Is speech clear, with no unexpected silence or distortion? |
| Video information | Does the title match the content? |
| Visibility | Does the setting match your test or release plan? |
If you find a problem, check whether it also appears in the local export. If it does, return to the editor, correct it, and export a revised file before uploading again. If it does not, avoid changing the edit until you have identified where the discrepancy occurs.
What This Guide Does Not Verify
The cited reference supports desktop uploading, the general Shorts description, test uploads, and privacy choices. [src_1] It does not establish desktop editing-tool parity with the mobile Shorts experience, music permissions, thumbnail controls, monetization, or distribution rules.
The workflow is therefore a preparation and upload guide—not a guarantee of Shorts classification or audience reach.
FAQ
Can I Upload YouTube Shorts Without a Phone?
Yes. YouTube confirms that you can upload from a computer through YouTube Studio after signing in to your channel. [src_1]
Can I Edit a Short on Desktop Before Uploading It?
Yes. You can prepare the video in a desktop editor and upload the finished file through YouTube Studio. The cited guidance confirms the upload route, not the editing tools available inside Studio. [src_1]
What Format and Duration Should I Check Before Uploading?
Check for a vertical composition and a duration of no more than three minutes, matching YouTube’s upload tips. Those checks are not a complete eligibility test. [src_1]
Can I Test an Upload Before Making It Public?
Yes. YouTube recommends a test Short and lists public, private, and unlisted privacy settings. Choose private or unlisted for the test, then review the uploaded video and its visibility. [src_1]