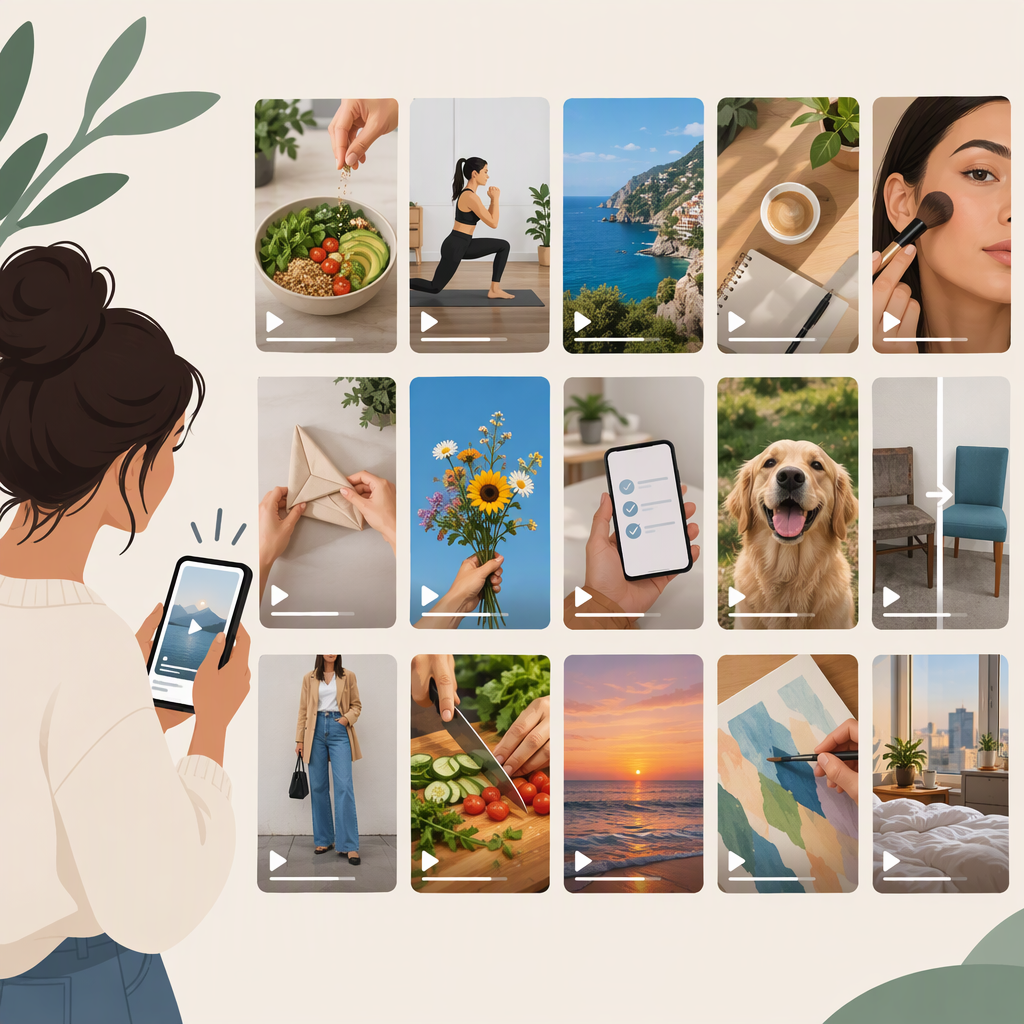
15 Instagram Reels Examples You Can Adapt
Need an idea for your next Reel? Start with a format that fits what you want to show: teach one small step, reveal a change, share a process, or tell a brief story. Below are 15 ideas, followed by sample sequences you can adapt to your topic and filming setup.
These are hypothetical editorial examples, not descriptions of real Instagram posts or proven performance tactics. Choose based on what suits your subject and the effort you can put into filming; no format guarantees reach or engagement.
Instagram Reels Ideas by Format
Teach or Explain
- One-step how-to: Show one useful action from start to finish, such as how to fold a fitted sheet or frame a product photo.
- Quick demonstration: Show a tool or technique in use, with a short label for each step.
- Three-part mini lesson: Share three steps, ingredients, or considerations about one narrow topic.
- Question and answer: Put a question on screen, then answer it with a spoken explanation, demonstration, or text.
- Show-and-tell: Introduce an object, ingredient, or material, then point out a few details that matter to your topic.
Show a Change or Process
- Before and after: Open with the starting state, show a few steps, then reveal the result. Use it for a room refresh, a drawing, a recipe, or another visible change.
- Behind the scenes: Film a few moments of preparation, making, or cleanup to show what goes into a finished result.
- From materials to finished piece: Show the starting items, one or two stages of work, and the completed project.
- A small fix: Show a minor problem, the adjustment you make, and the result. Keep the example specific to what you know how to demonstrate.
- A tool or workspace tour: Show a few items or areas and explain what each is for.
Share a List or Story
- Three things to notice: Point out three details in a finished object, place, meal, or image.
- A short checklist: Show a few things you prepare before a task, trip, lesson, or project.
- A day-in-the-process clip: Pick three moments from one task—starting, working, finishing—instead of trying to cover everything.
- A tiny story: Set up a simple situation, show what happens next, then end with the result or takeaway.
- A choice between two options: Show two versions, approaches, or materials and explain when you might choose each. Keep the comparison tied to your own example rather than presenting it as a universal rule.
Three Ready-To-Adapt Reel Examples
Use these as simple storyboards. Each has an opening, a few beats, and an ending; change the subject, visuals, and wording to fit your own work.
Example 1: A One-Step Photography Tip
- Opening: Show a photo with the text, “Want a softer-looking product photo?”
- Beat 1: Show the light source beside the product.
- Beat 2: Move the product or light slightly and show the new setup.
- Beat 3: Display the two versions side by side.
- Ending: Name the adjustment you made, such as changing the light’s position.
Example 2: A Pottery Piece from Start to Finish
- Opening: Hold up the finished cup, then cut to a lump of clay.
- Beat 1: Show the clay being shaped.
- Beat 2: Show one detail being added, such as a handle.
- Beat 3: Show the finished piece on a table.
- Ending: Add a short label such as “One cup, three stages.”
Example 3: A Desk Reset in Three Steps
- Opening: Show the desk before tidying.
- Beat 1: Clear the surface.
- Beat 2: Put the items you are keeping into chosen places.
- Beat 3: Show the desk afterward.
- Ending: List the three steps in a closing caption or spoken line.
These sequences are illustrative; they are not reports of published Reels or claims about what will perform well.
How to Turn an Idea into a Simple Filming Plan
- Choose one topic. Make it narrow enough to show in a short sequence—for example, “arrange a desk” rather than “get organized.”
- Choose the main point. Decide what you want viewers to notice, learn, or see change.
- Pick a format. A demonstration suits a process; a before-and-after suits a visible change; a list suits a few distinct points.
- Plan three to five visual beats. Write down what the viewer sees at the opening, in the middle, and at the end. Fewer planned shots can mean less setup; a more involved sequence may give you room to show more detail, but takes more planning.
- Choose how to present it. Speak on camera if your expression is part of the explanation; use a voiceover if you want to narrate over process shots; use on-screen text if the key points can be read without narration. These are creative options, not performance recommendations.
- Give the ending a job. Show the result, summarize the steps, answer the opening question, or state the takeaway.
Quick Checklist Before Filming
- Can you describe the Reel’s main point in one sentence?
- Does the opening show or introduce the subject clearly?
- Do the planned shots move from setup to action to ending?
- Is each shot necessary to understand the idea?
- Can viewers follow the main point if they miss spoken audio? Add concise, readable text when it helps.
- Is the example accurate for your subject and experience?
If you are unsure where to start, choose one everyday process you can show, plan an opening plus three visual beats and an ending, and film the simplest version that communicates your idea.